

Amazon Spheres Architectural Design & Prototyping Process
The design process behind these sci-fi offices showcases a fantastic use of rapid prototyping technologies like laser cutting and 3d printing.
If you haven’t been to the Seattle area recently, you may not be familiar with the Amazon Spheres. These sci-fi co-working offices showcase a fantastic use of rapid prototyping technologies like laser cutting and 3d printing in the early design stages, used to build an initial scale model of the “catalan” modules, which give the domes a pentagonal skeleton structure.
Source: Wall Street Journal
Architectural firm: NBBJ

Building up parts on the pentagonal scale model structure using laser cut wood and paper cardstock:


These laser cut parts are later transformed into 3d Printed Catalan Module - or 'elongated pentagon' building block:
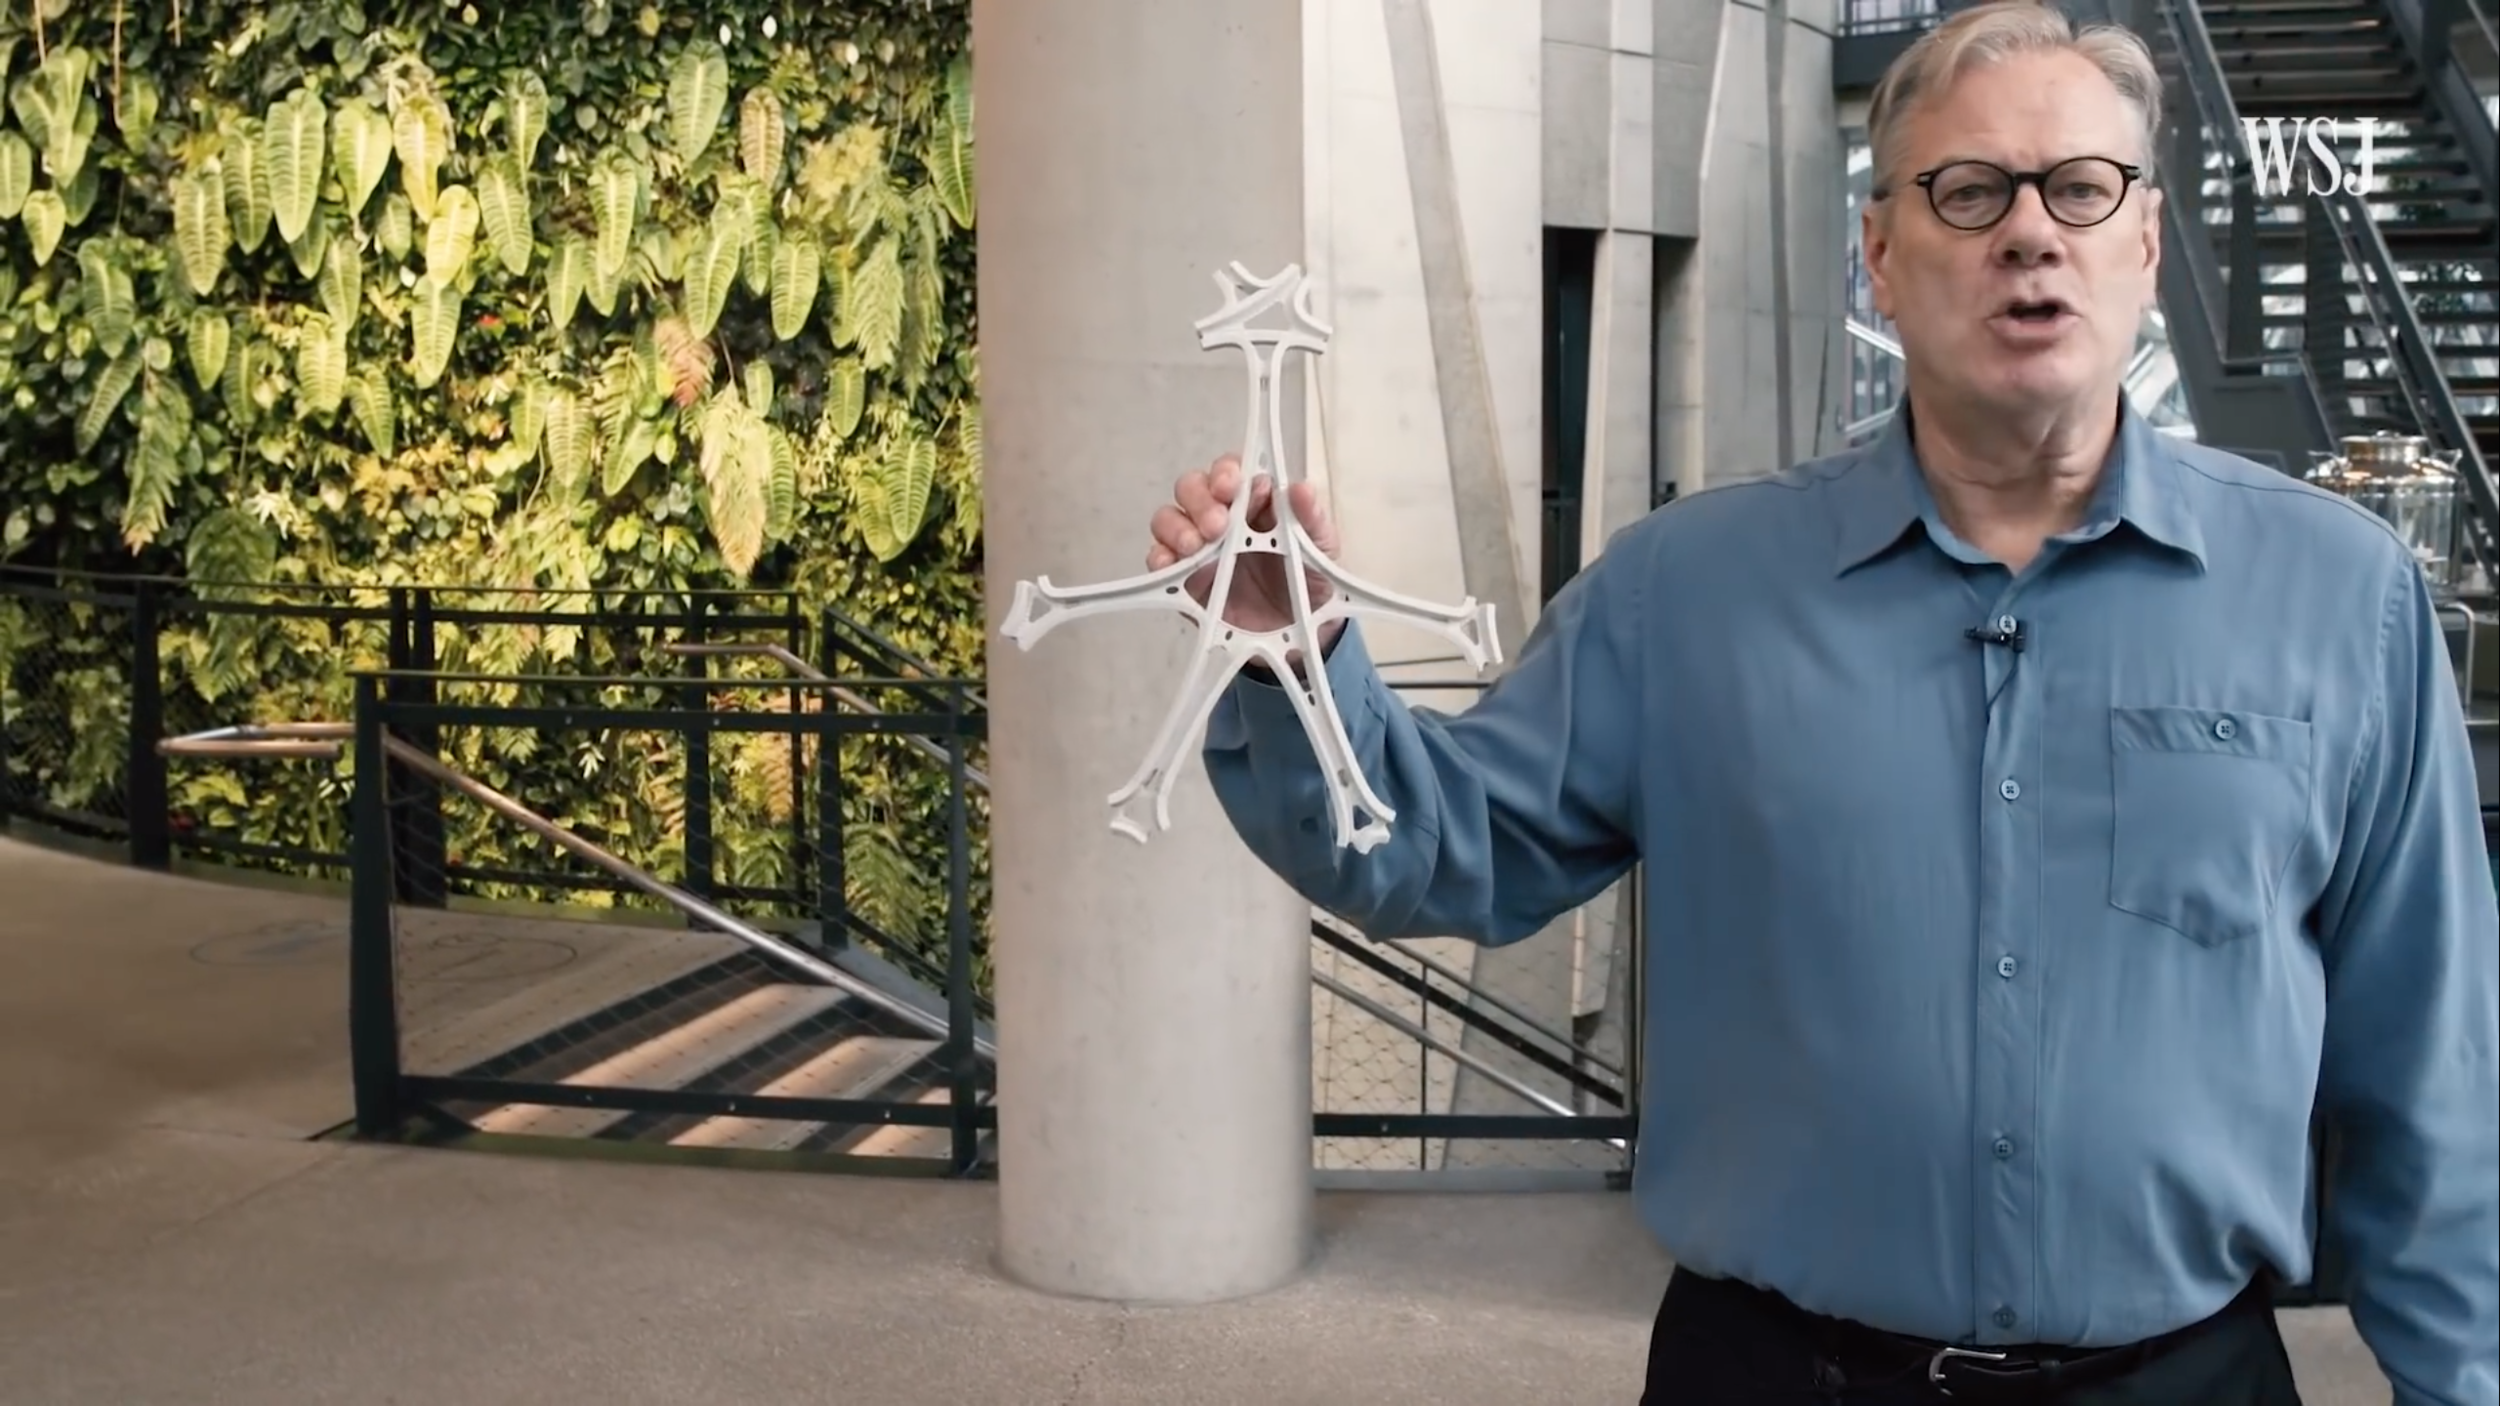

Finally, the small scale 3d-printed prototypes are then realized as 1:1 full scale interlocking steel structural parts:


The space is designed to be an alternate environment for amazon executives and employees, giving them a natural green space to work from — all in the sake of helping spark productivity, creativity, and reducing stress:


The Maker's Field Guide: Master Maker Edition is now available!
More on laser cutting, 3d printing, and many more rapid prototyping techniques and more can be found in The Master Maker edition of The Maker's Field Guide. Now available as both a digital ebook or premium quality photography book through the online store.

Inside Oakley's TOP SECRET Prototype Facility (aka The 'O' Model Shop)
Inside Oakley’s super secretive in-house model shop facility, where a high level low tech / high tech and model maker / designer team integration is crucial to the product develop cycle.
Inside Oakley’s super secretive in-house model shop facility showcases a perfect example of where a high level low tech / high tech and model maker / designer team integration is crucial to the product develop cycle. Although the speed of 3d printers and additive manufacturing have become a factor of life, there still exists a true artistry and craftsmanship involved in building high-level presentation models for internal team evaluation. Talk to any hardcore designer working in the industry and they will agree — the high touch, emotional, and tactile sensibilities that go hand in hand with TRUE skill in fine craftsmanship can fully never be replaced — despite by whatever ‘latest and greatest’ new technologies may make their way into the equation.
The full HYPEBEAST feature is available here: Finding Purpose in Product Design with Oakley Eyewear


“We create beautiful designs and to realize them, we have to build them three-dimensionally. Our industrial designers have drawings that our modeling team will ultimately build. They take two-dimensional drawings and create three-dimensional forms. They do it both traditionally — by hand and sculpting — as well as in a 3d space, of CAD and 3d printing. We take that 3d model, evaluate it, and the designers and modelers continue to iterate and interact, so that the product actually fulfills what it is meant to do.” - Peter Yee, VP of Design


*All content featured in this post is shown strictly for educational learning purposes only. All image rights belong to their respective owners.
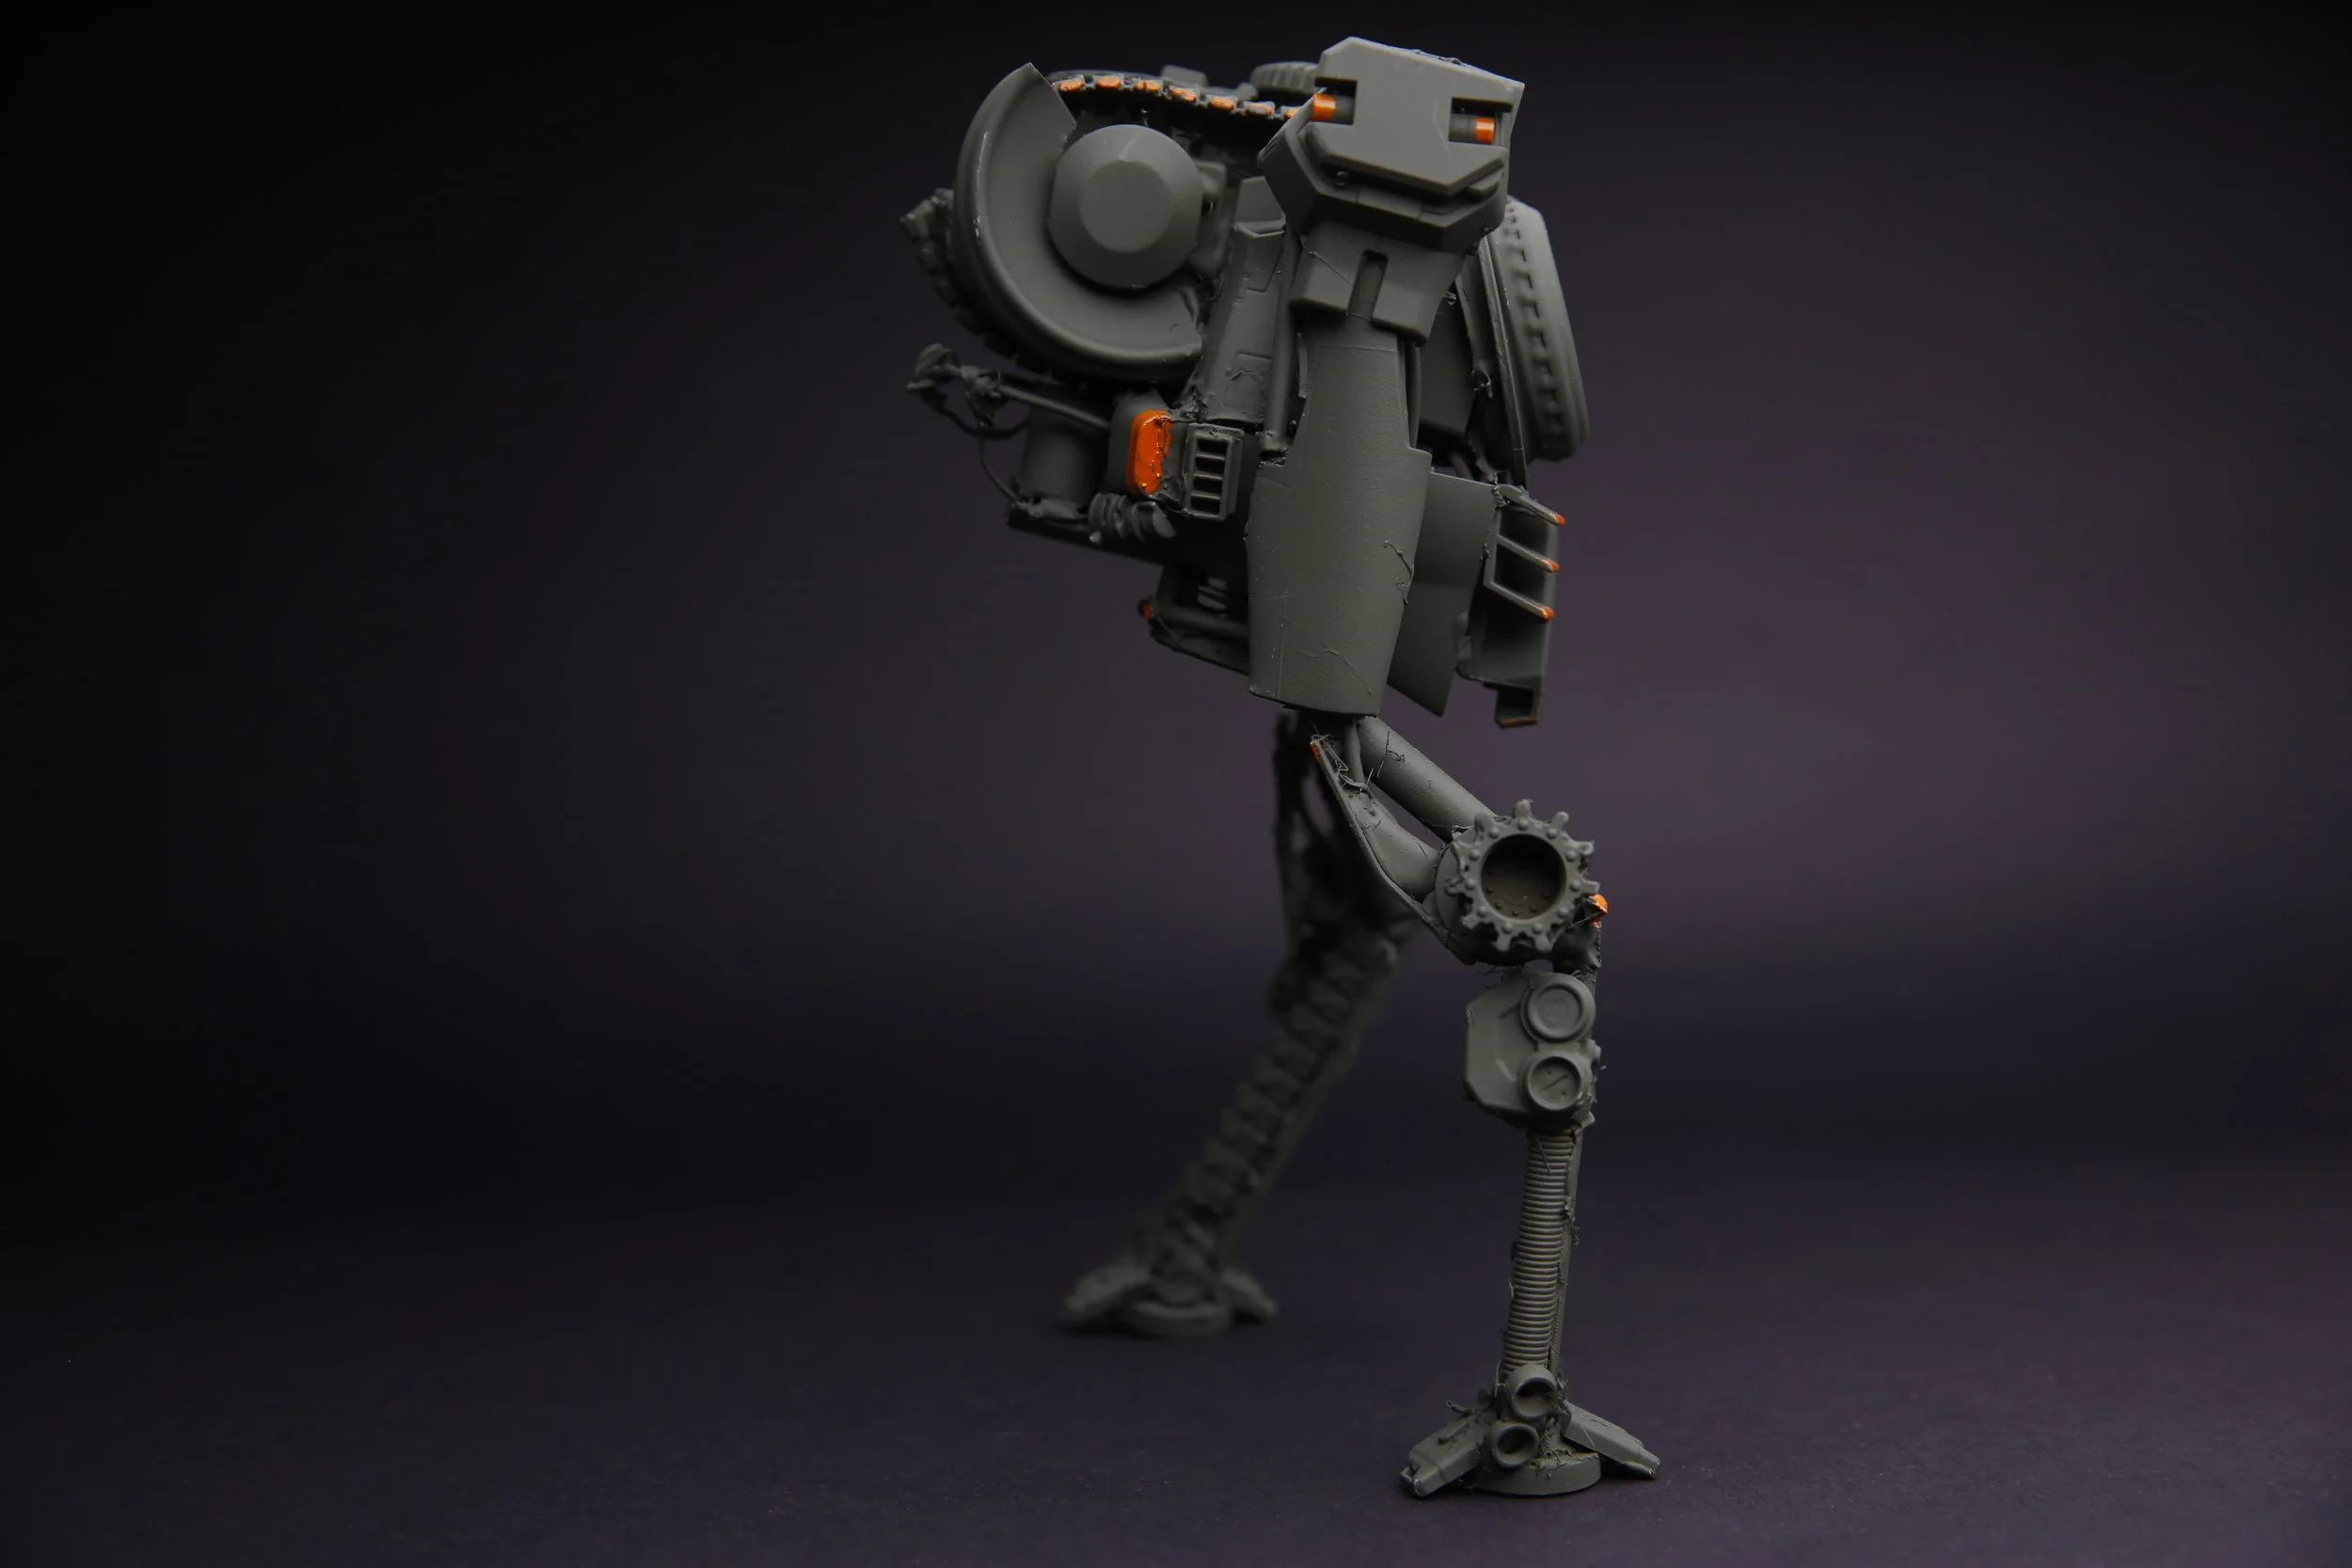
Kit-Bashing For Concept Design & Entertainment Design : Robot Mech Design Process
Kit-Bashing is a technique made famous in the original Star Wars film franchise, where it was first pioneered to create the intricately-detailed concept fighter jets like the X-Wing, and even the Death Star itself. This technique is blazingly quick, and still quite effective for making very convincing props for film or special effects. The process uses parts Frankensteined together from various model kits, hardware store parts, and various scraps. Once a design silhouette is established with bulk parts, glue and an armature skeleton, the model kit parts are then added to give another layer of textural design interest. The final design can then be primered and painted, to give a realistic model prop effect.
*The Kit Bash build process shown below has been adapted from a class I formerly taught with John Park at the Red Engine School of Design, and later Concept Design Academy (CDA) called Advanced Vehicle & Mech Design:
Make sure to pick up a good variety of parts. Don't feel like you have to constrain yourself to the pre-designed kits like the military or Gundam kits, sometimes the most simple objects work the best: glue sticks, random computer parts, bottle caps, plastic drink cups and yogurt cups, etc. Most importantly be sure to pick up some armature wire, this will be used for the main skeleton structure for all other parts to be placed on top.


Building up parts on the armature (for here you'll want basic shapes like computer parts, plastic styrene sheet or credit cards, etc). Hot glue is used to set the parts in place, drying very quickly:

Once all of the parts have been glued in place, it will look like a kaleidoscope of different mis-matched colors botched together. Don't worry, these parts will all be unified nicely after a coat of primer:


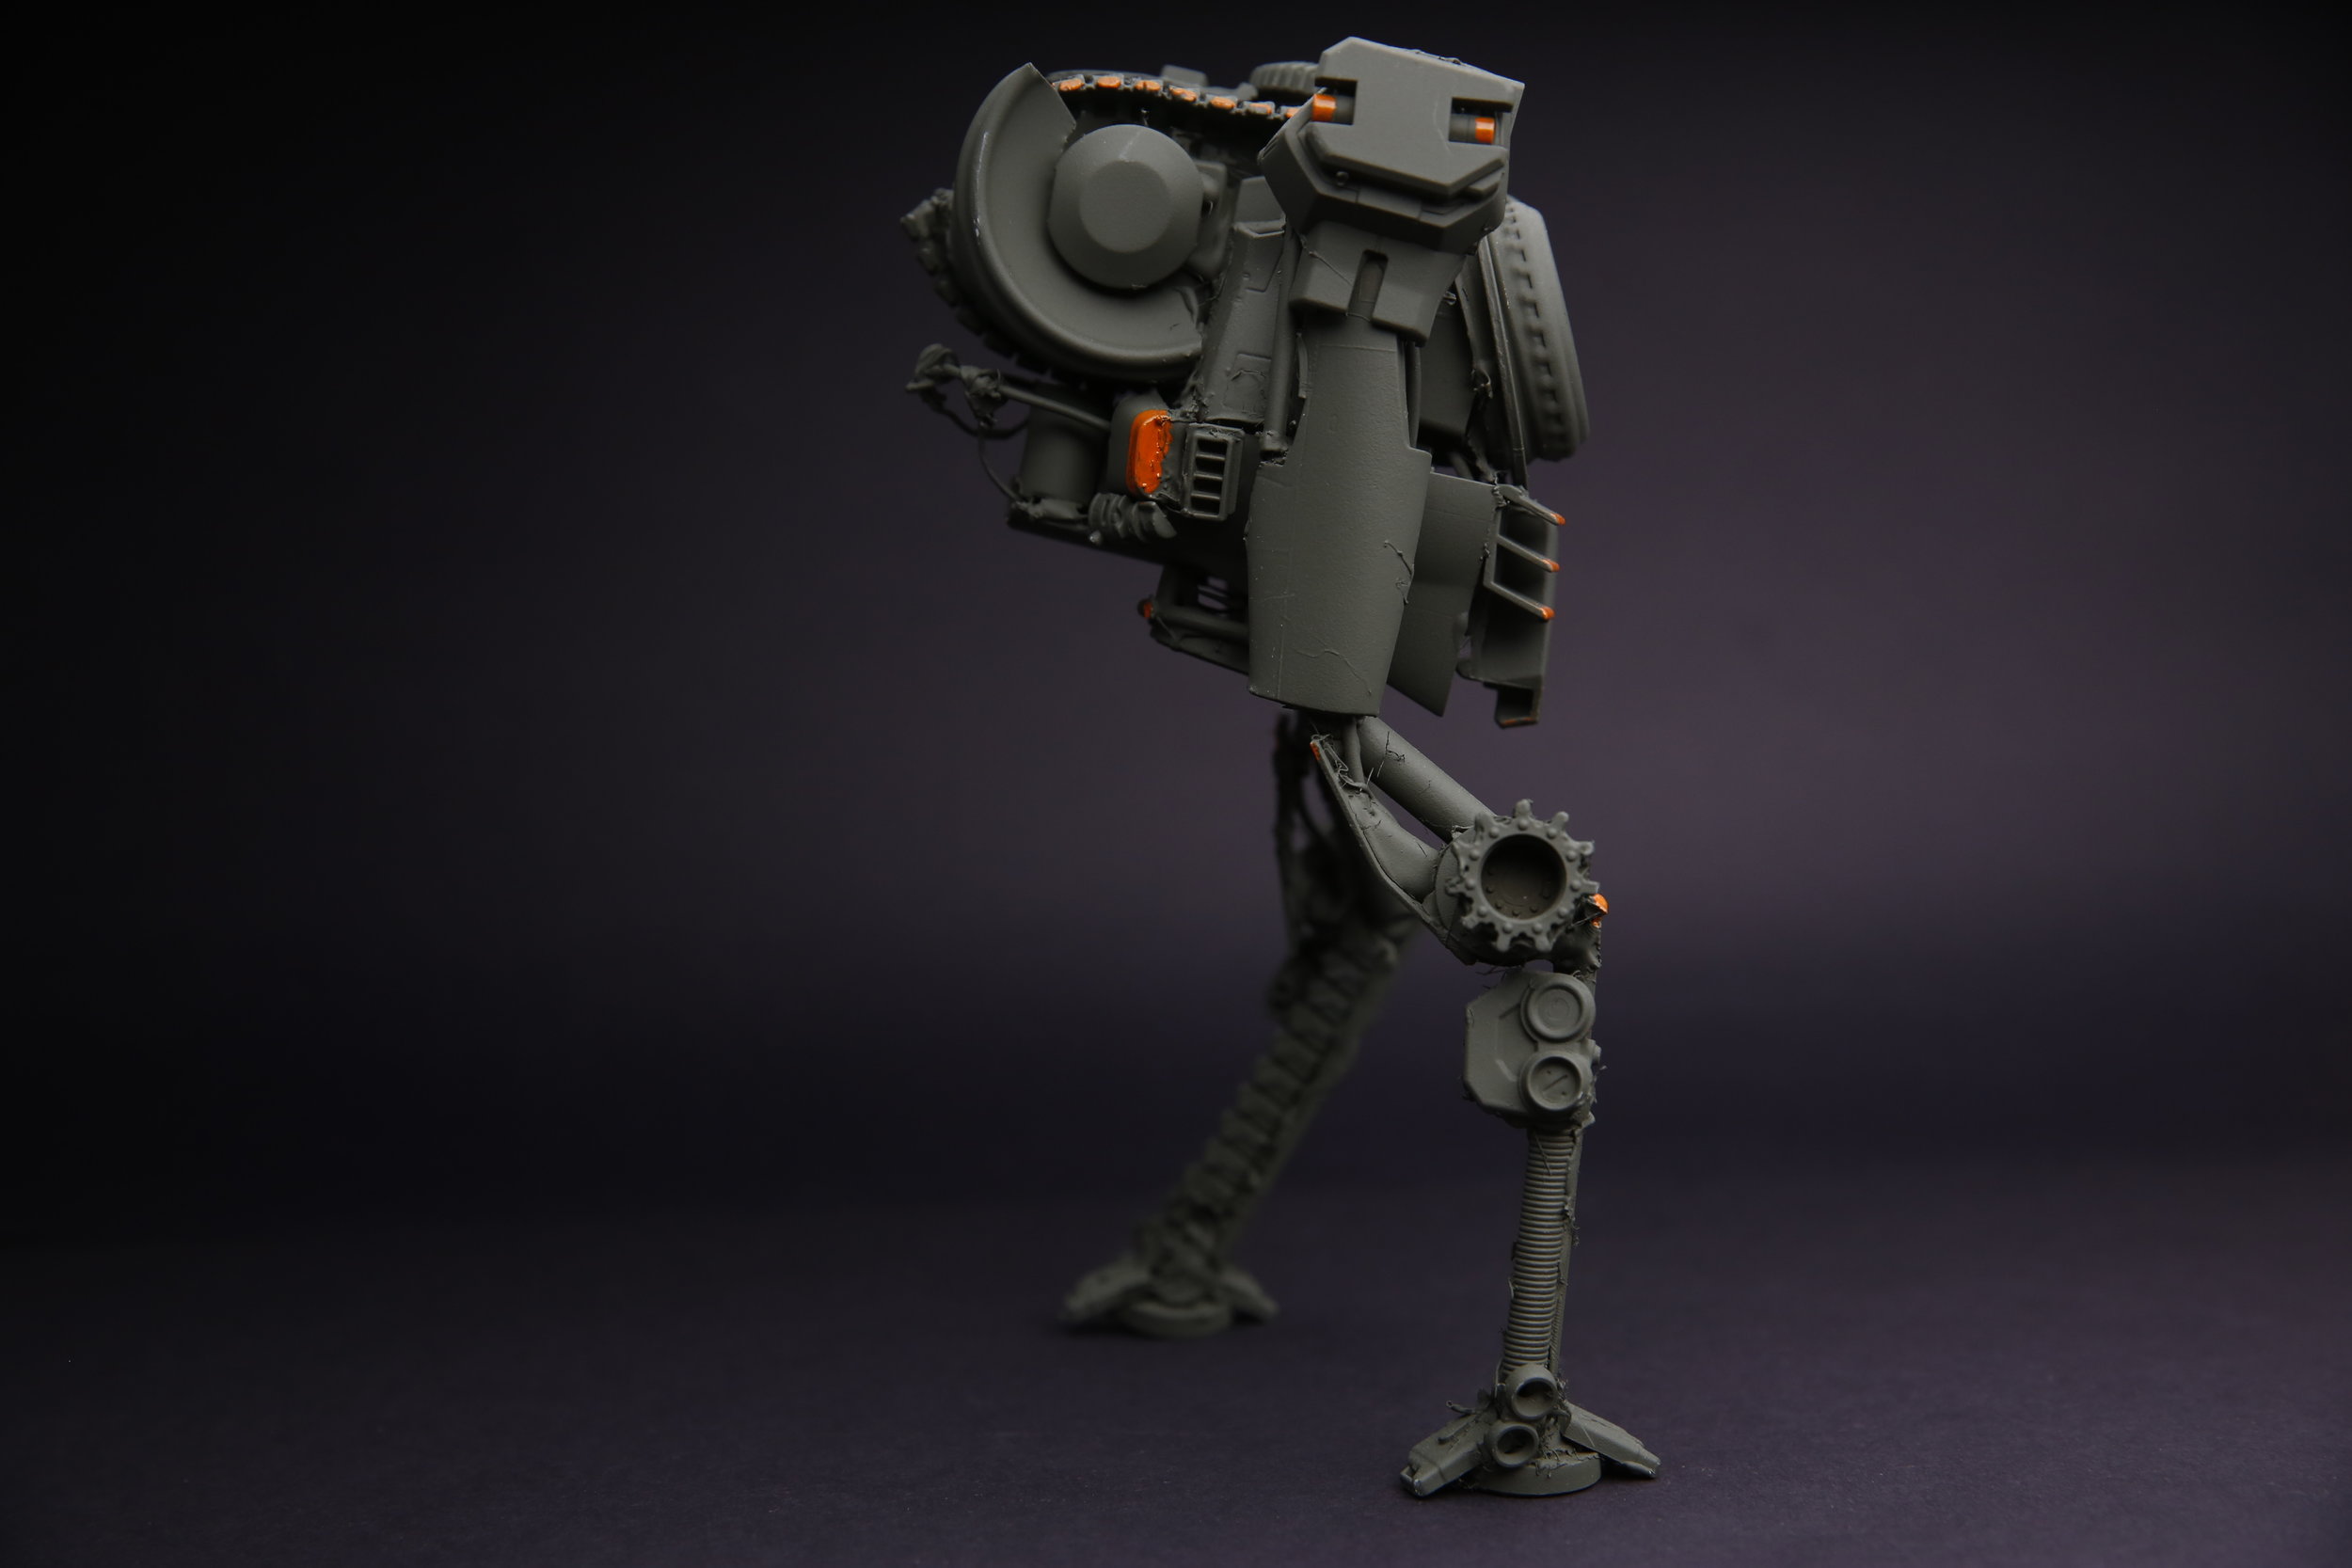
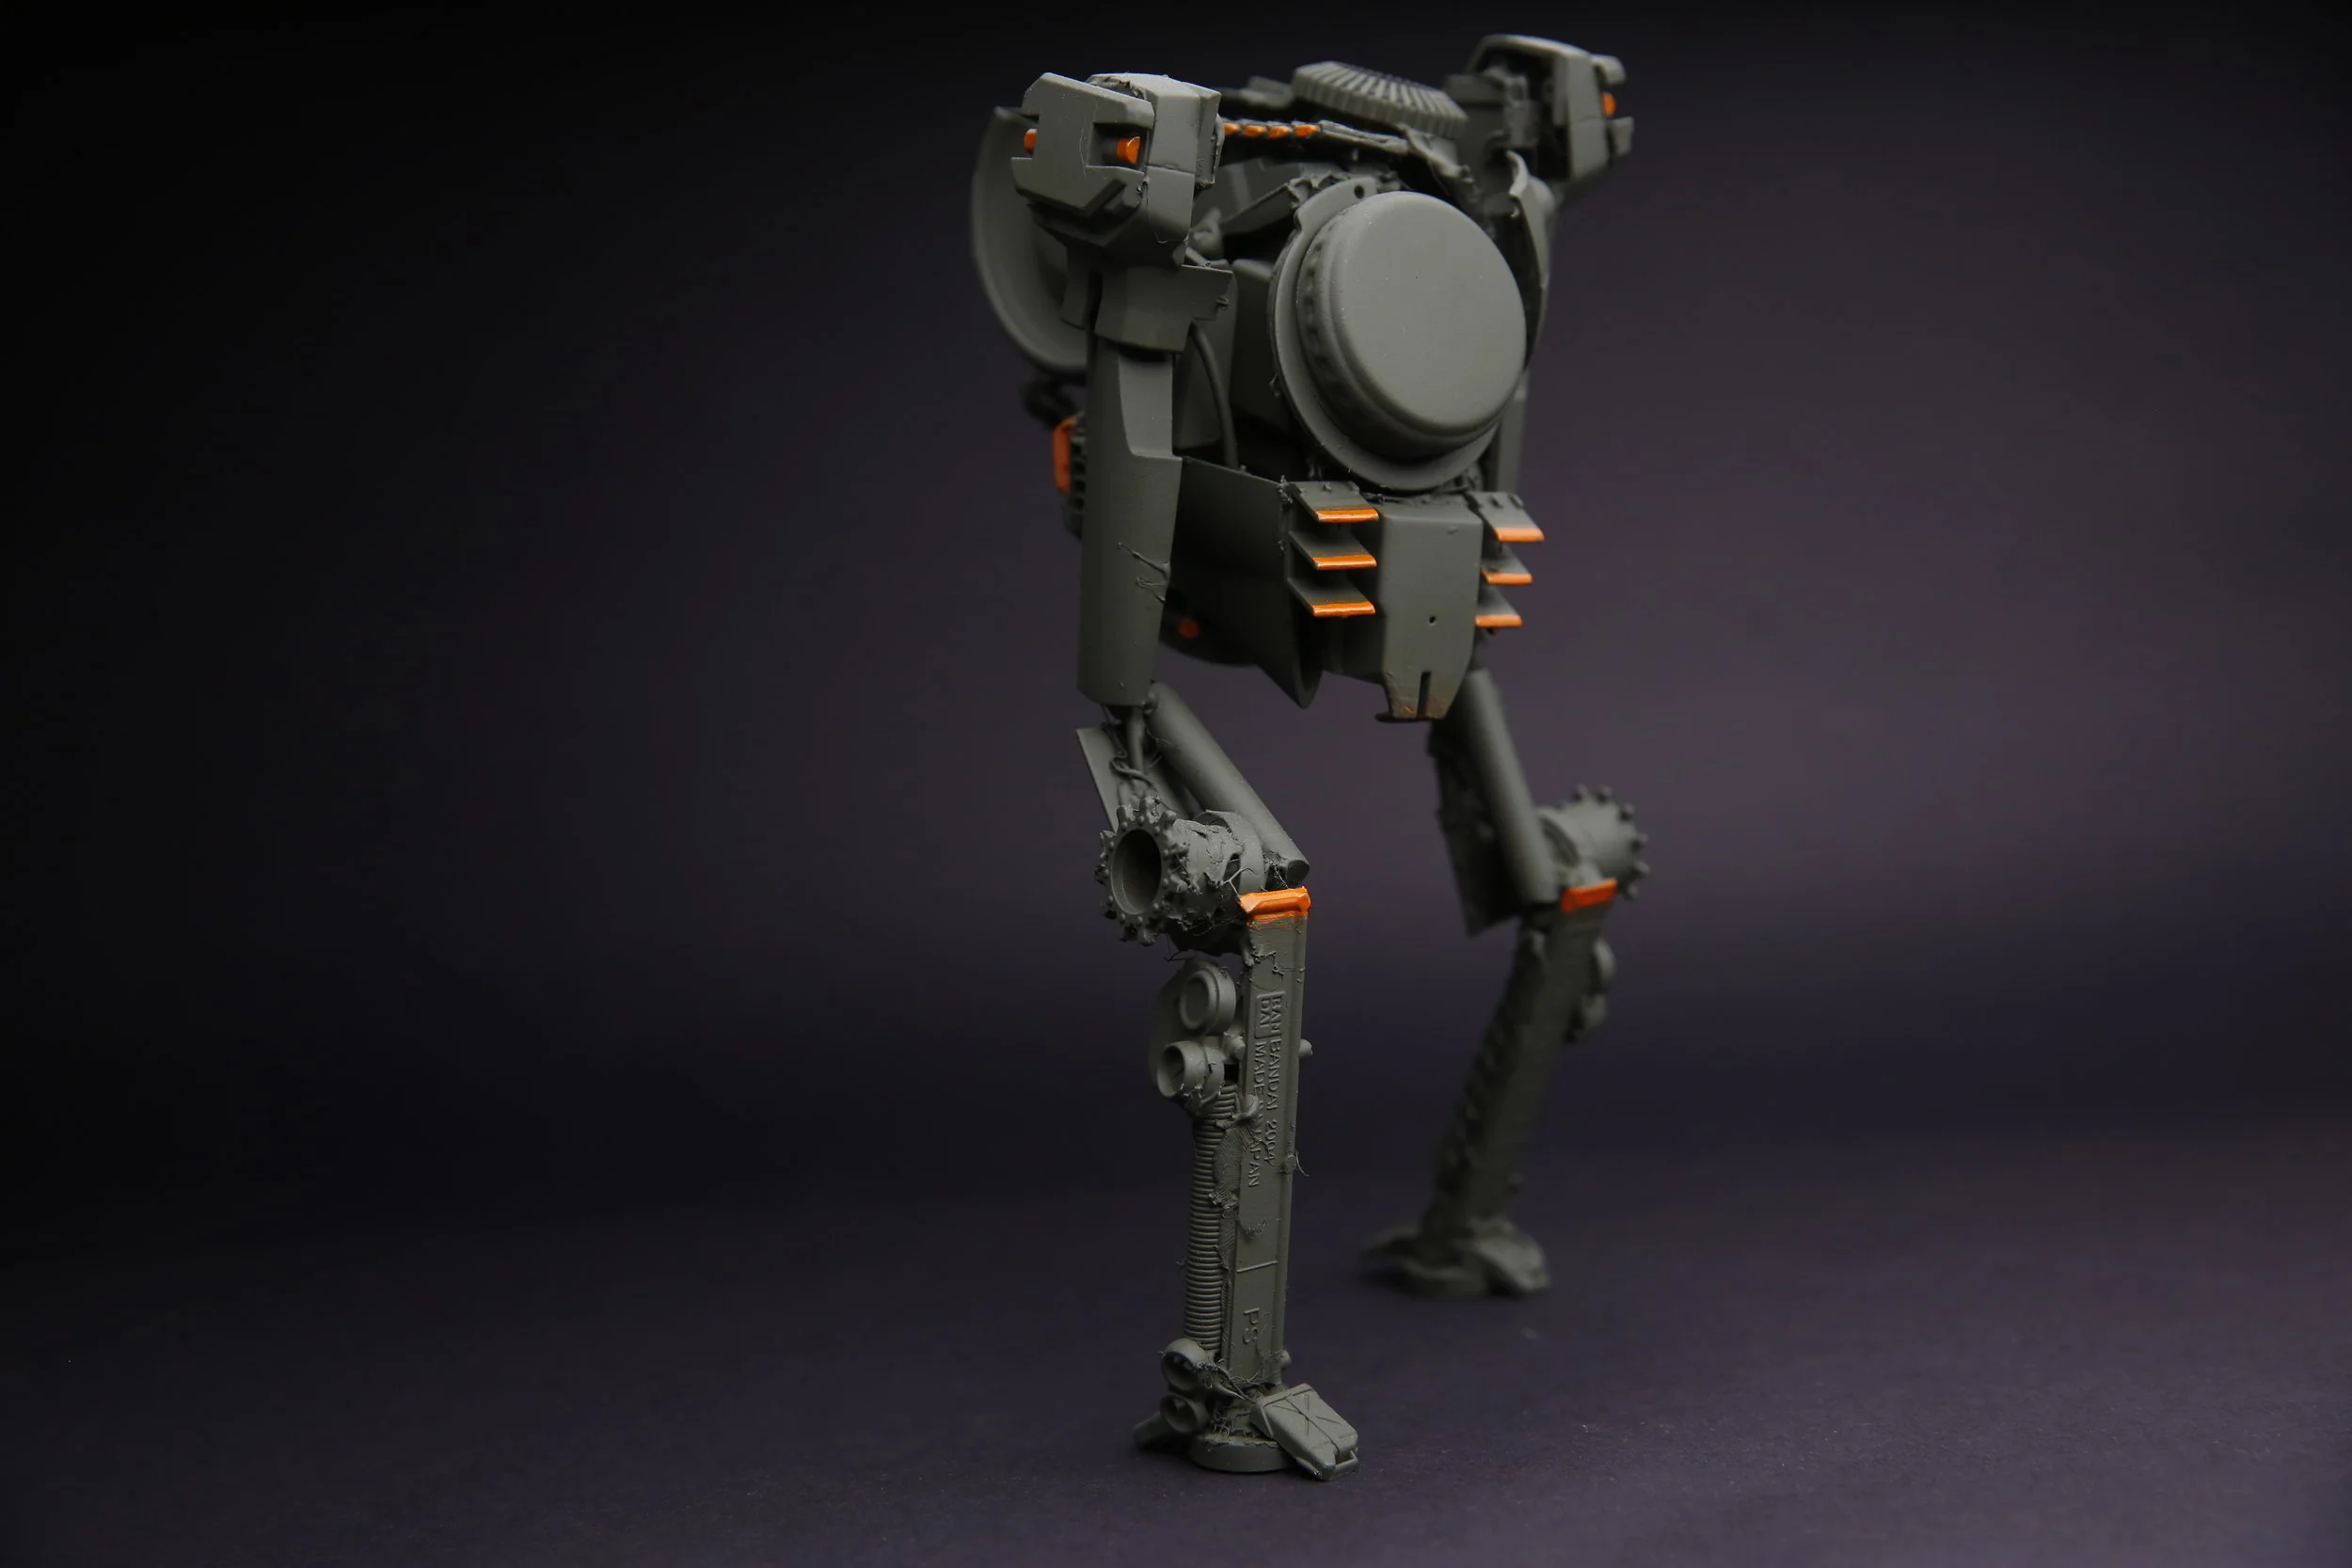
Finally, a coat of olive drab paint with safety orange color-blocking is added, to simulate a heavy piece of industrial machinery. Quite incredible what a solid photography & lighting setup can do, isn't it? :
The Maker's Field Guide: Master Maker Edition is now available!
More on kit-bashing can be found in the all new Advanced Projects chapter exclusively available in The Master Maker edition of The Maker's Field Guide. Now available as both a digital ebook or premium quality photography book through the online store.