
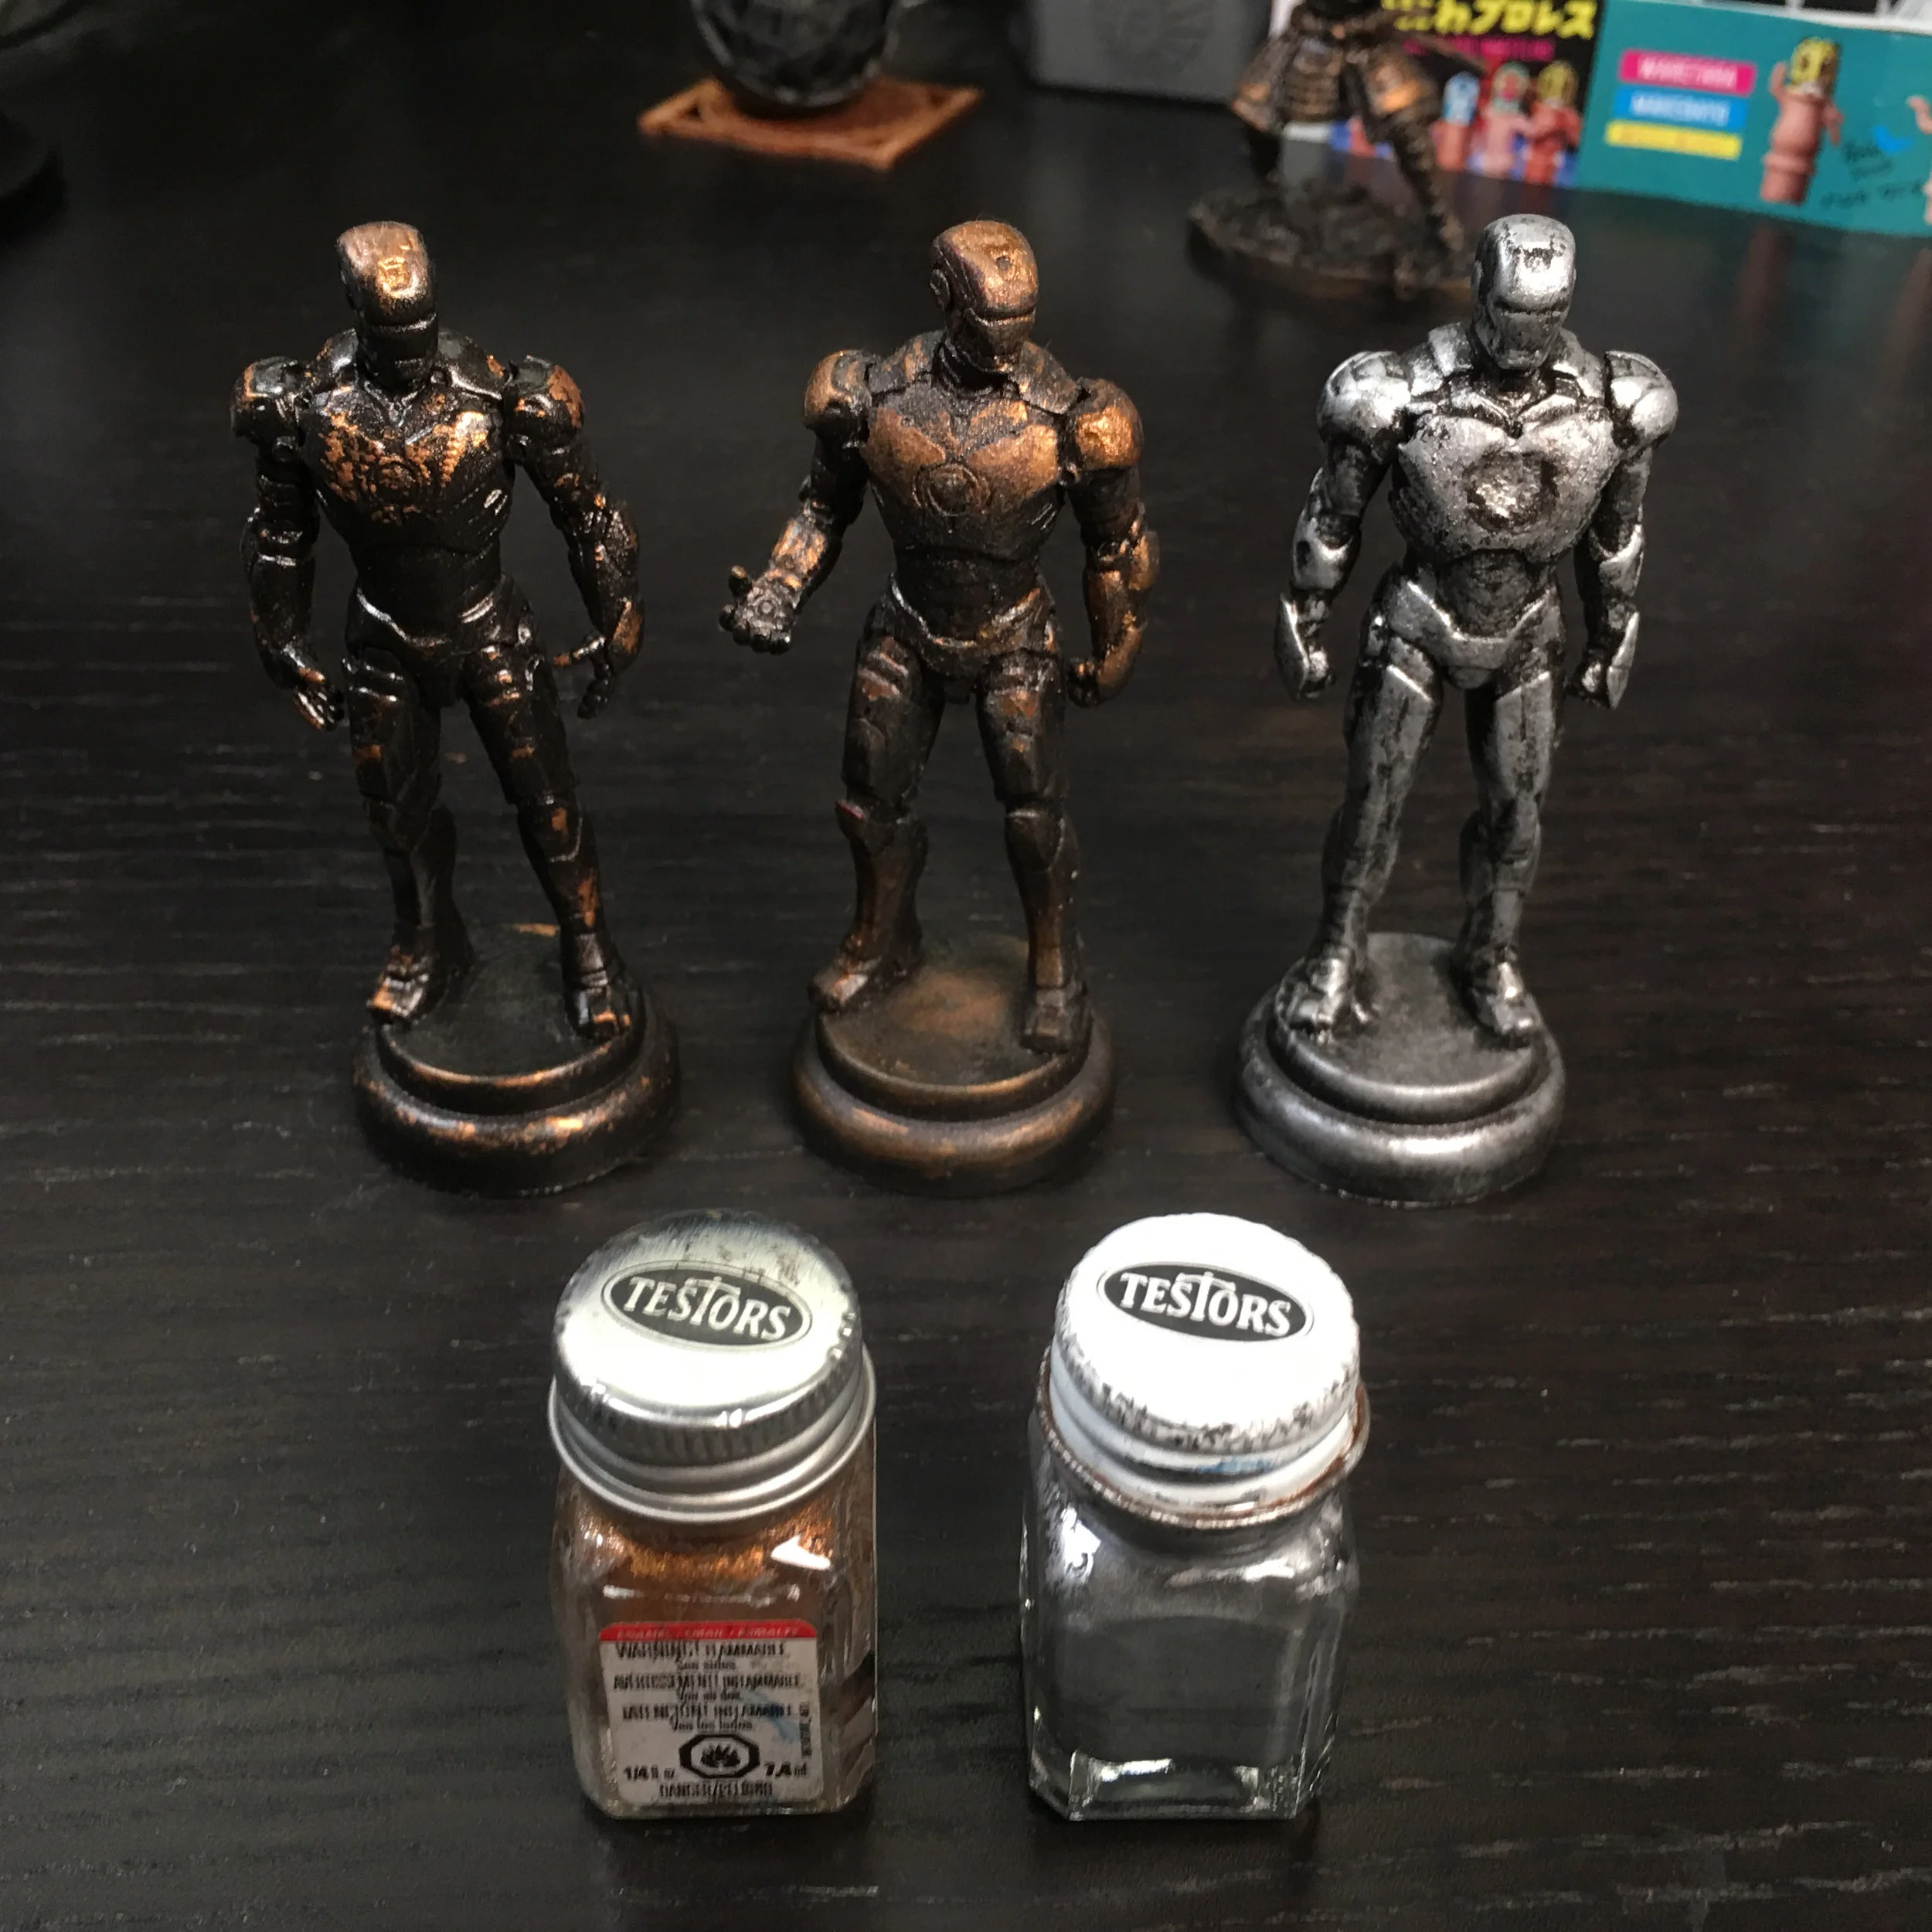
Iron Man Bronze Statue - Master Build
In this Master Build, Christopher Armstrong reveals the assembly and painting of a miniature Iron Man capsule toy (Japanese gashapon) model kit, to resemble a cast metallic sculpture with realistic weathering effects.
After multiple delays and setbacks, the wait is finally over — the Iron Man bronze statue Master Build is live!
In this Master Build, Christopher Armstrong reveals the assembly and painting of a miniature Iron Man capsule toy (Japanese gashapon) model kit, to resemble a cast metallic sculpture with realistic weathering effects. This step-by-step demo covers some of the key fundamentals of model making, including glue bonding, collecting reference material, sanding & surface preparation, and final paint application. Paint can be a powerful tool to boost the appeal of object (or to give it an effect of being a completely different entirely) and is used widely in film and special effects props. Anyone can use this simple process to transform any object, model, or 3d printed part into a convincing cast metal sculpture — perfect for creating custom trophies, movie props, or luxurious home decor pieces.
Materials used in this build:
-Iron Man Capsule Toy / Gashapon (www.ebay.com)
-5 Minute Epoxy (two part)
-Rust-Oleum Automobile Primer (Light Gray)
-Rust-Oleum Universal Metallic Paint (Oil Rubbed Bronze)
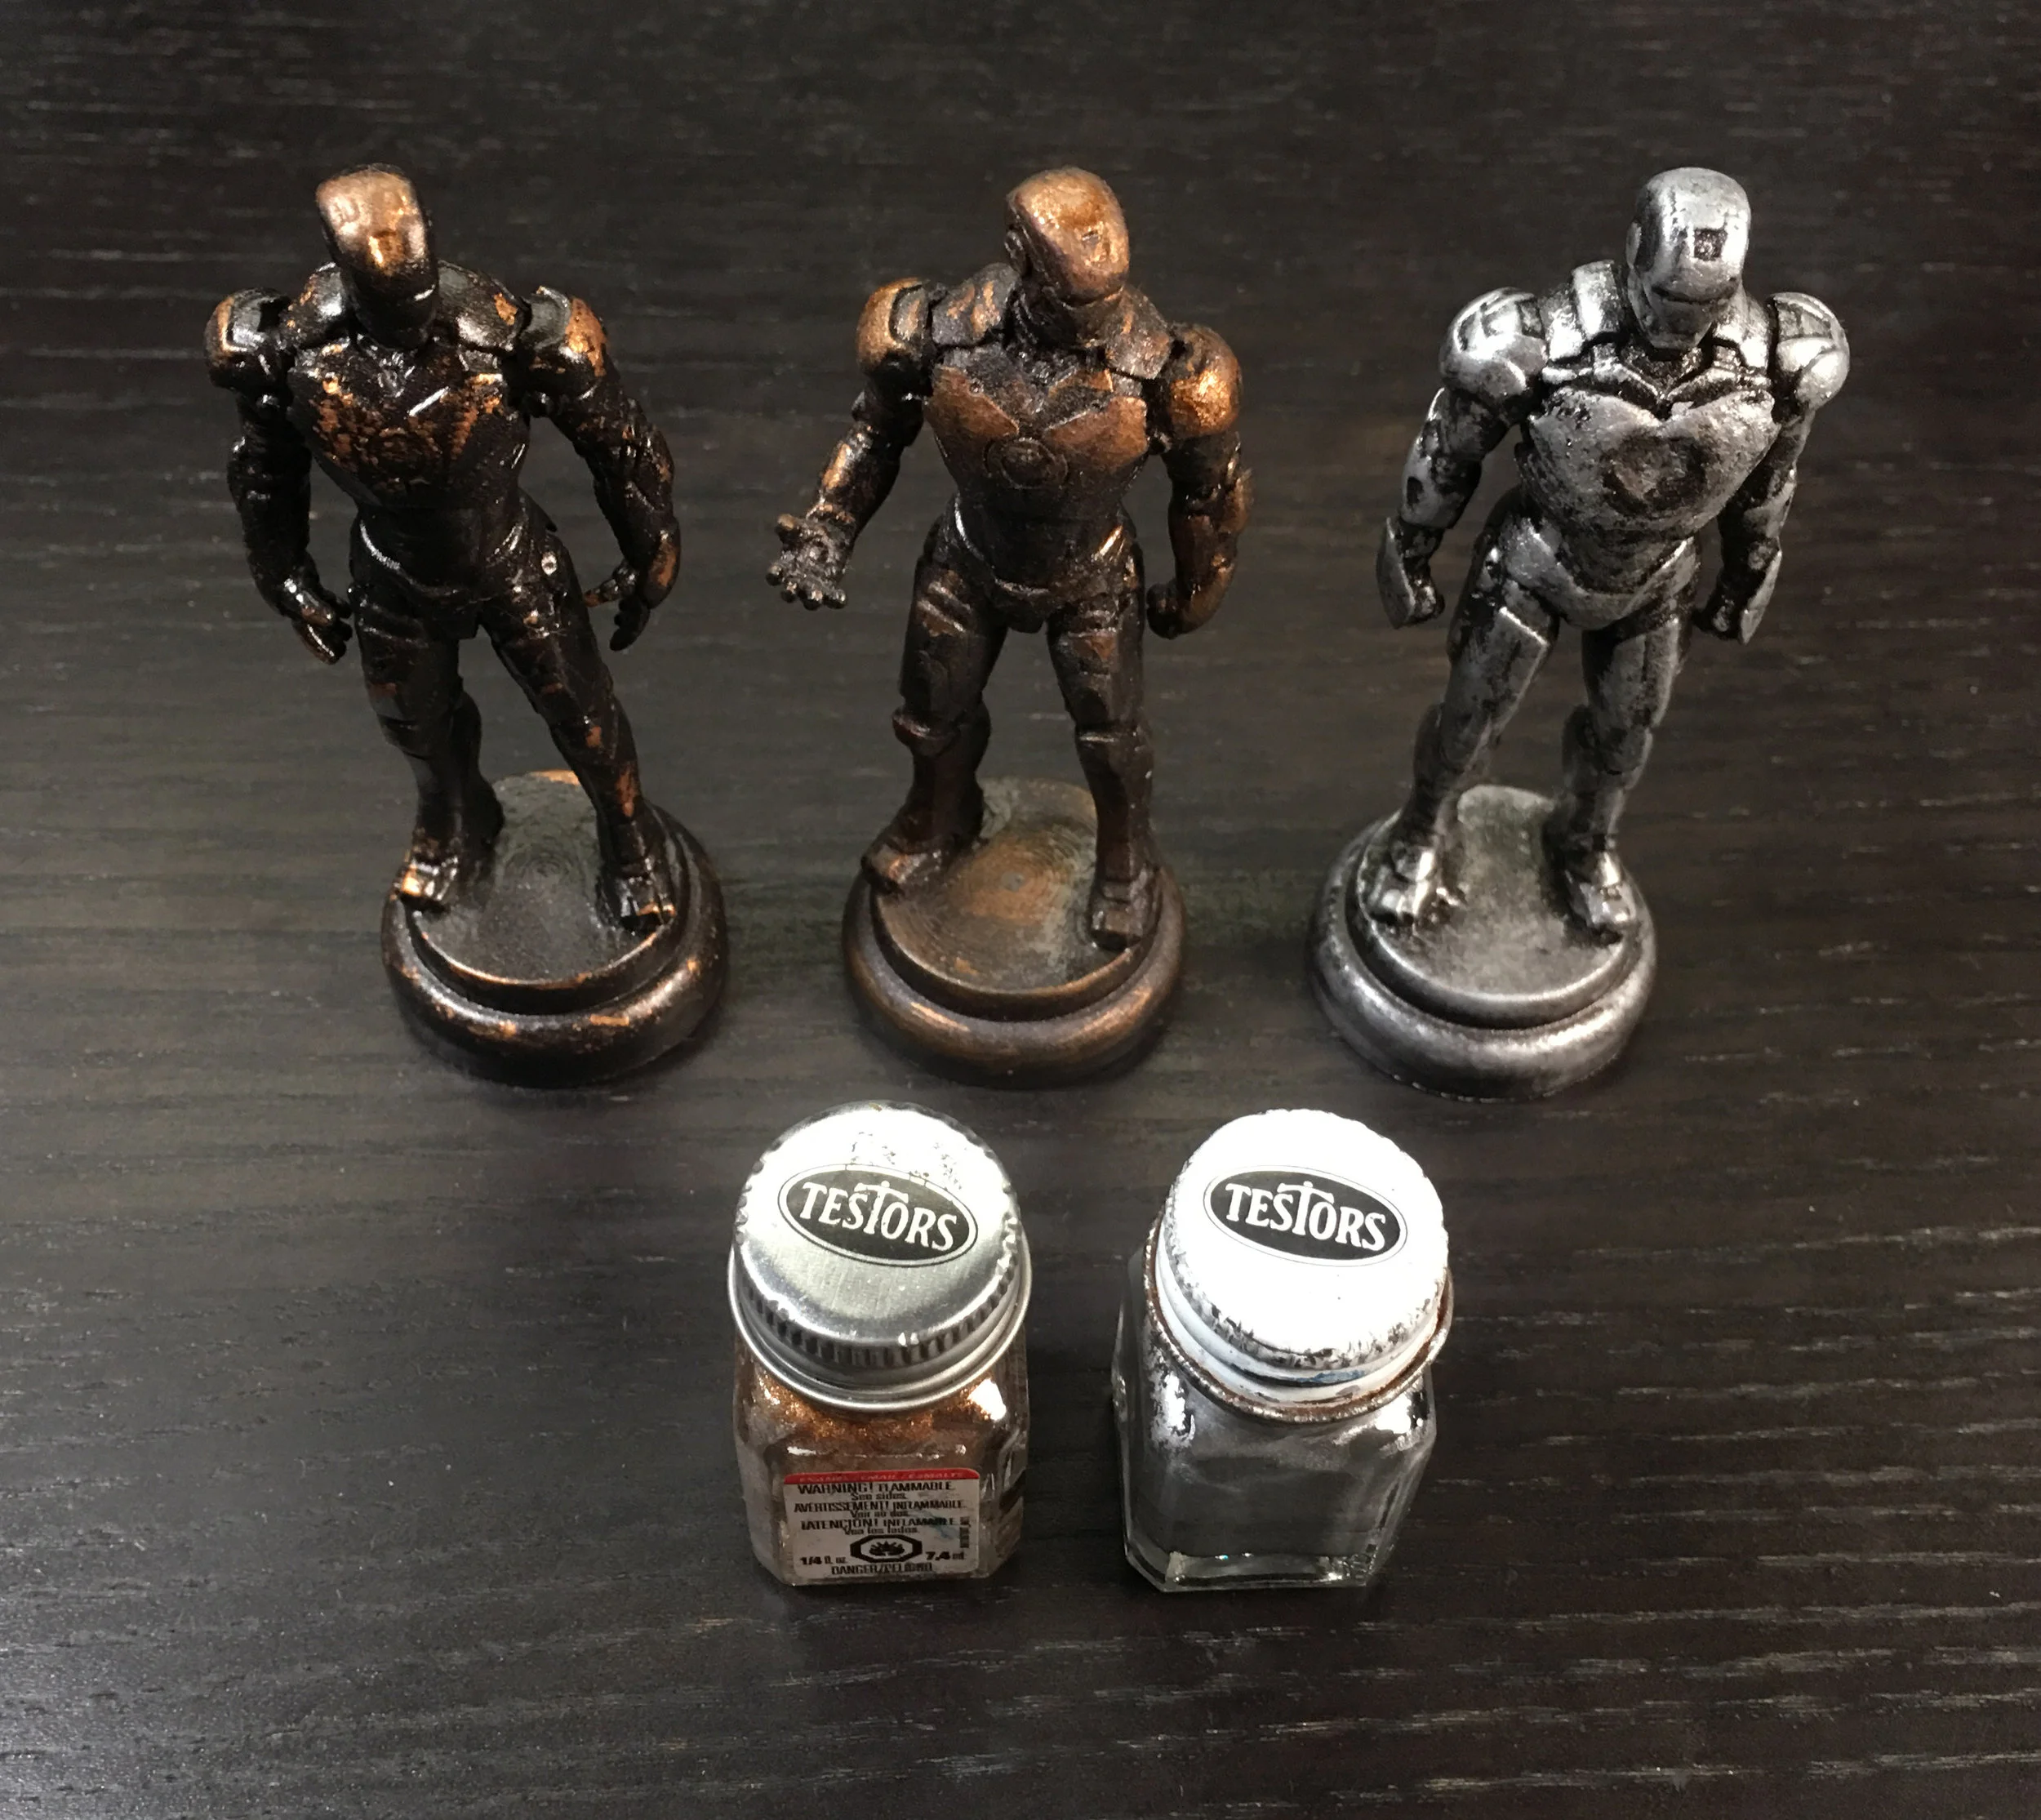
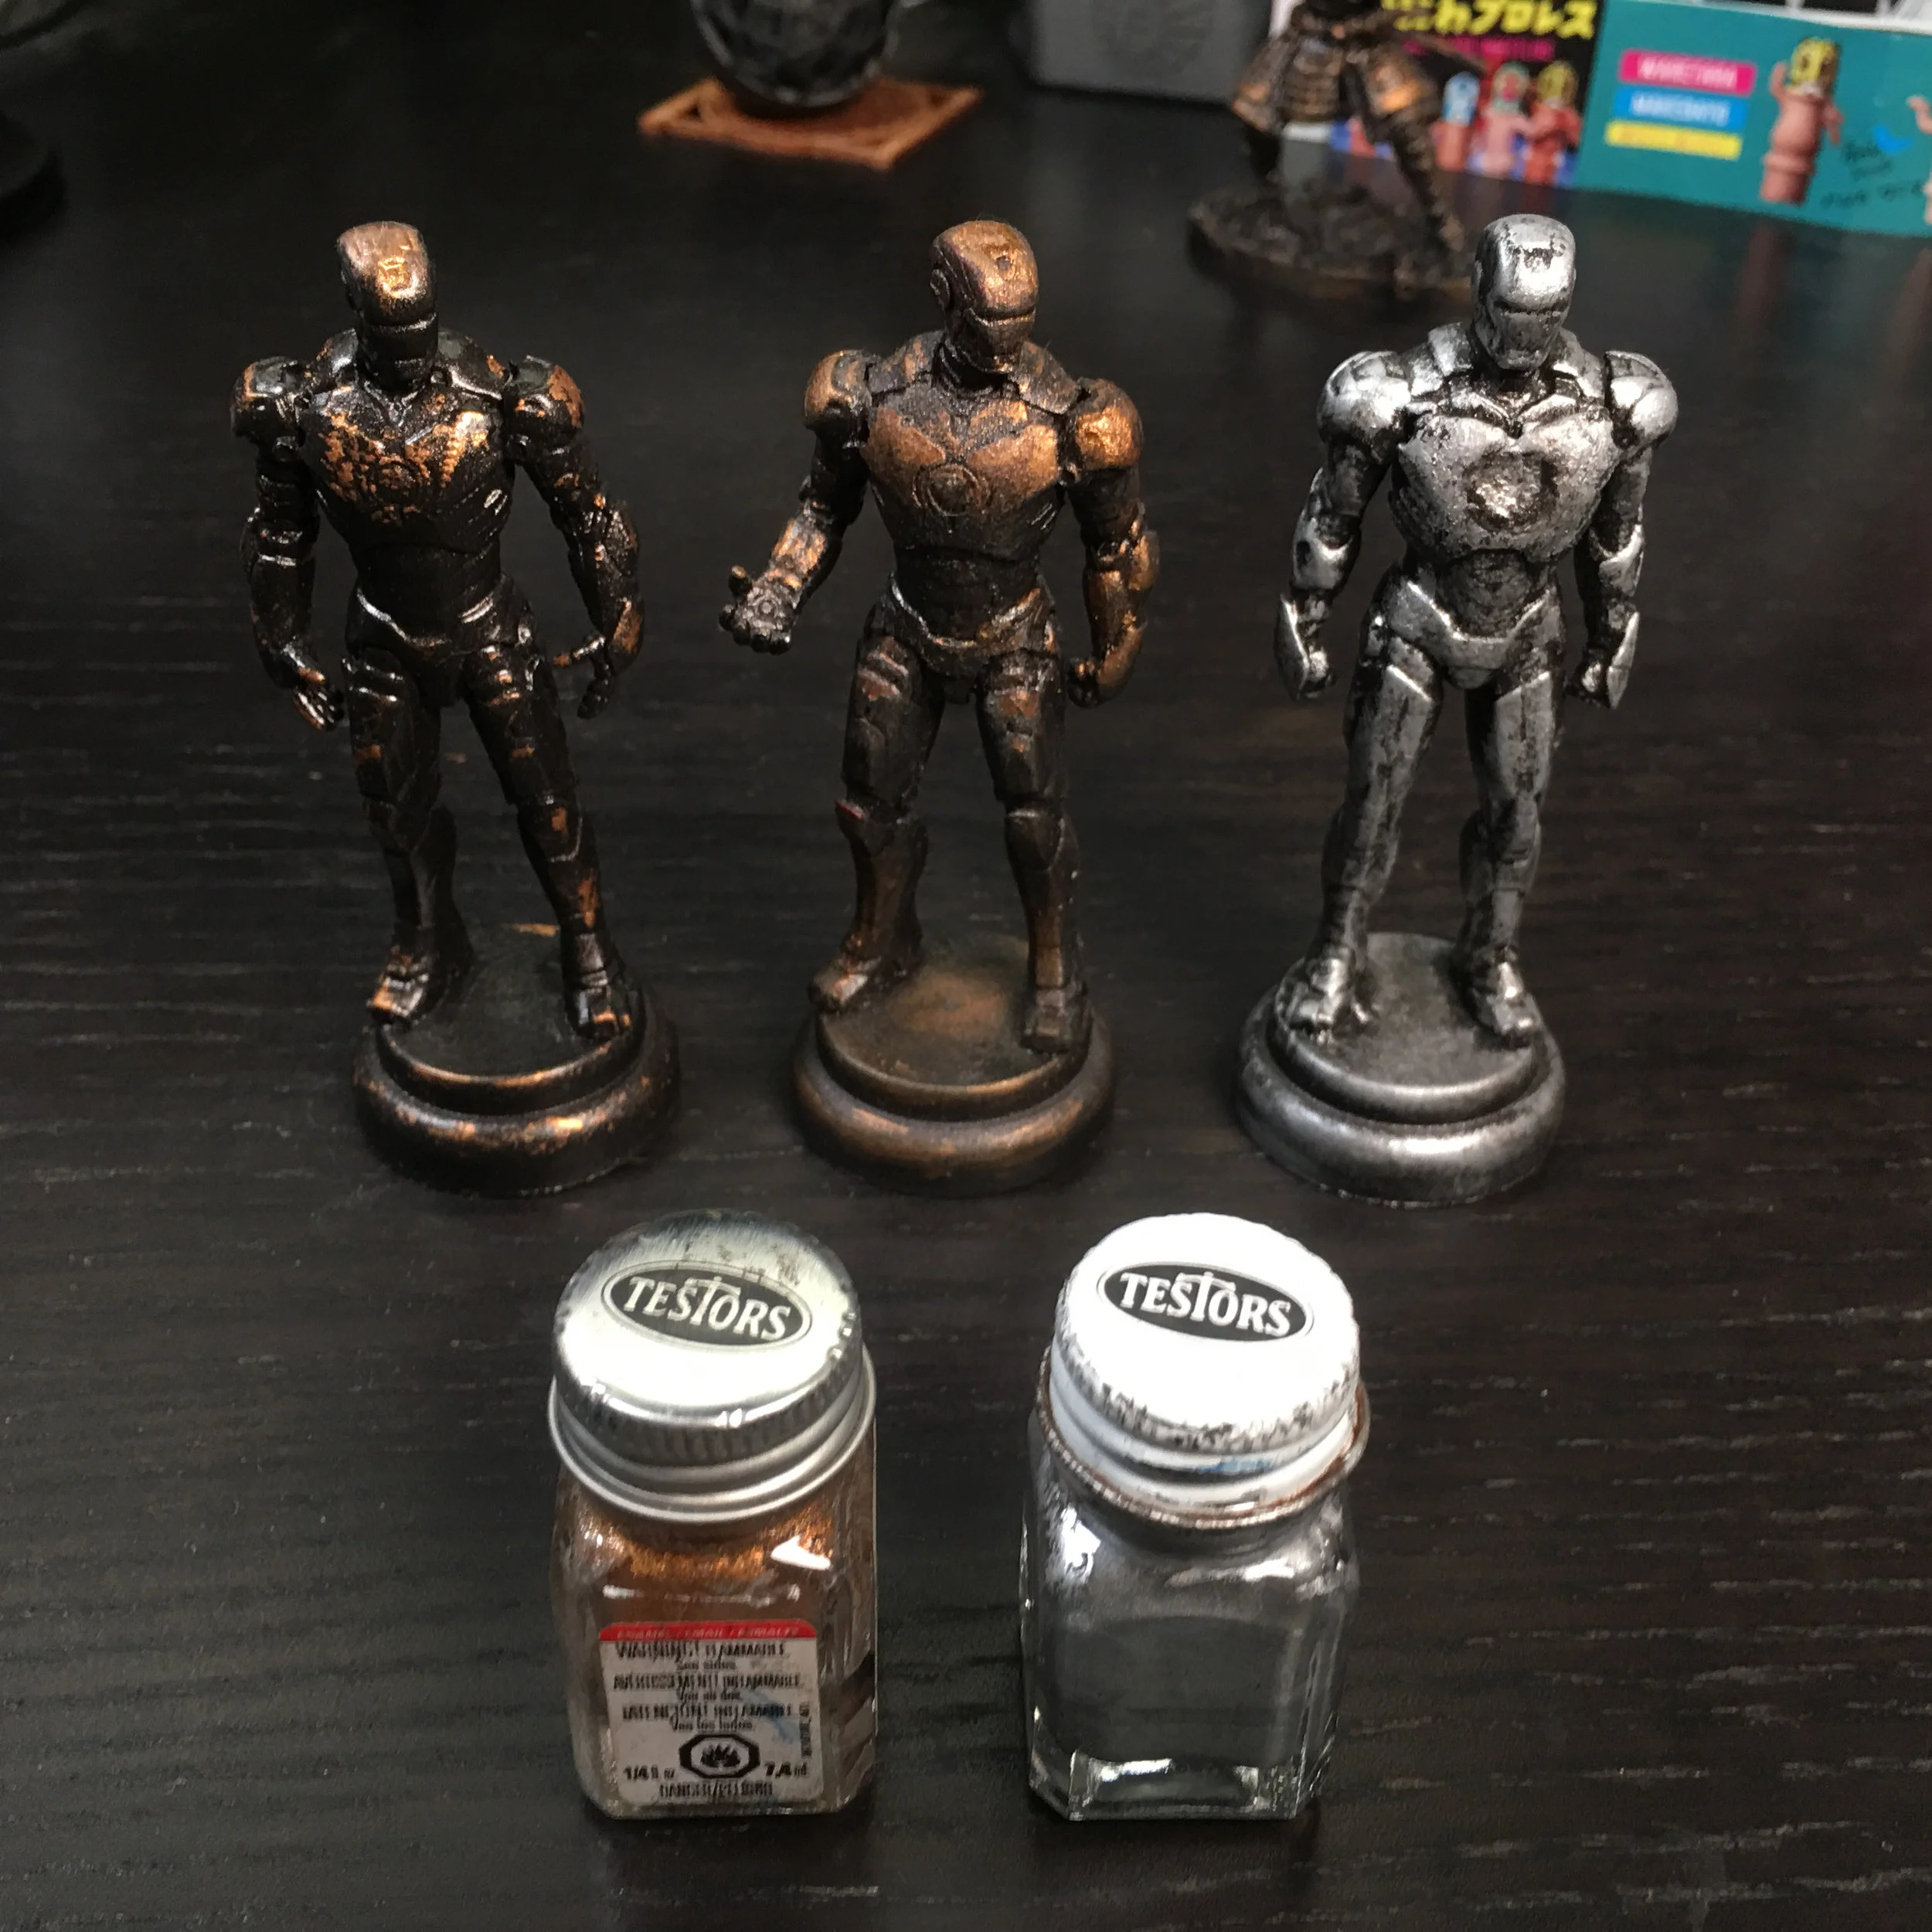
-Testors Acrylic Enamel (Flat Brass & Silver)
-Wood bases from hobby store
-Paper towels & Q-Tips
-Nitrile or Latex Gloves

1) Below is a collection of real-world bronze weathering reference imagery, which were taken from a trip to Disneyland. There’s nothing like studying from real-life reference, sine this will give this model an air of ultra-realistic authenticity. This reference will be critical to get the realistic bronze effects just right in this build:

2) Assembled miniature Iron Man capsule toy, glued to a small wood base with 5 min epoxy:
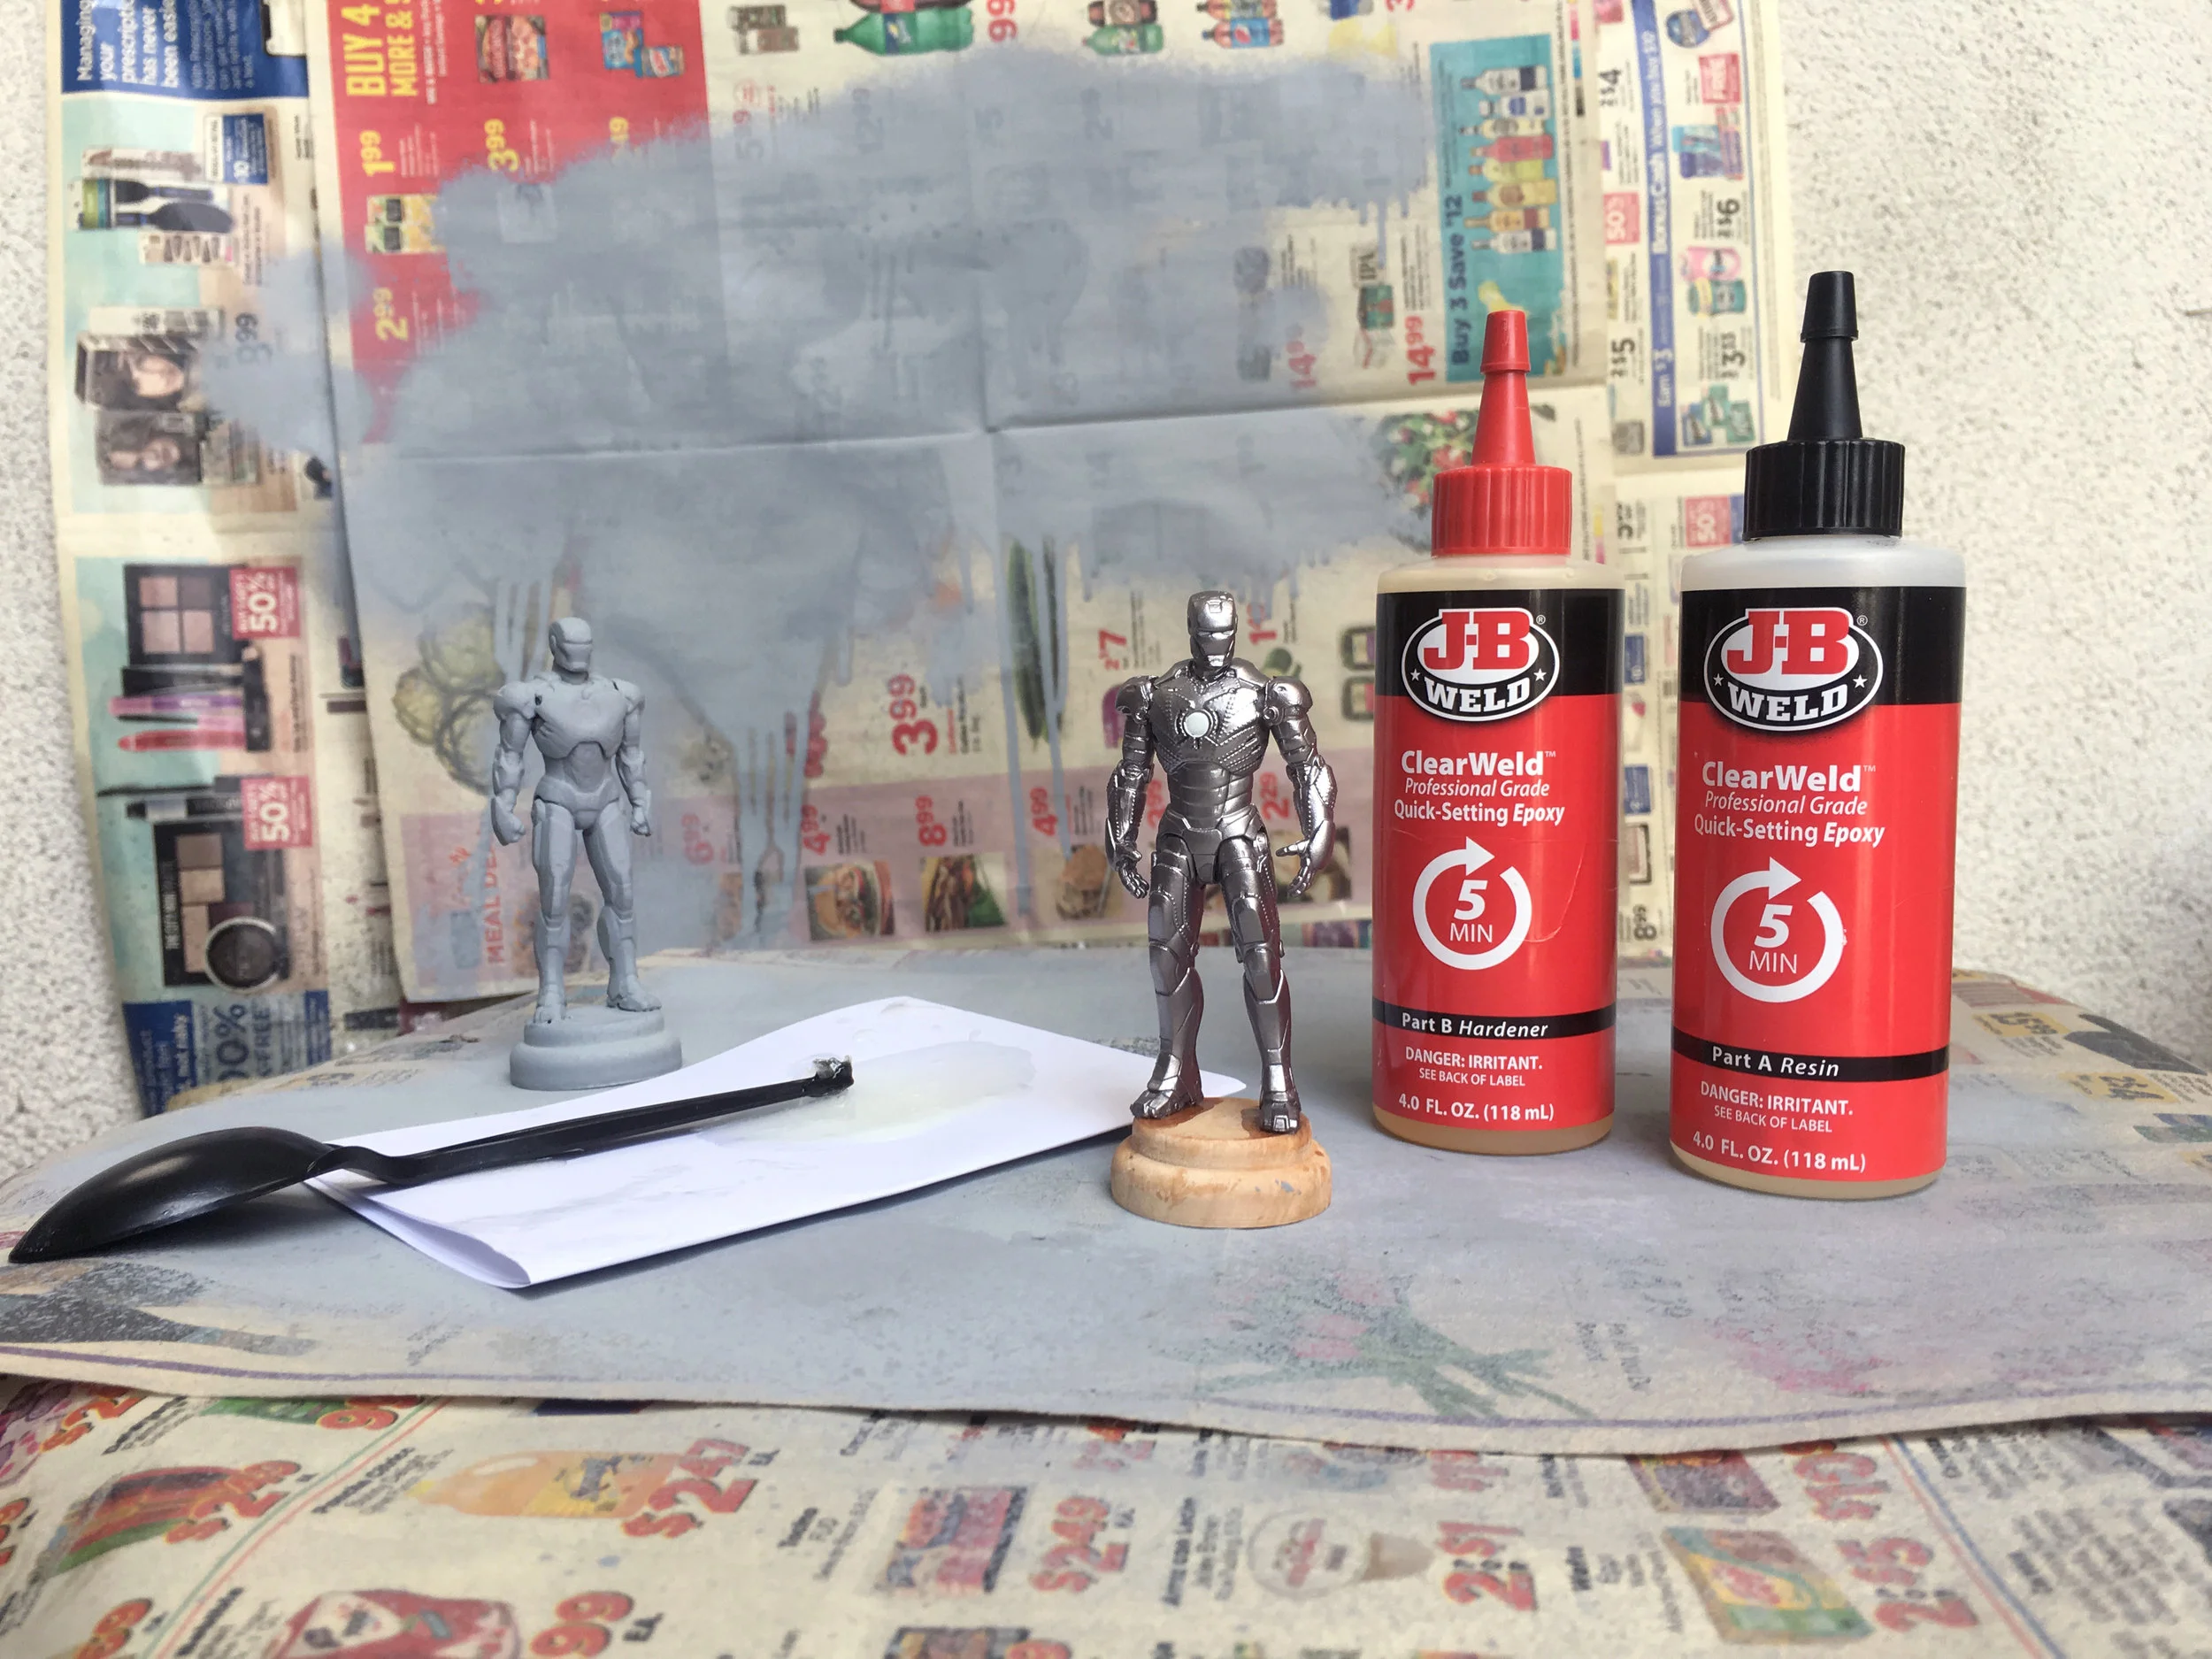
3) First primer coat is used to prepare the surface for spray paint. Automobile primer is used, since it has a higher paint solids content and dries much faster than typical canned primers:

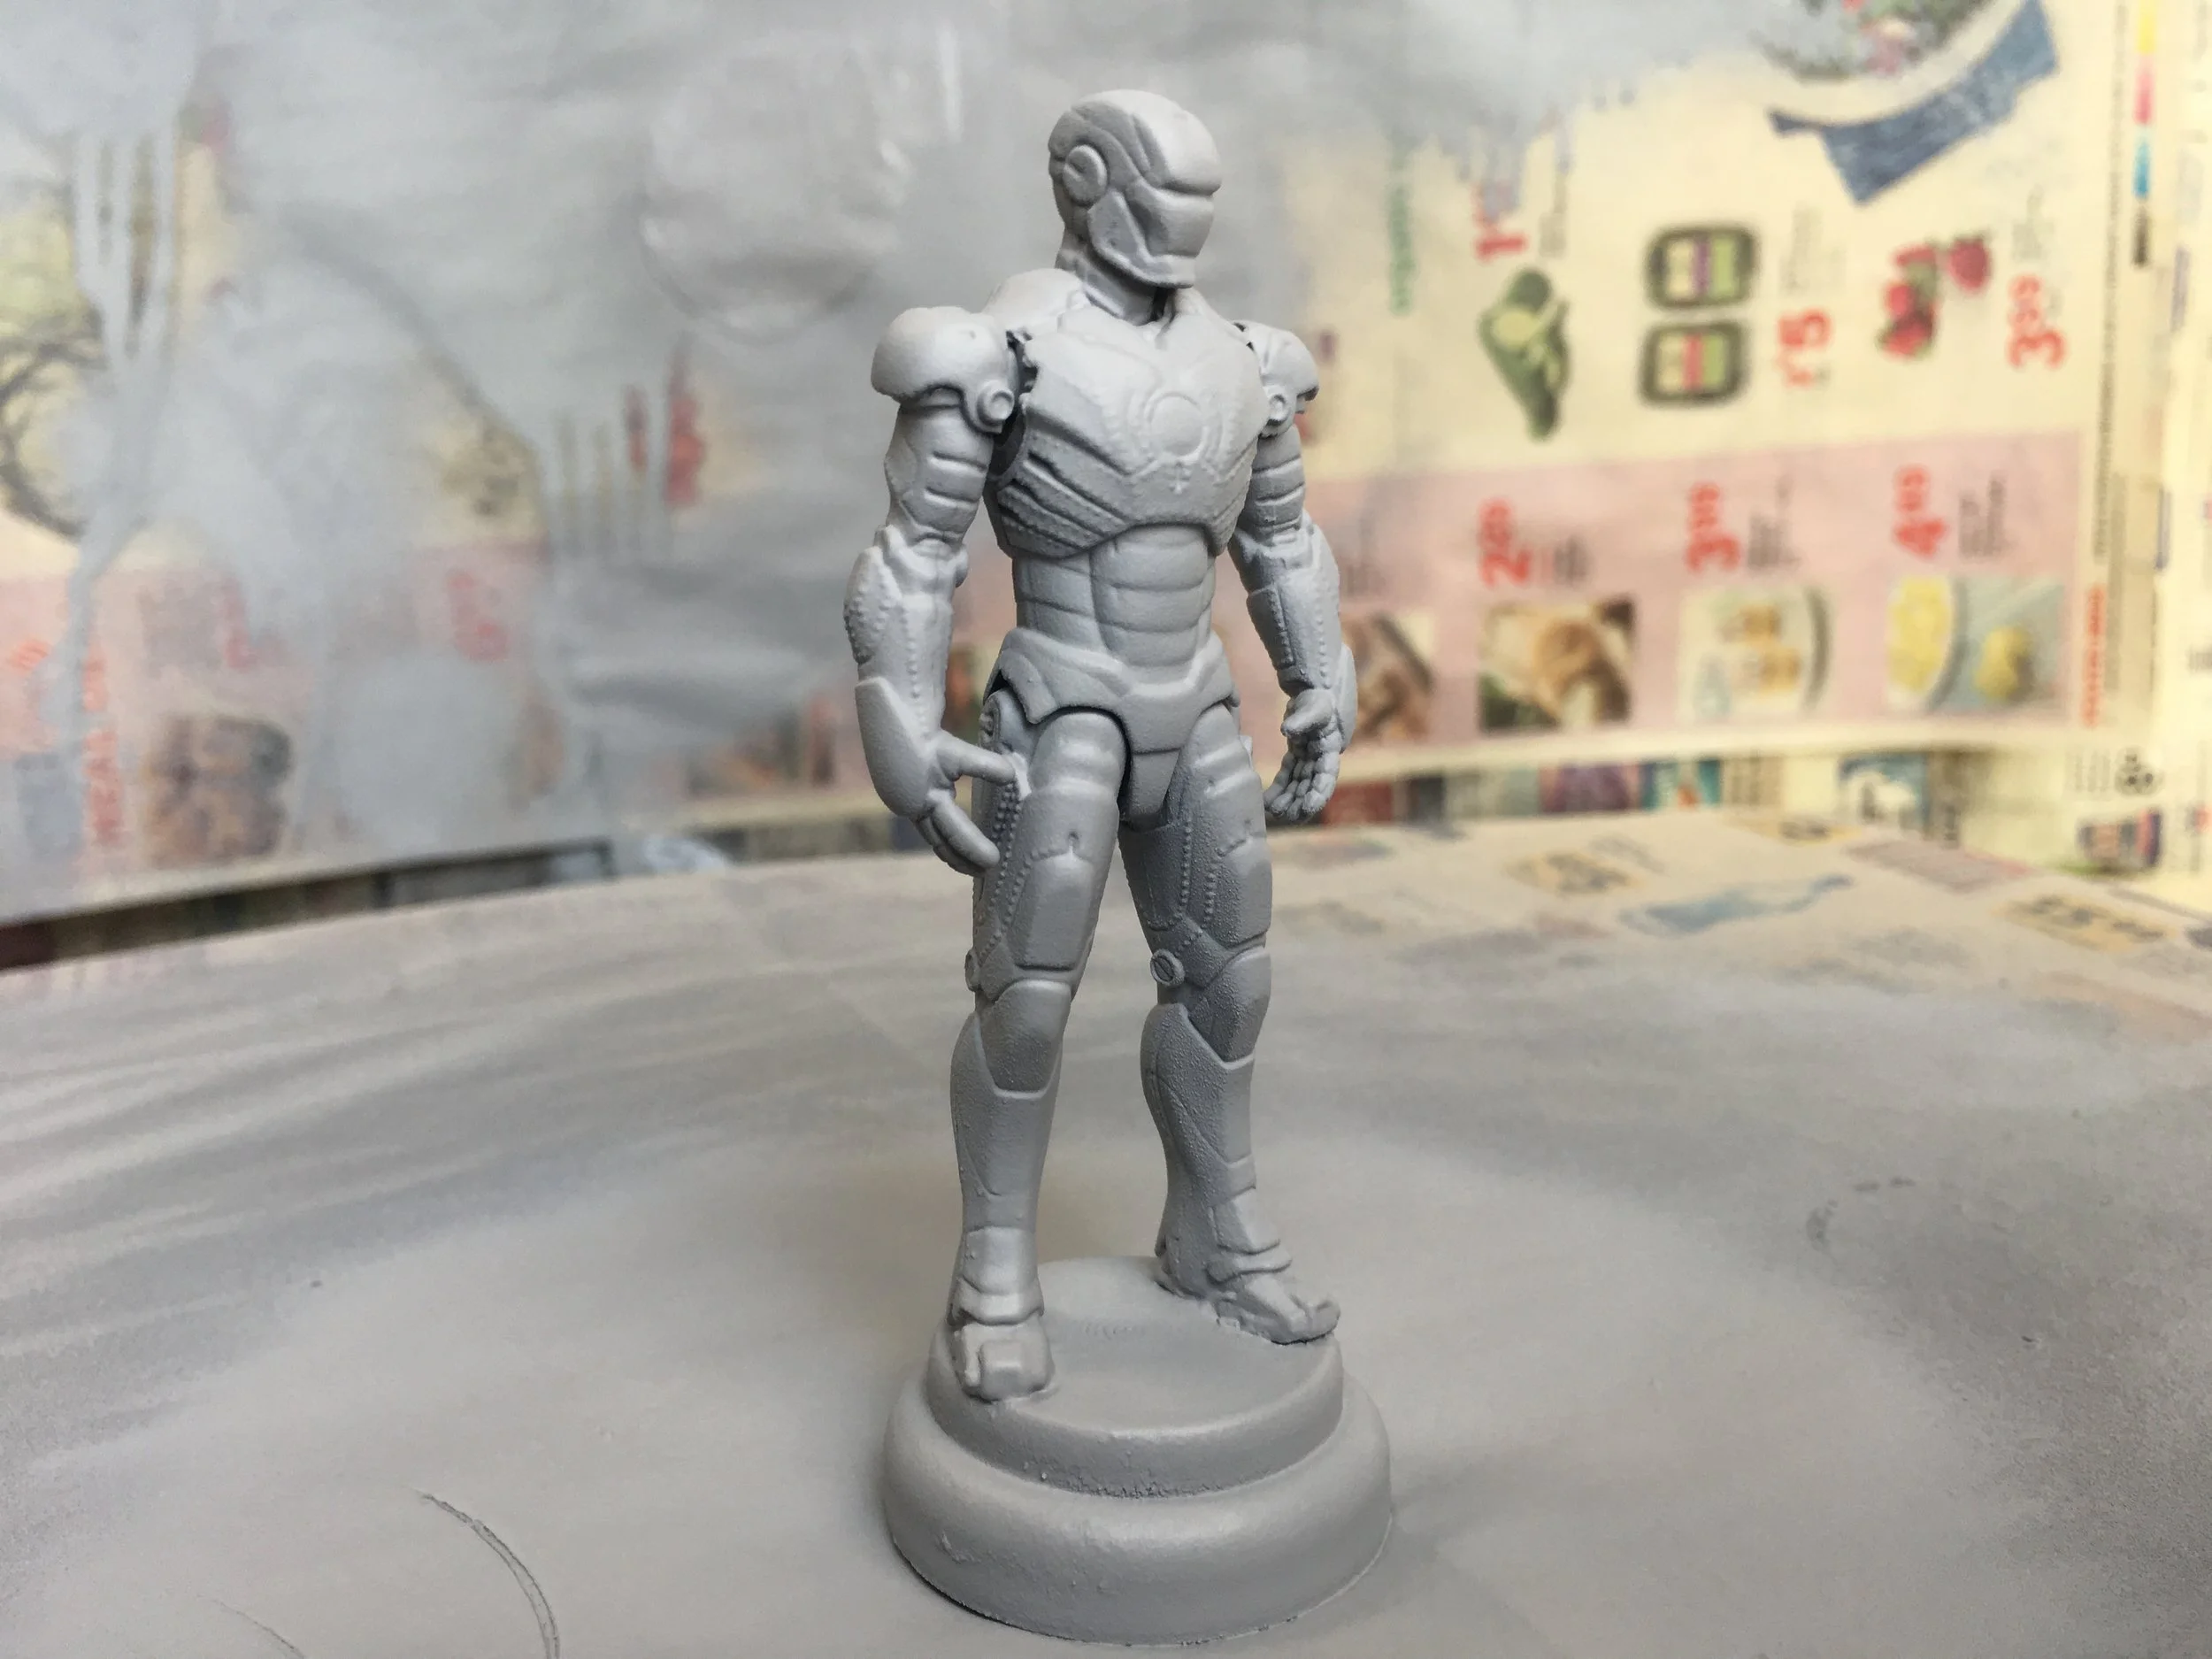
4) Oil Rubbed Bronze metallic paint coat is applied after the primer is allowed to fully dry:

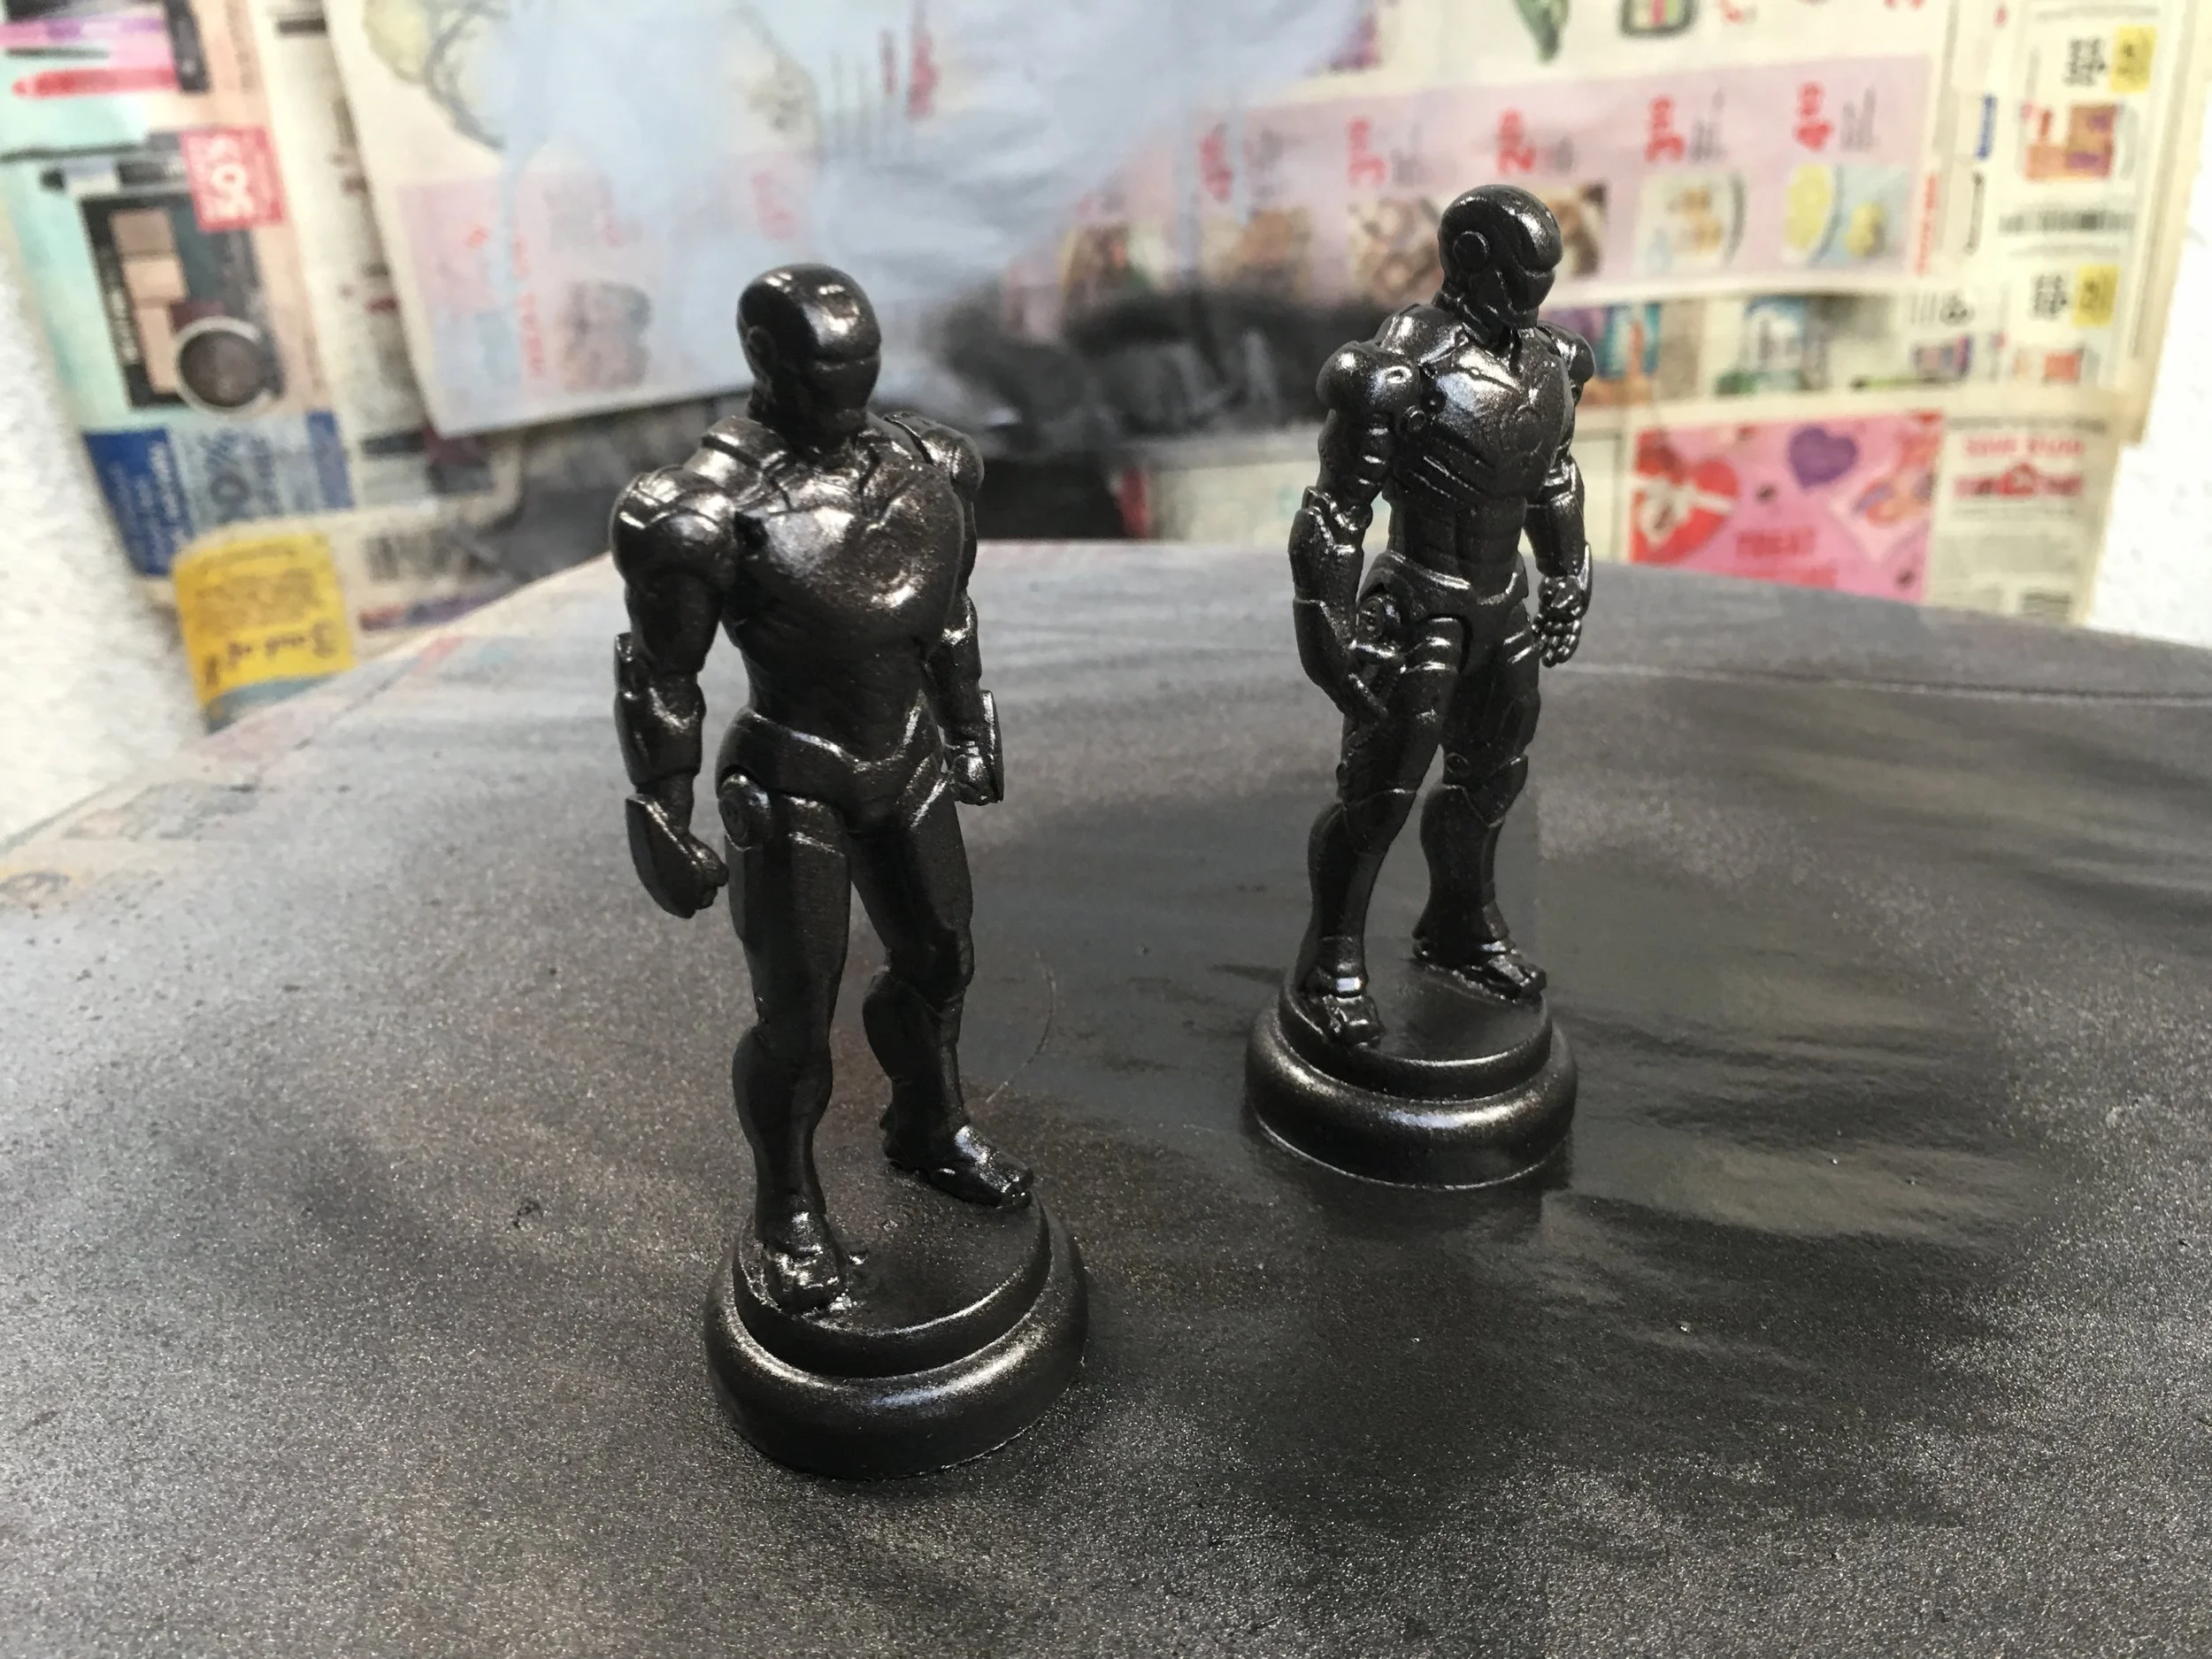
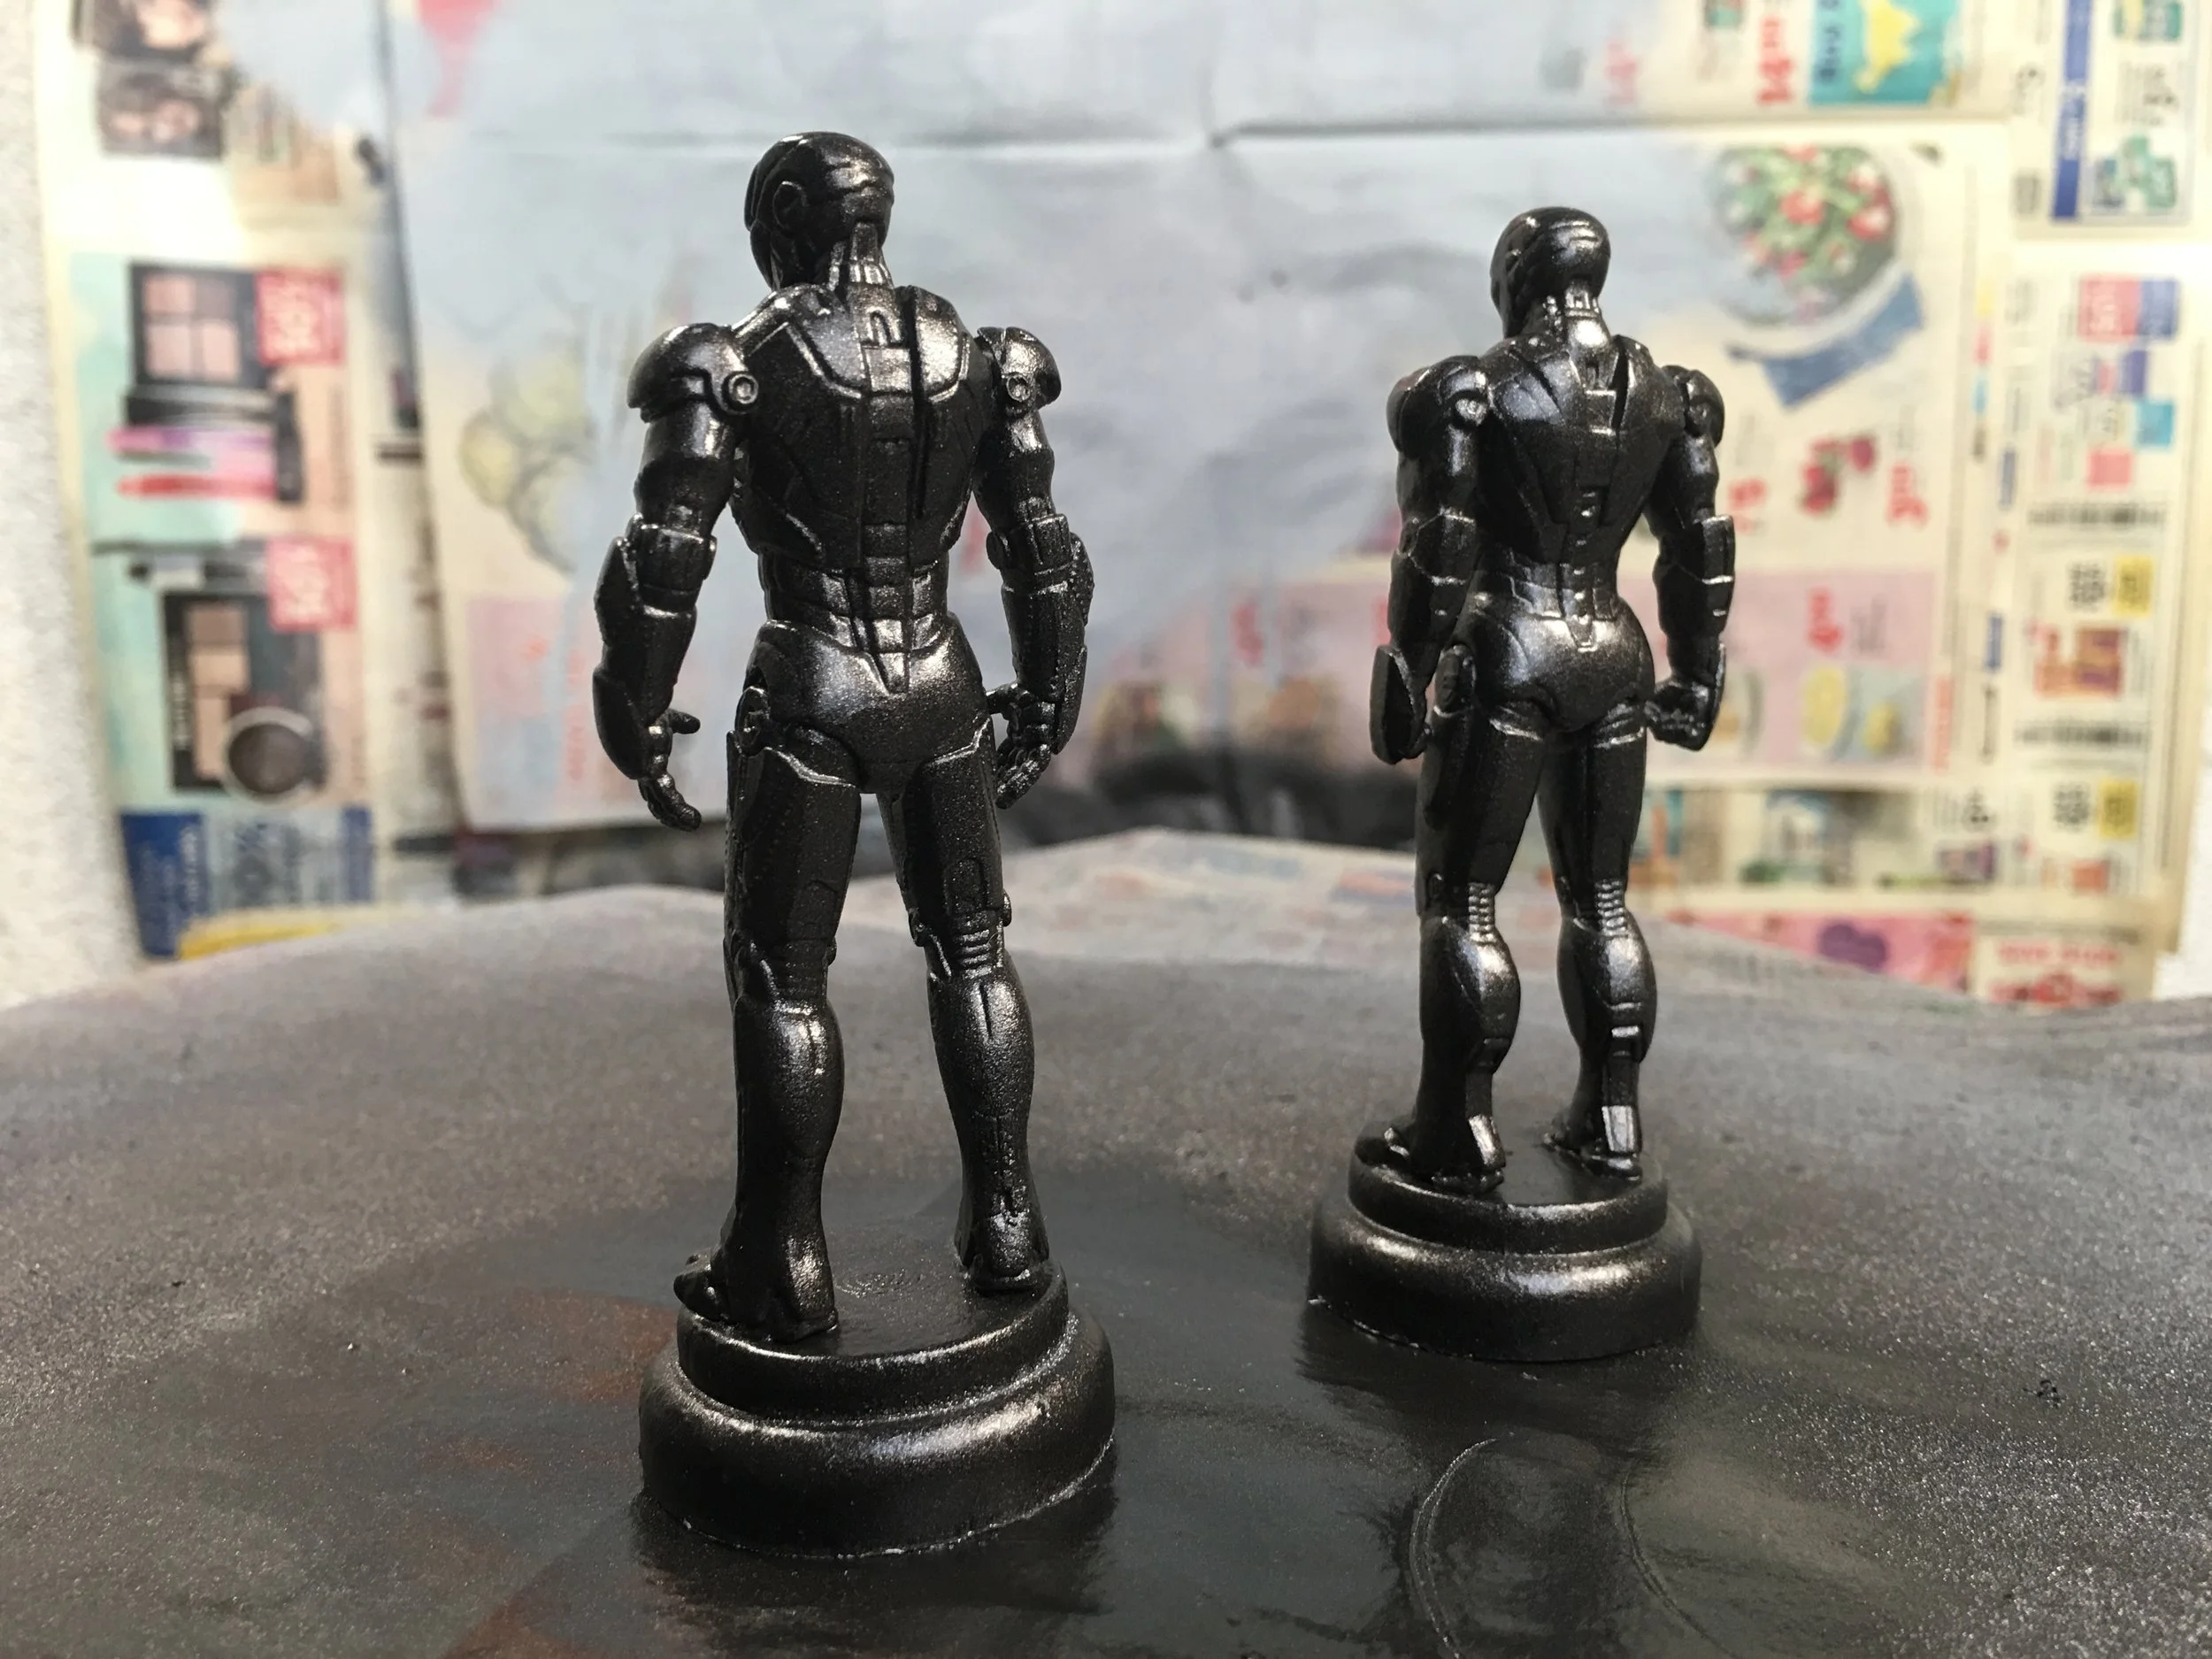
5) After the base paint coat is allowed to fully dry (5-10 hours), a final layer of Testor’s arcylic enamel paint is applied to give a convincing weathering effect:

Take your Maker game to the next level with The Maker's Field Guide: Master Maker Edition!
More step-by-step pro builds like this one can be found in the all new Master Maker edition of The Maker's Field Guide — available now as both a book & ebook in the online store. Take your maker game to the next level and become a true design, model making, and fabrication master!

Bronze Mini Samurai Armor Statue — Master Build Process
In this full step-by-step build process, we’ll reveal the assembly & painting of a Japanese model kit from start to finish.
Samurai armor is one of the most iconic protective armors used in battle throughout history, and is an iconic symbol of Japan, as well as of the warrior spirit. In this full step-by-step build process, we’ll reveal the assembly & painting of a Japanese model kit from start to finish. The final icing on the cake will be a final bronze coat of paint, which gives this model the effect of having been weathered by the elements throughout the ages. I personally love this effect, because it is super simple and can instantly give a luxurious, sophisticated appeal to any model, 3d print or art piece. Anyone can use the process I’ve perfected in this video to achieve dramatic effects in his or her own models. Some of the key fundamentals of model making are covered here, including gluing, collecting photo research, sanding, preparation and final paint application.
Materials used in this build:
-Resin Samurai model kit (www.aliexpress.com)
-PROkleber Hot Glue Gun (www.amazon.com)
-Rust-Oleum Automobile Primer (Light Gray)
-Rust-Oleum Universal Metallic Paint (Oil Rubbed Bronze)
-Testors Acrylic Enamel (Flat Brass)
1) This build starts off with an unassembled resin model kit. Even though this is a small 3” model, the kit had quite a few parts, each with an impressive amount of detail. Mold flashing will need to be trimmed off with an X-Acto knife before assembly:

2) The assembled model, bonded together with hot glue. I would usually apply a coat of automobile primer here, but opted to go straight to the rattle can paint instead. Paper is laid down to protect from paint overspray:

3) Below is a collection of real-world bronze weathering reference imagery, which I took from a trip to Disneyland. There’s nothing like studying from real-life reference, sine this will give this model an air of ultra-realistic authenticity. This reference will be critical to get the realistic bronze effects just right:

4) The first base paint coat of Rust-Oleum Metallic Oil Rubbed Bronze is applied in three light to medium coats, a few minutes apart. A few minutes later, the final layer of paint is applied. The base of the model is rotated to reach all angles evenly, since you NEVER want to touch a model while it is still wet:
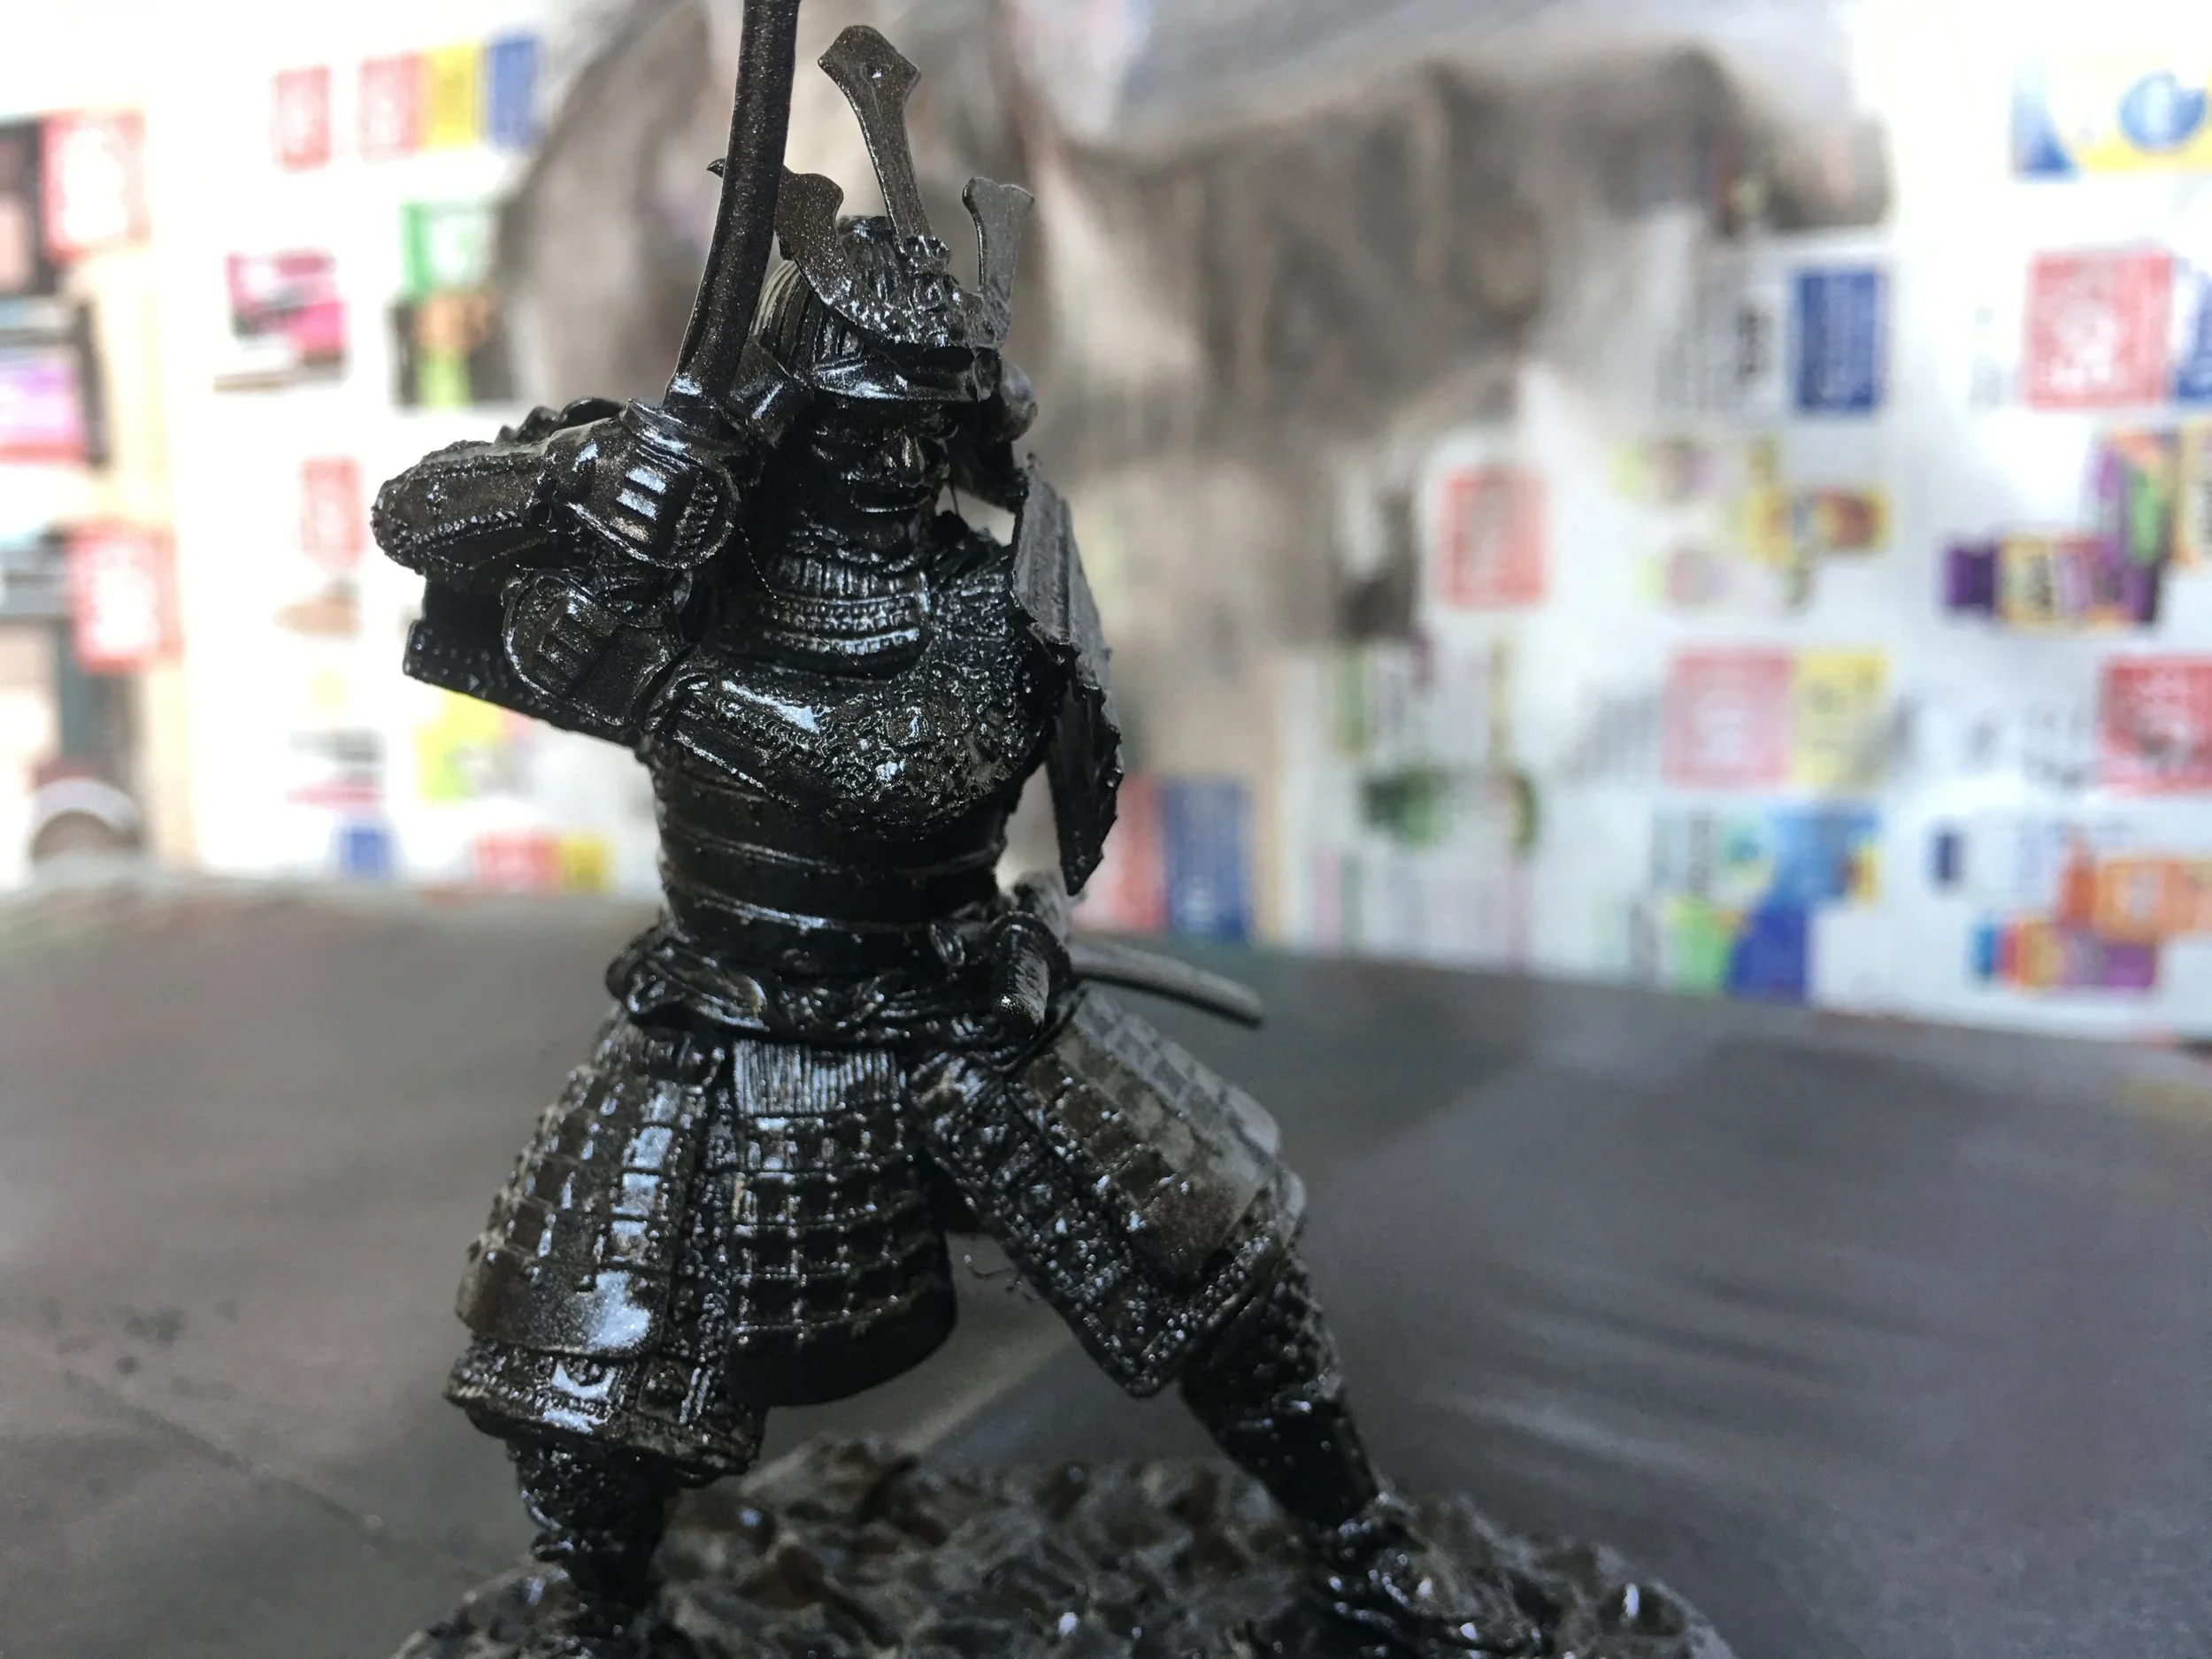
5) After allowing the paint enough time to dry to touch, the underside of the model is sprayed and left to dry on a makeshift drying rack (T.P. rolls). This layer is given a few hours to dry before moving onto the next step:

6) The base paint layer after allowing to dry upside down for a few hours — now ready for bronze highlights:
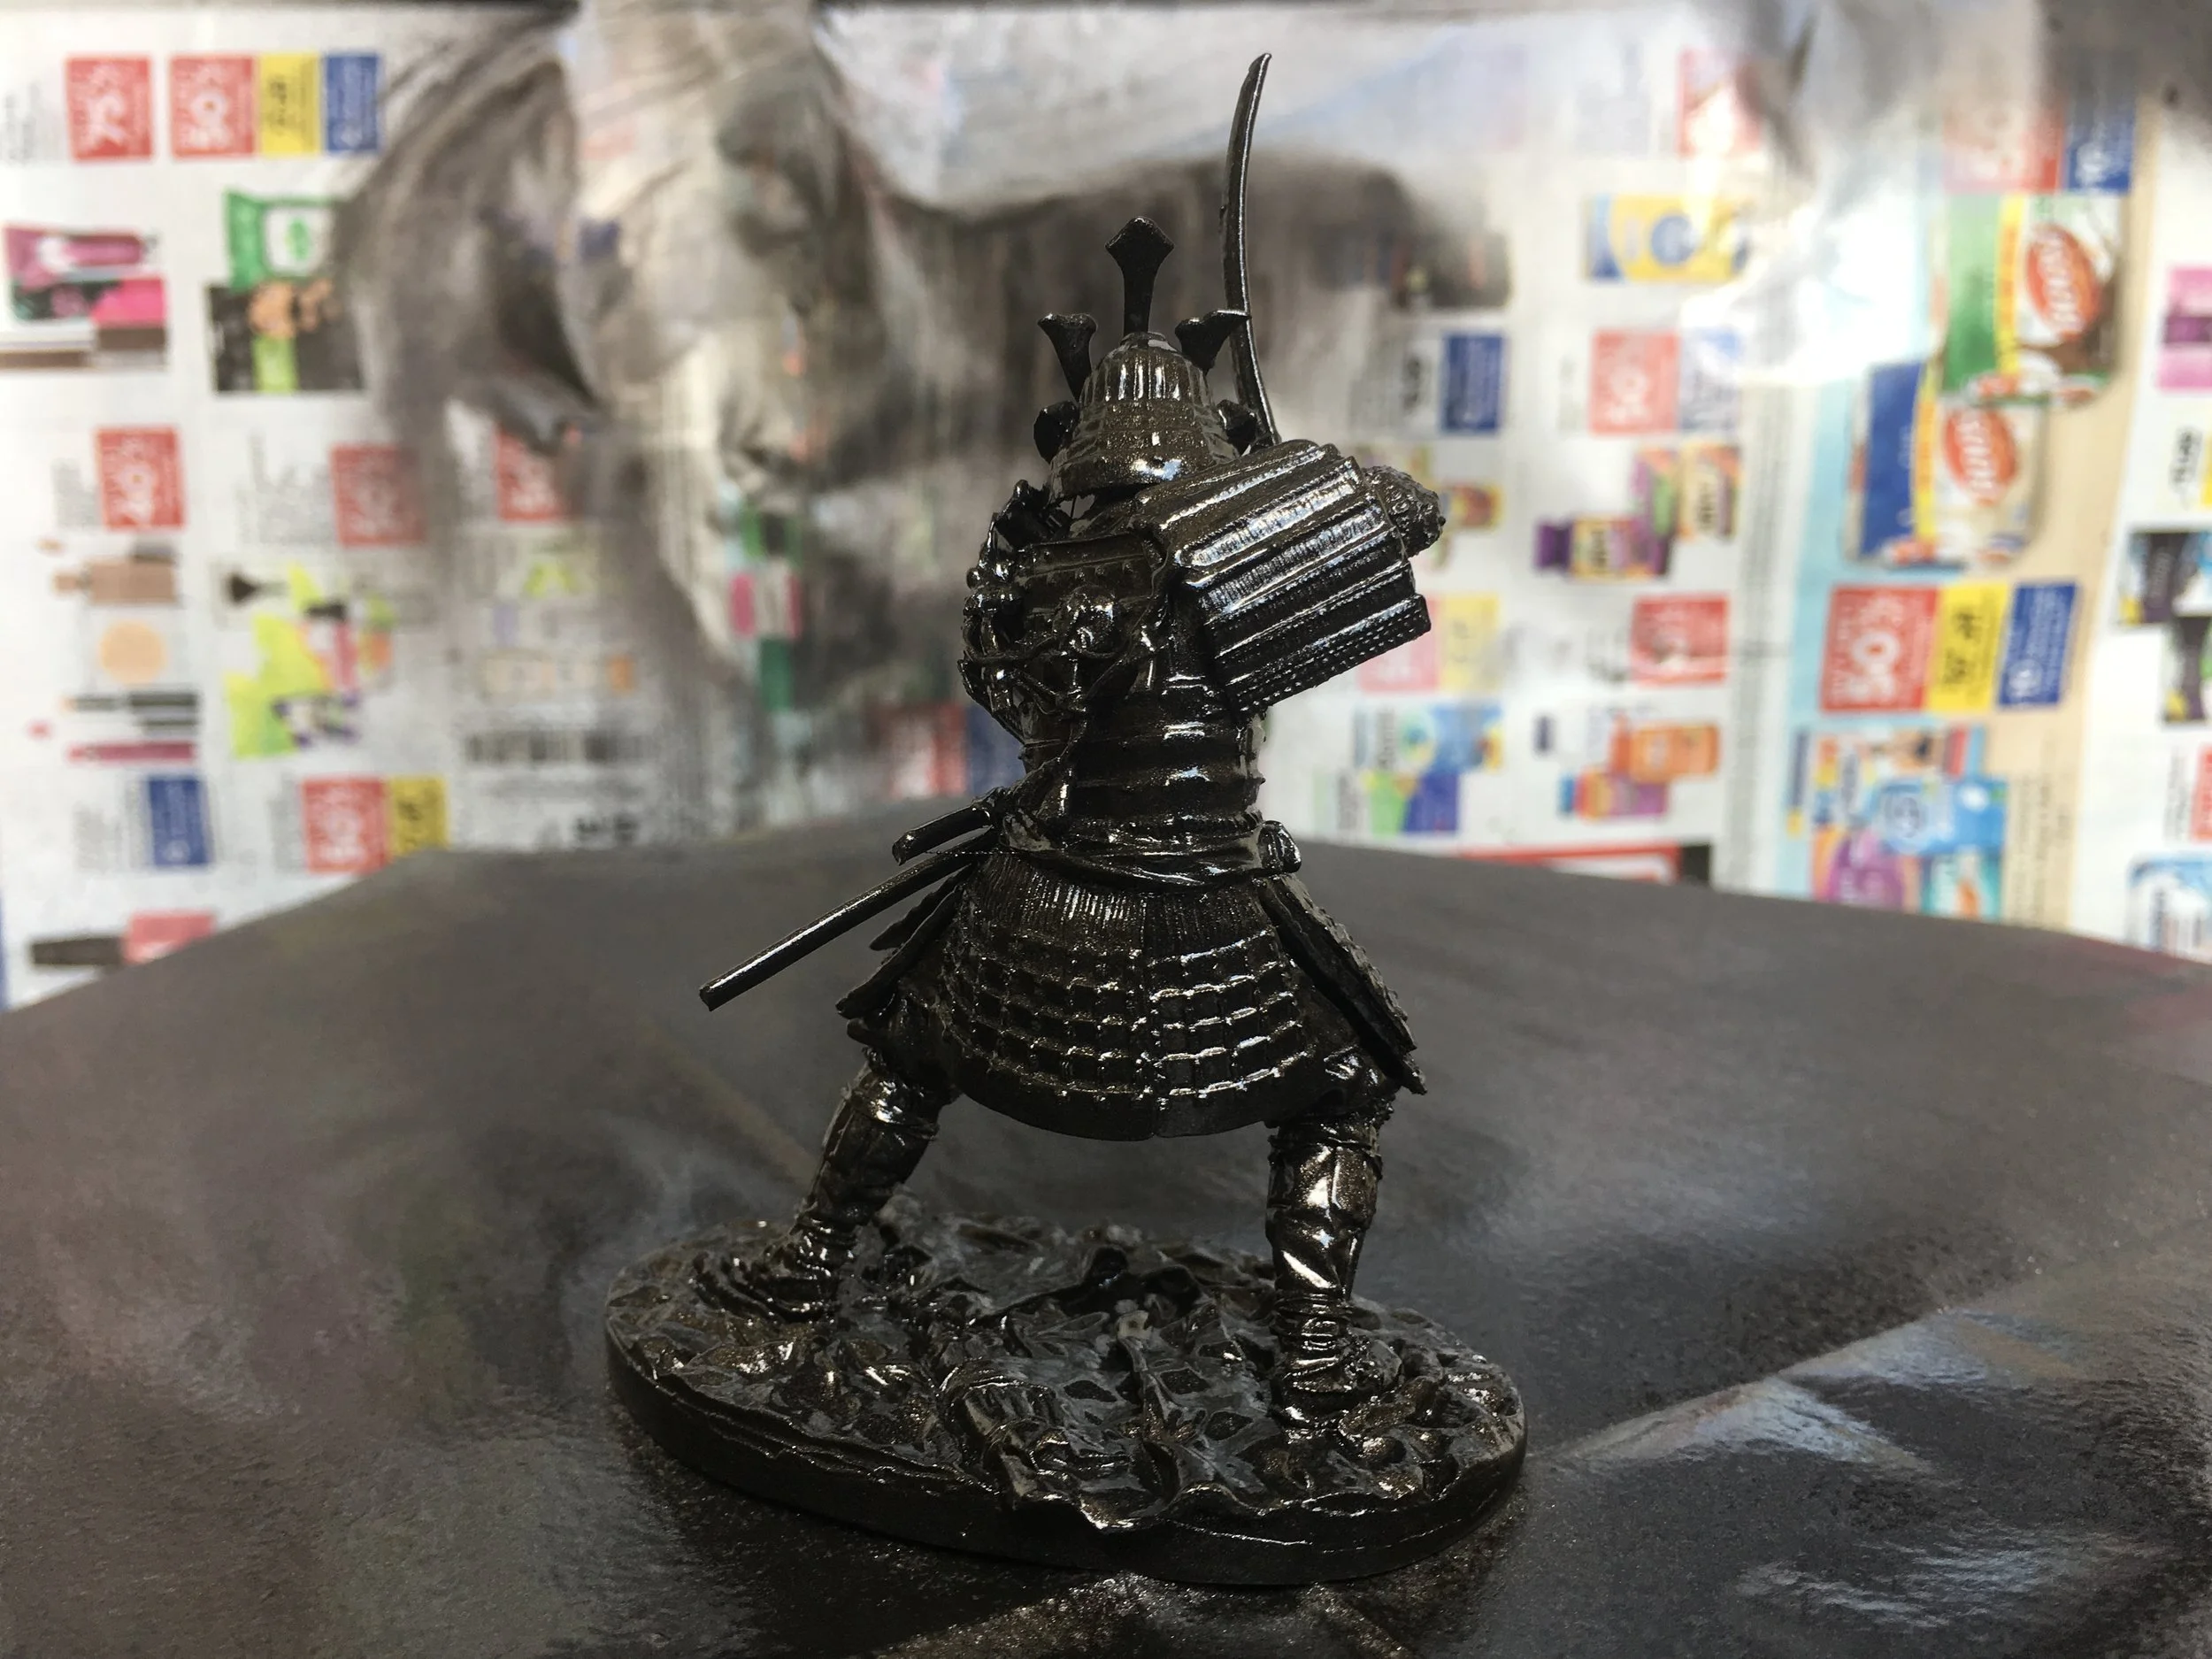
7) As a final paint application, I use Testors Flat Brass color acrylic enamel paint, lighting dabbed on with a paper towel. A Q-Tip is then used to paint in all of the hard to reach crevices. Like the bronze statue reference from Disneyland, the brass effects are only applied to areas that are facing up to the sky — which would likely be touched by tourists or passers by, which would give this sort of weathered effect. A little bit of the brass highlights goes a long way here, so be careful not to do overdo it:

8) And Voilà — the 3” statue now has the incredible look of a life-sized samurai statue, which has been sitting in an ancient courtyard for hundreds of years. Shout out to DD Hobby for the spectacular level of detail on the casting of this kit — this was a super fun build!
-Chris

Take your Maker game to the next level with The Maker's Field Guide: Master Maker Edition!
More step-by-step pro builds like this one can be found in the all new Master Maker edition of The Maker's Field Guide — available now as both a book & ebook in the online store. Take your maker game to the next level and become a true design, model making, and fabrication Samurai warrior!

Amazon Spheres Architectural Design & Prototyping Process
The design process behind these sci-fi offices showcases a fantastic use of rapid prototyping technologies like laser cutting and 3d printing.
If you haven’t been to the Seattle area recently, you may not be familiar with the Amazon Spheres. These sci-fi co-working offices showcase a fantastic use of rapid prototyping technologies like laser cutting and 3d printing in the early design stages, used to build an initial scale model of the “catalan” modules, which give the domes a pentagonal skeleton structure.
Source: Wall Street Journal
Architectural firm: NBBJ

Building up parts on the pentagonal scale model structure using laser cut wood and paper cardstock:


These laser cut parts are later transformed into 3d Printed Catalan Module - or 'elongated pentagon' building block:
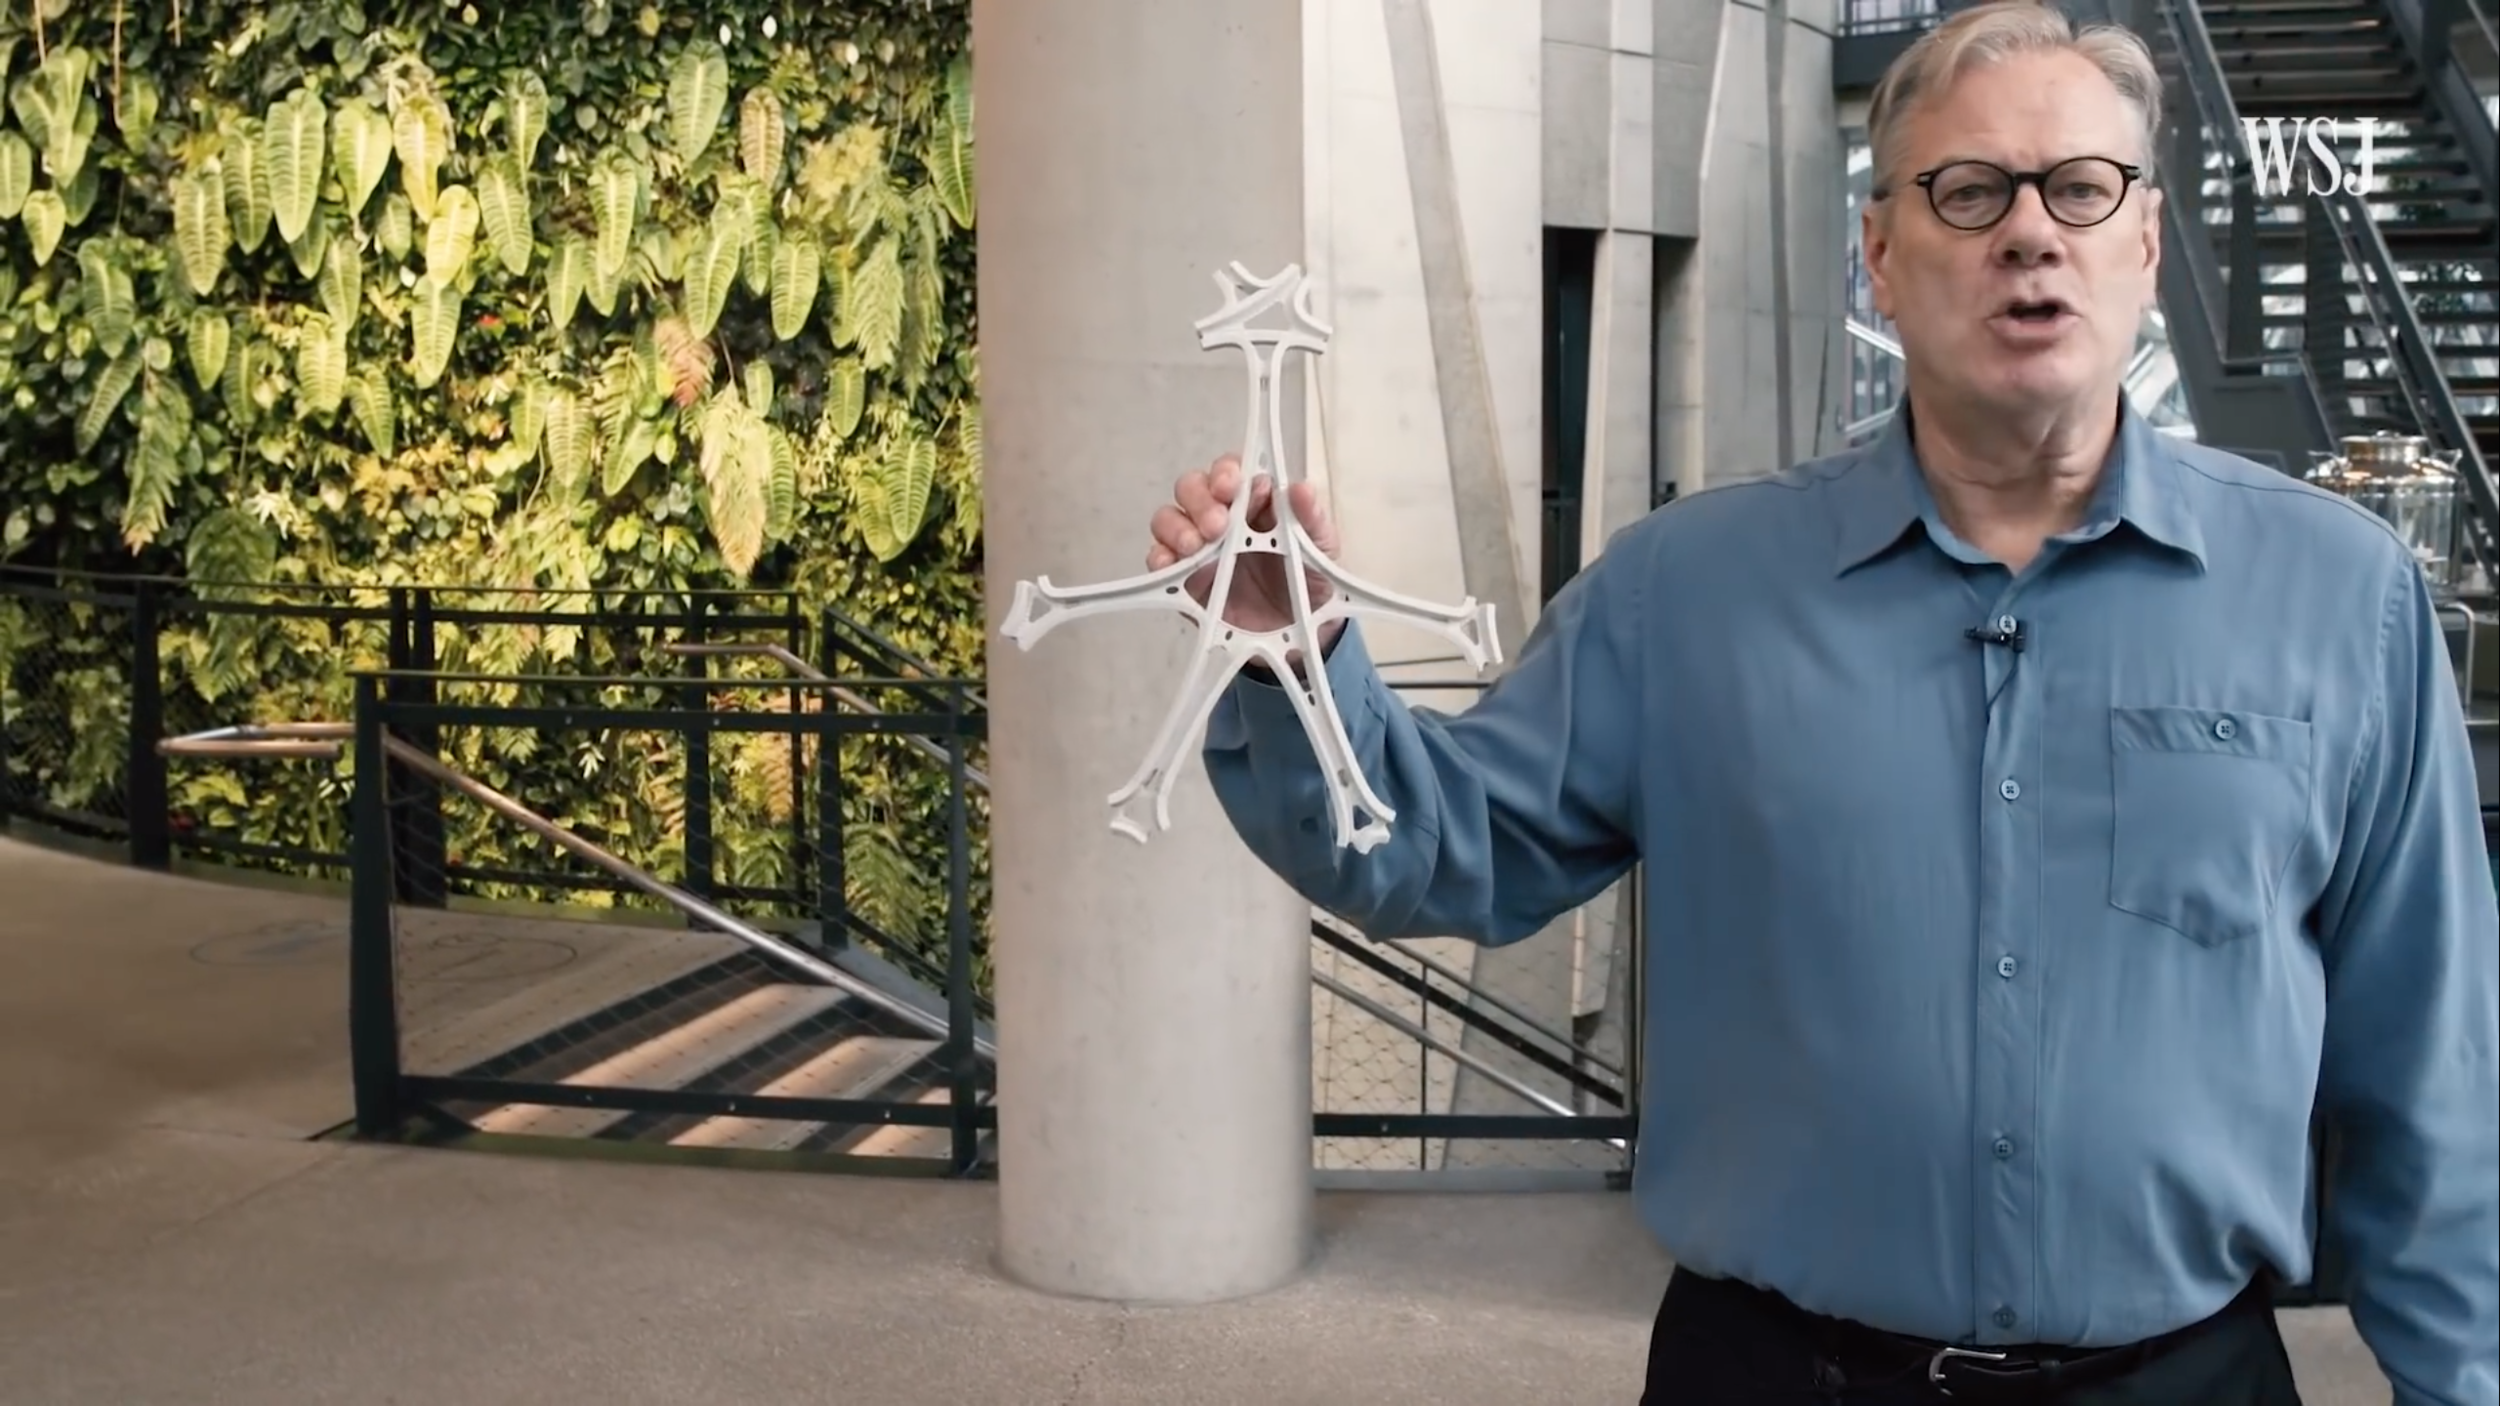

Finally, the small scale 3d-printed prototypes are then realized as 1:1 full scale interlocking steel structural parts:


The space is designed to be an alternate environment for amazon executives and employees, giving them a natural green space to work from — all in the sake of helping spark productivity, creativity, and reducing stress:


The Maker's Field Guide: Master Maker Edition is now available!
More on laser cutting, 3d printing, and many more rapid prototyping techniques and more can be found in The Master Maker edition of The Maker's Field Guide. Now available as both a digital ebook or premium quality photography book through the online store.

Making of the Batman Batsuit : Behind the Scenes of a Hollywood Effects Shop
A look into the model shop behind Batman Begins, reveals a highly sophisticated combination of industrial design, foam latex prosthetics, model making, costume design, and technical apparel / fashion design (softgoods or “cut & sew”). Maker’s Rejoice!
I have always had tremendous respect for the amount of labor and quality work that has gone into Hollywood blockbuster films. Even in today’s digital effects world, practical effects lead by teams of propmasters and model makers continue to give an air of believability that simply cannot be simulated through SFX. There’s just nothing like the real thing, right? Throughout the years, I have personally gravitated towards films that lean heavily on the use of practical effects — such as Terminator 2, Iron Man (Stan Winston / Legacy Studios), Oblivion, and Batman.
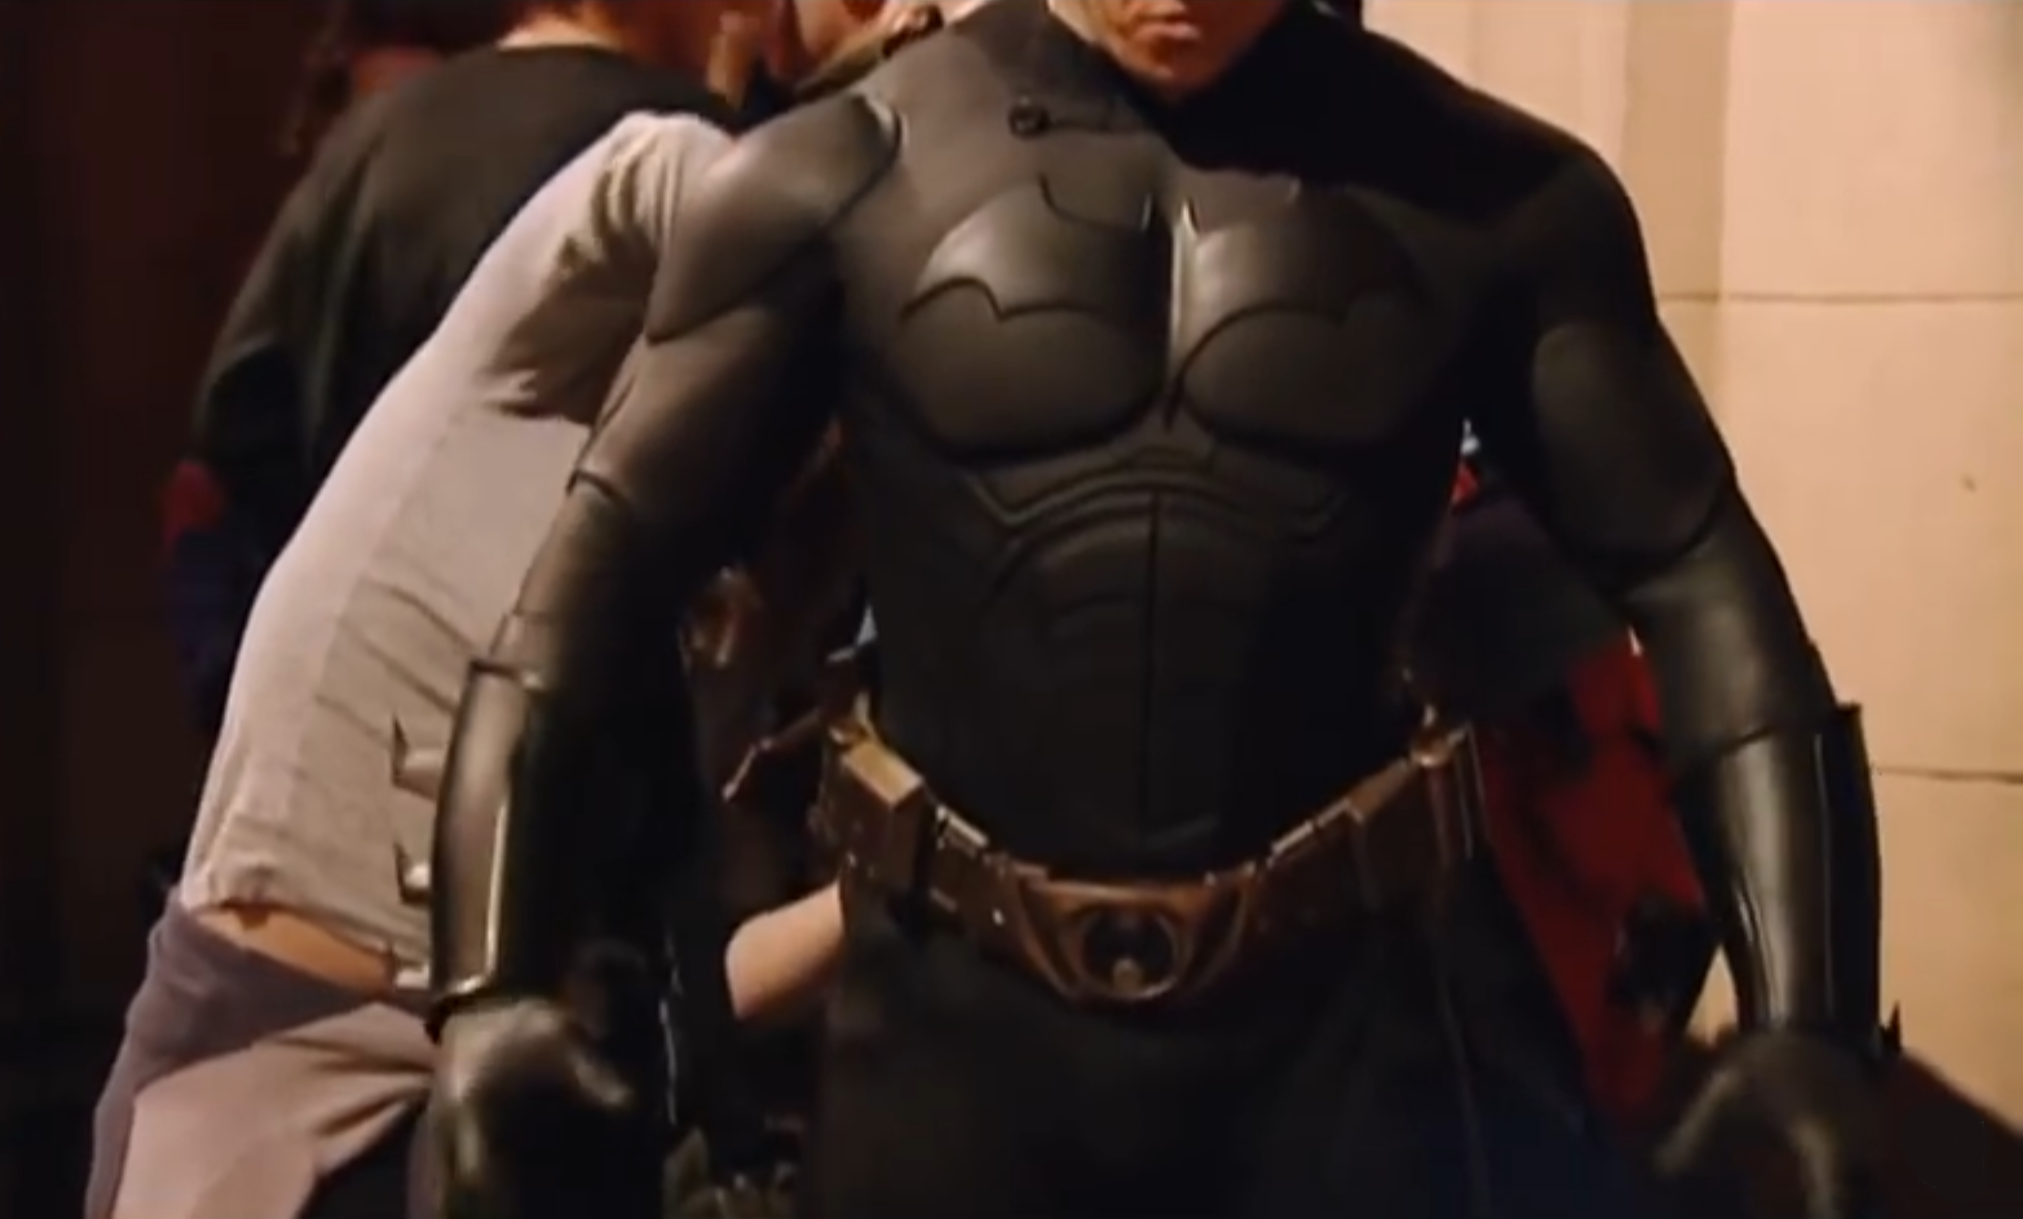
A look into the model shop behind Batman Begins, reveals a highly sophisticated combination of industrial design, foam latex prosthetics, model making, costume design, and technical apparel / fashion design (softgoods or “cut & sew”):
Clay Sculpting
Lifecasting
Bondo Auto Body Filler
RTV Molding & Casting
Fiberglass Composites
Spray Painting
Industrial Sewing
Maker’s Rejoice!
Clay Sculpting:

Bondo Auto Body Filler finishing:
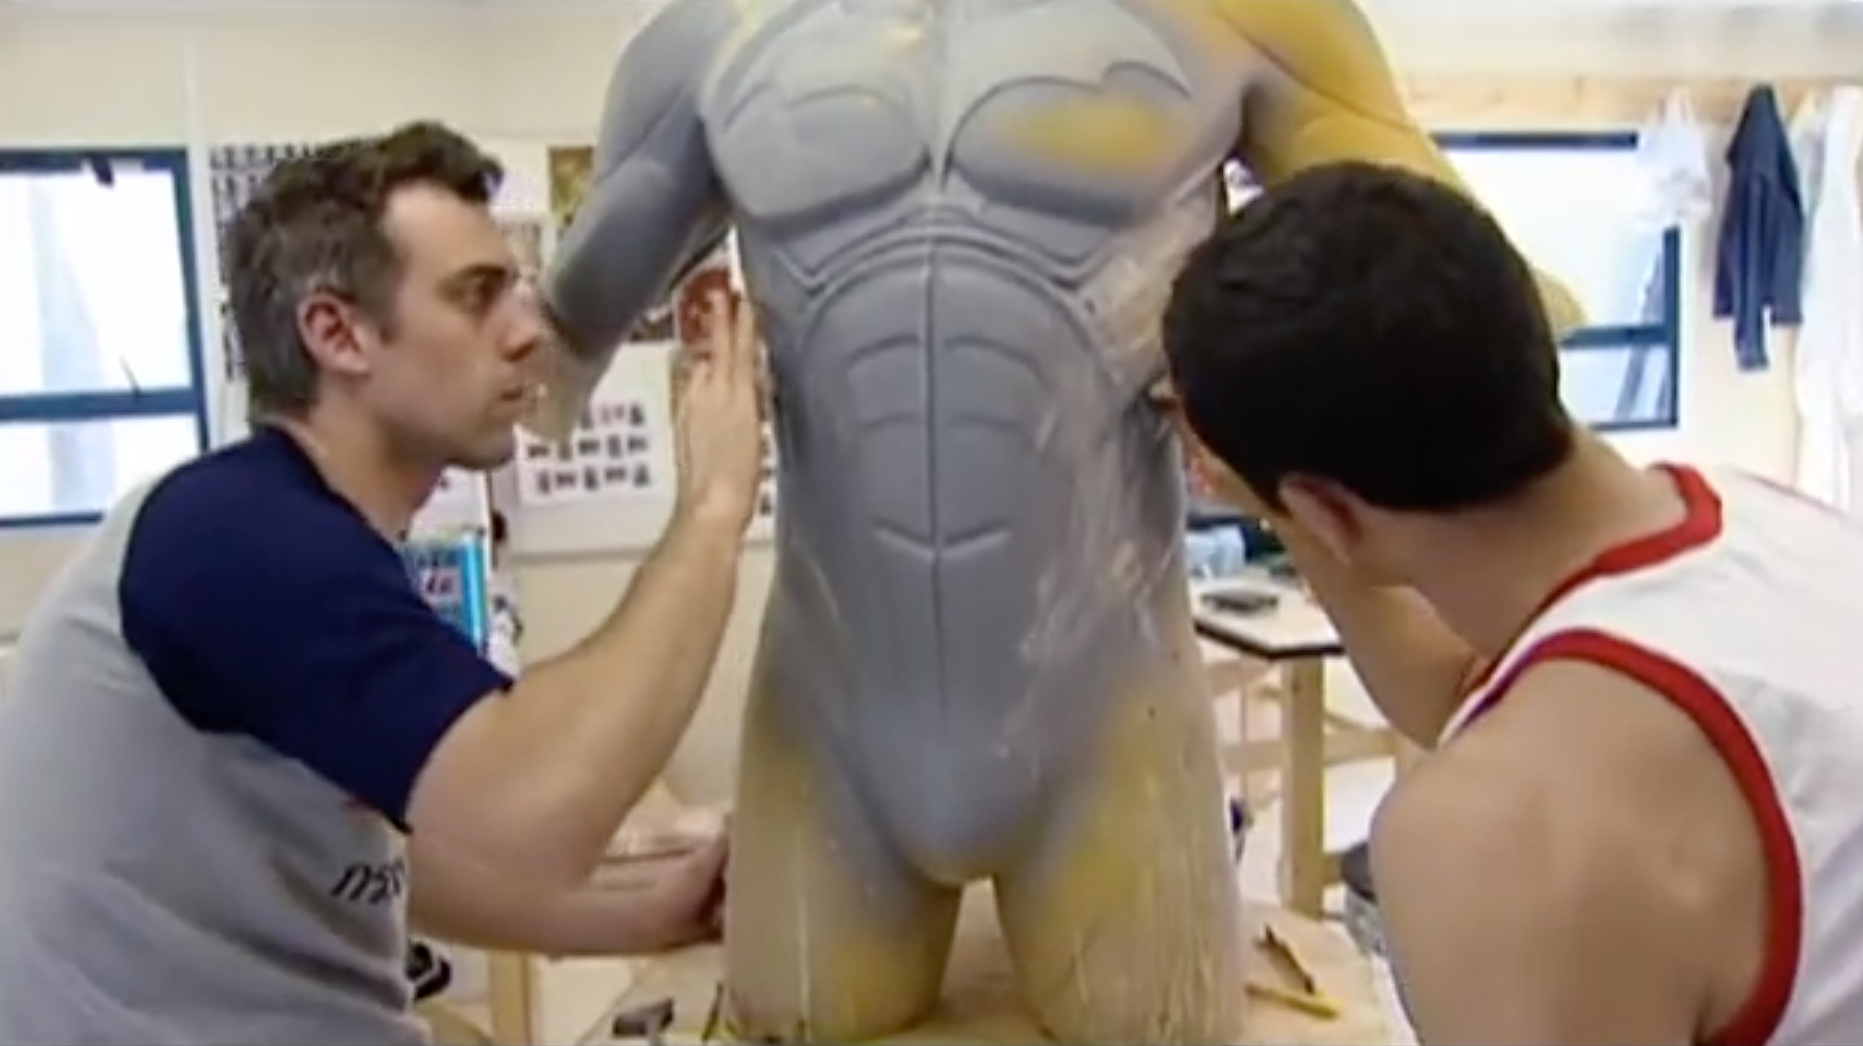

Lifecasting:


RTV Molding & Casting (foam latex):


Fiberglass Composites:


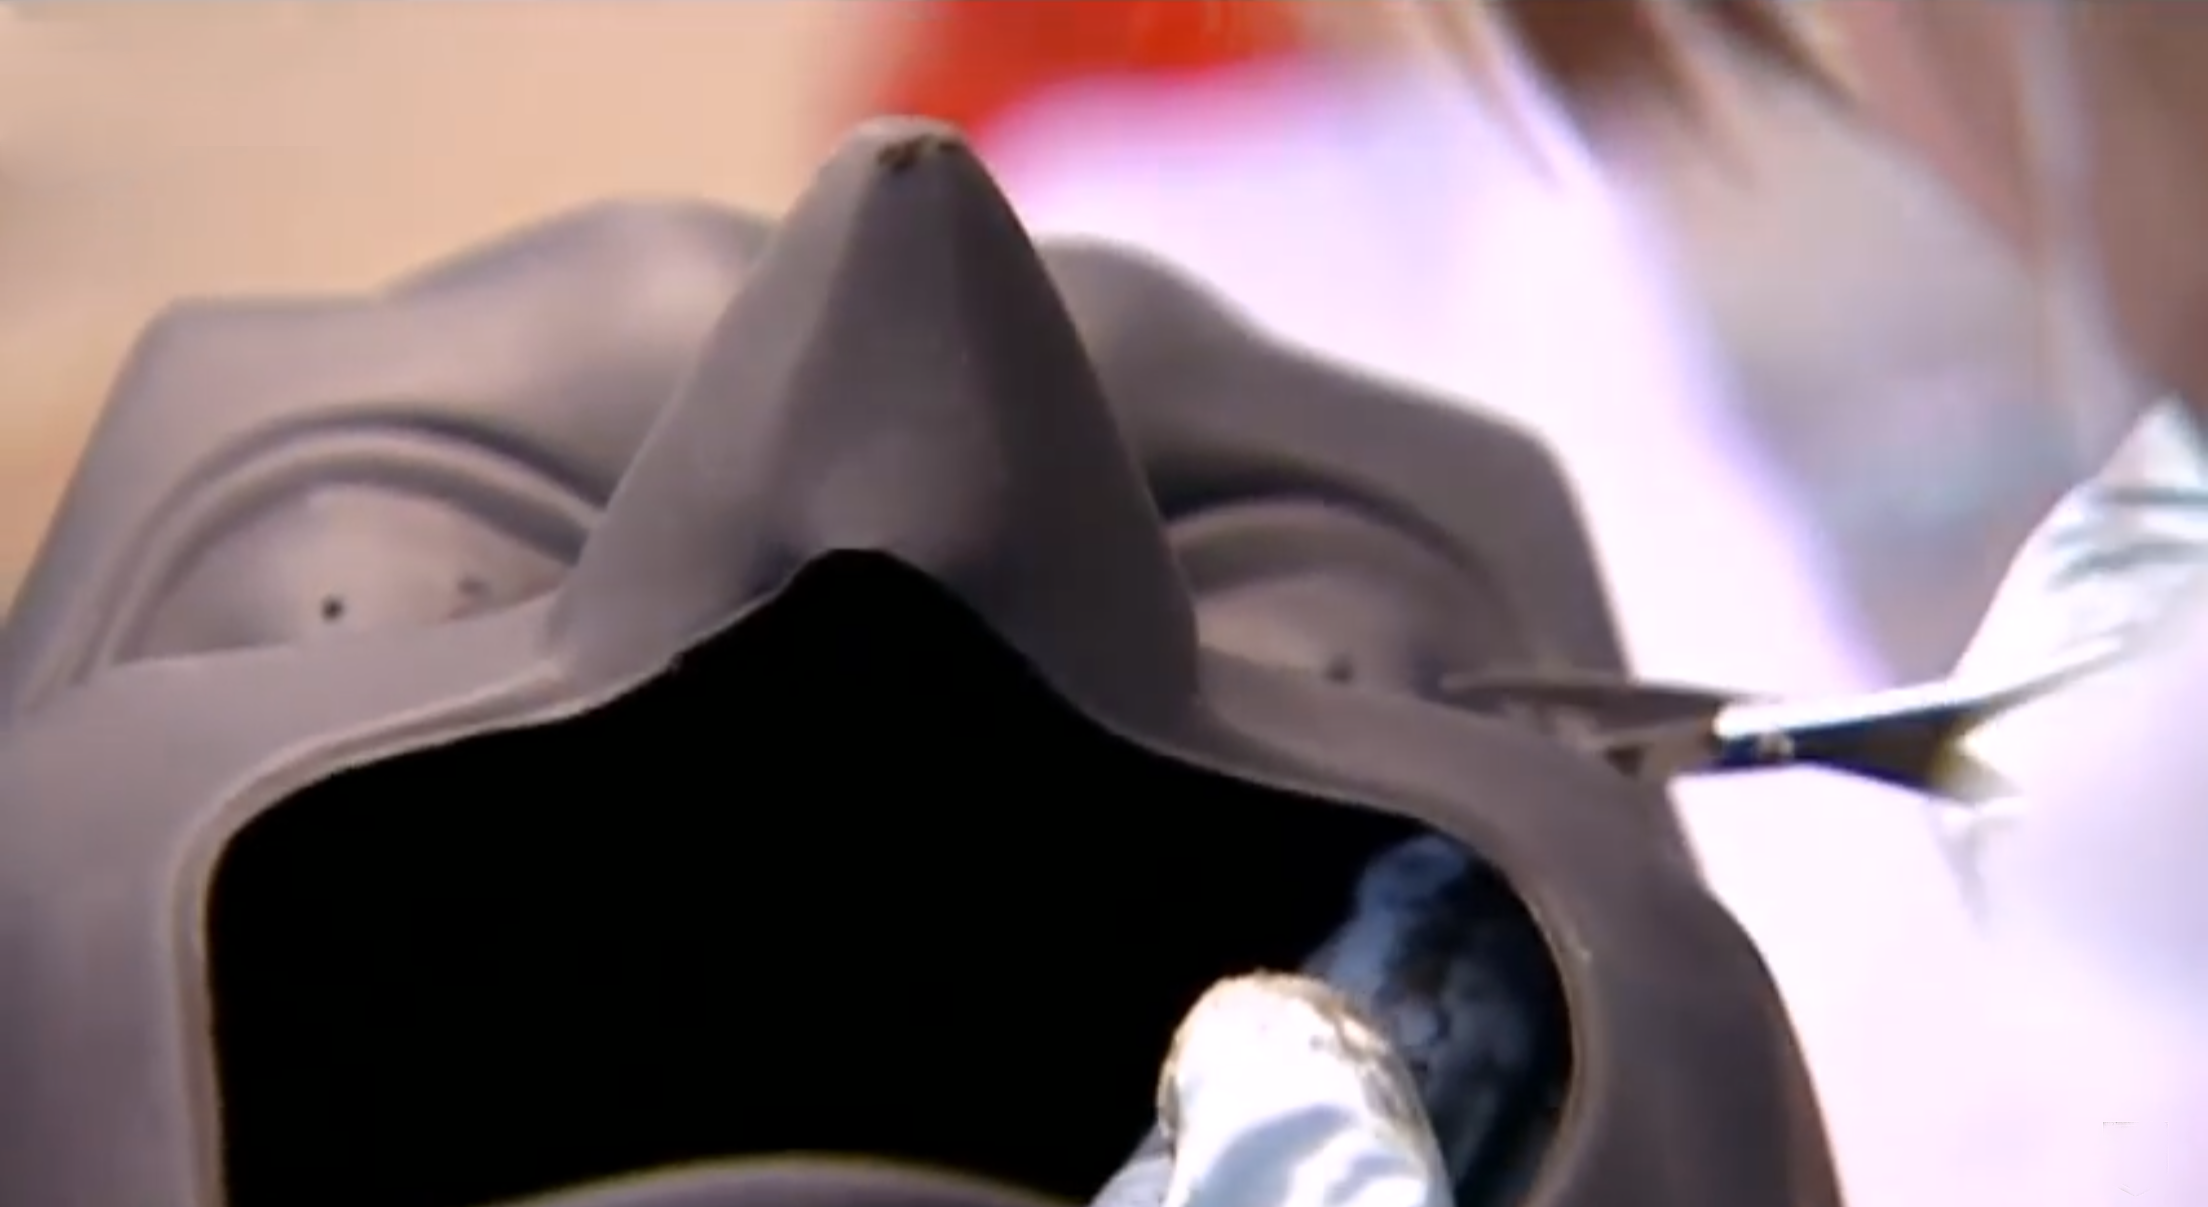

Spray Painting:

Industrial Sewing:


*All content featured in this post is shown strictly for educational learning purposes only. All image rights belong to their respective owners.
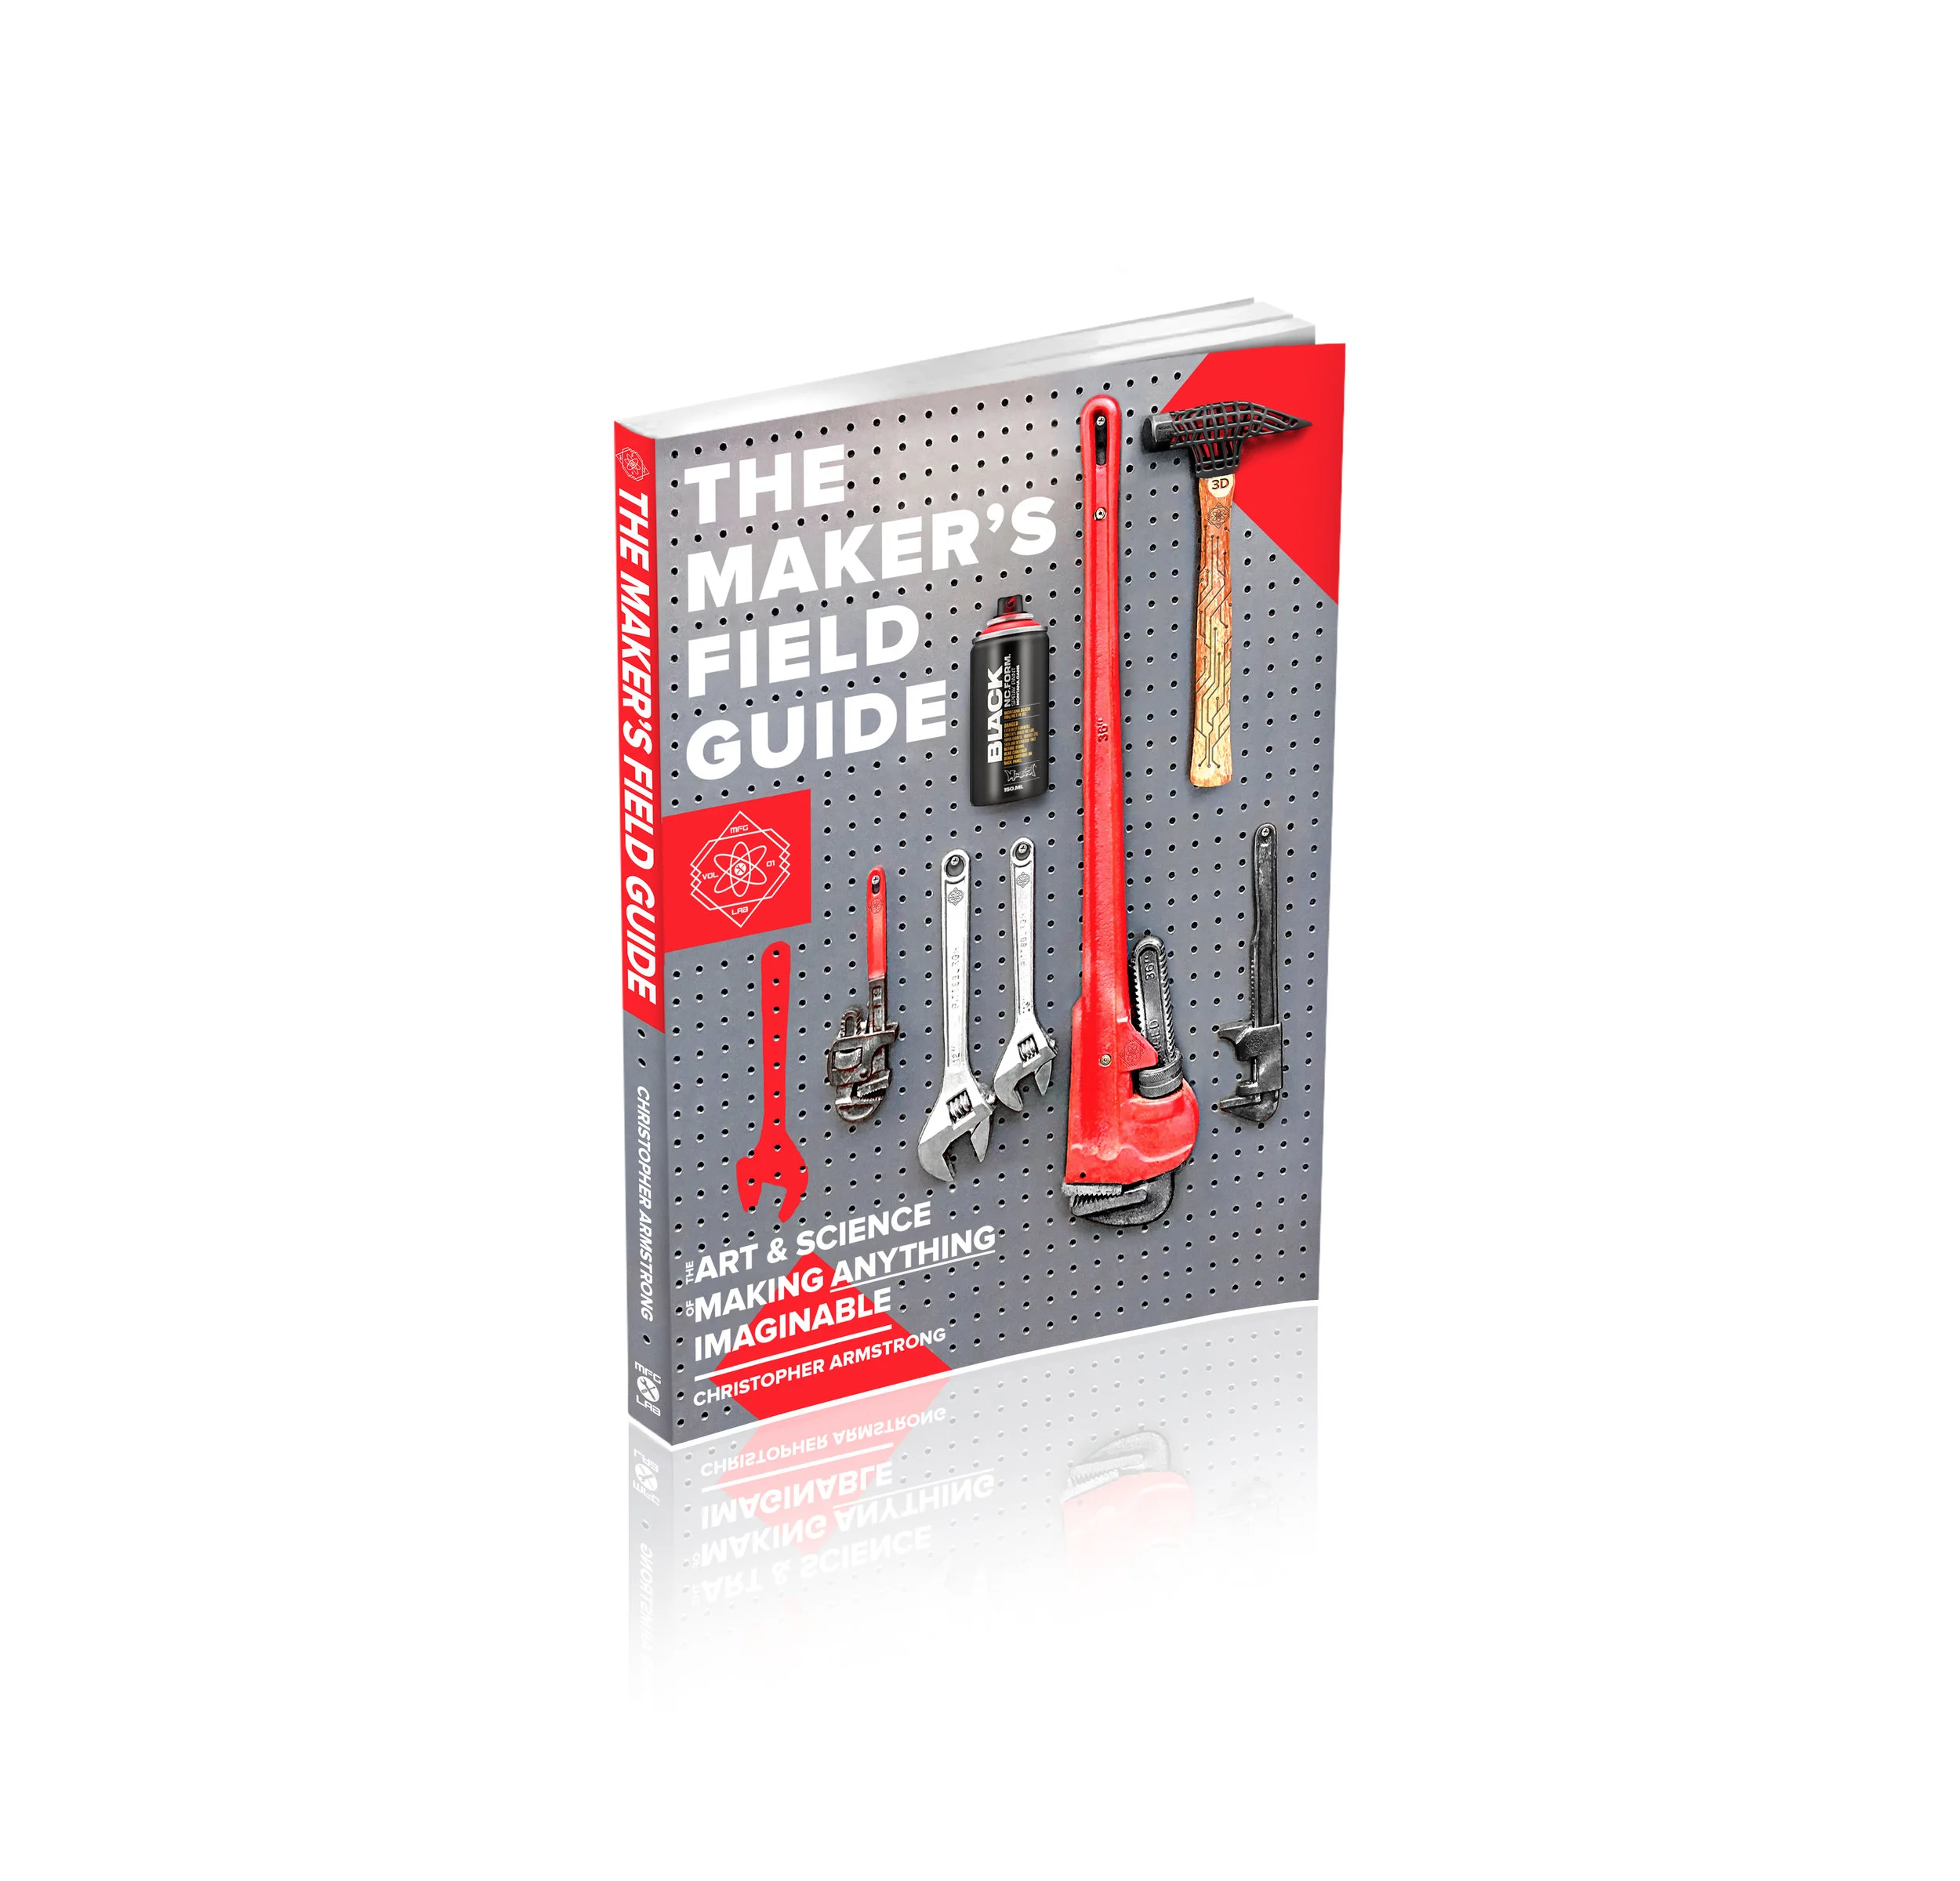
The Maker's Field Guide: Book & Ebook Available Now
These tips and more can be found in The Maker's Field Guide — the most advanced guide to making anything on the planet. Written from a professional industrial designer with over 7+ years experience in the industry. Now available as digital ebook or premium quality coffee table book through the online store!
Kit-Bashing For Concept Design & Entertainment Design : Robot Mech Design Process
Kit-Bashing is a technique made famous in the original Star Wars film franchise, where it was first pioneered to create the intricately-detailed concept fighter jets like the X-Wing, and even the Death Star itself. This technique is blazingly quick, and still quite effective for making very convincing props for film or special effects. The process uses parts Frankensteined together from various model kits, hardware store parts, and various scraps. Once a design silhouette is established with bulk parts, glue and an armature skeleton, the model kit parts are then added to give another layer of textural design interest. The final design can then be primered and painted, to give a realistic model prop effect.
*The Kit Bash build process shown below has been adapted from a class I formerly taught with John Park at the Red Engine School of Design, and later Concept Design Academy (CDA) called Advanced Vehicle & Mech Design:
Make sure to pick up a good variety of parts. Don't feel like you have to constrain yourself to the pre-designed kits like the military or Gundam kits, sometimes the most simple objects work the best: glue sticks, random computer parts, bottle caps, plastic drink cups and yogurt cups, etc. Most importantly be sure to pick up some armature wire, this will be used for the main skeleton structure for all other parts to be placed on top.


Building up parts on the armature (for here you'll want basic shapes like computer parts, plastic styrene sheet or credit cards, etc). Hot glue is used to set the parts in place, drying very quickly:

Once all of the parts have been glued in place, it will look like a kaleidoscope of different mis-matched colors botched together. Don't worry, these parts will all be unified nicely after a coat of primer:


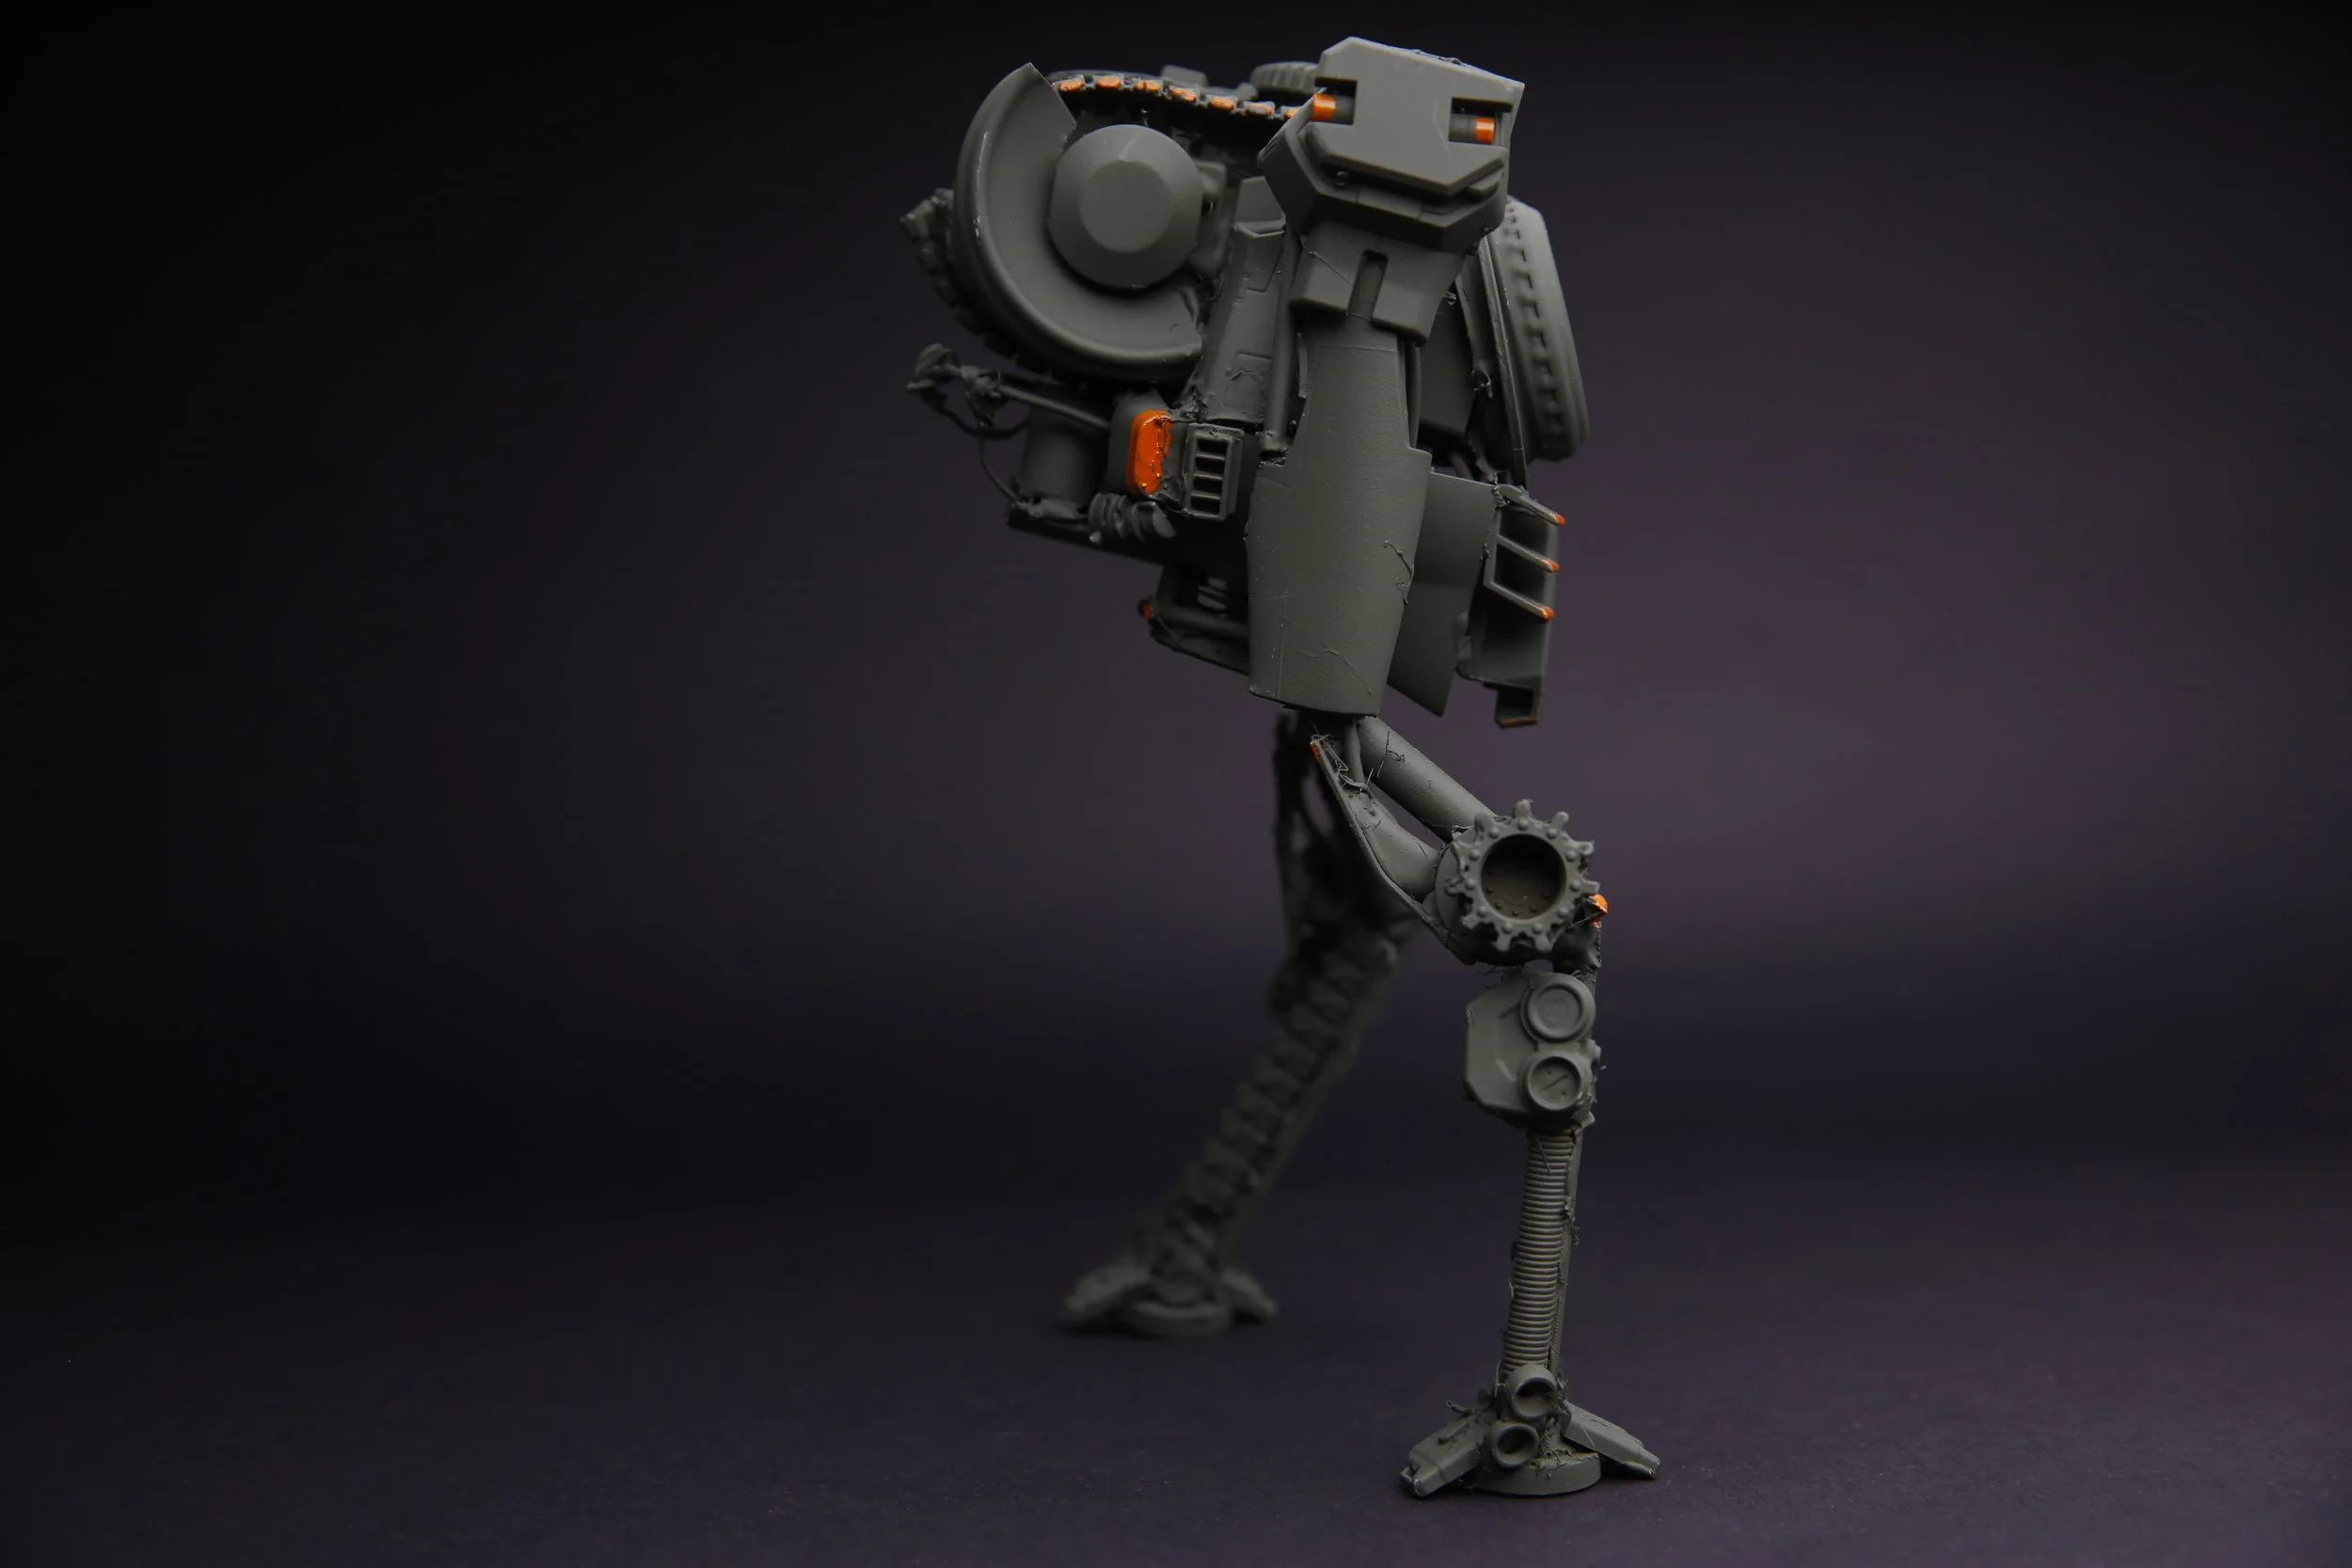
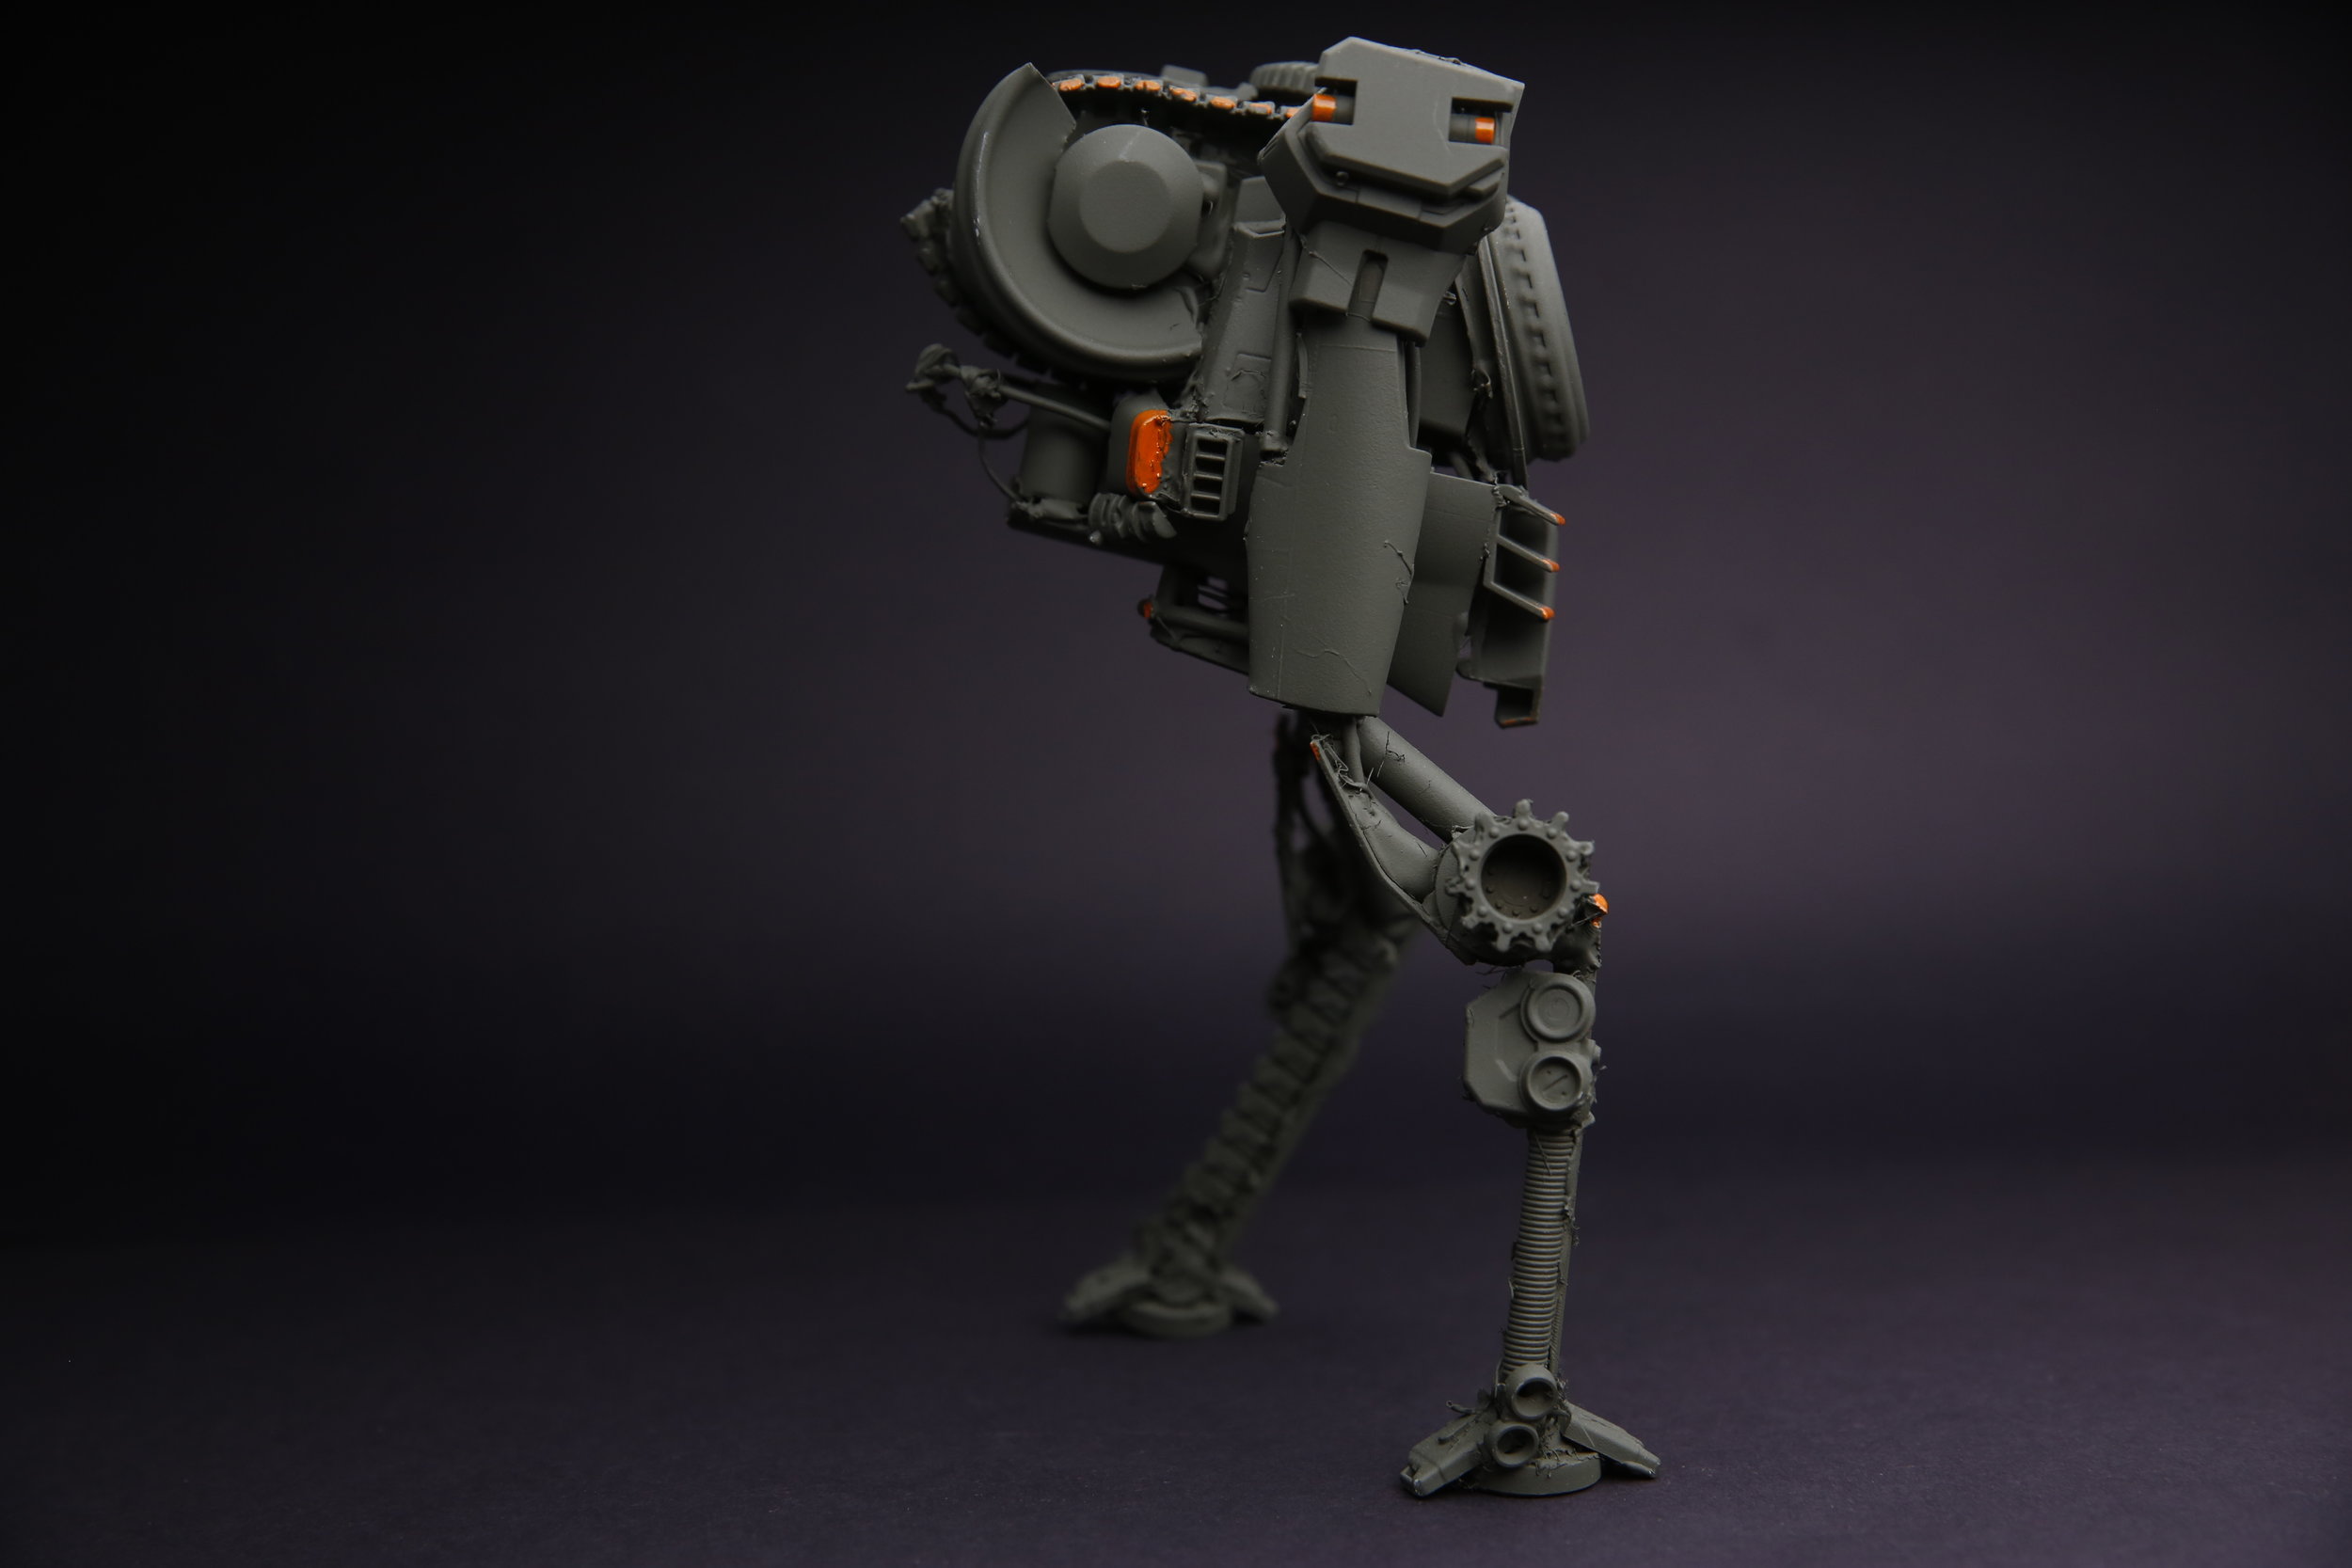
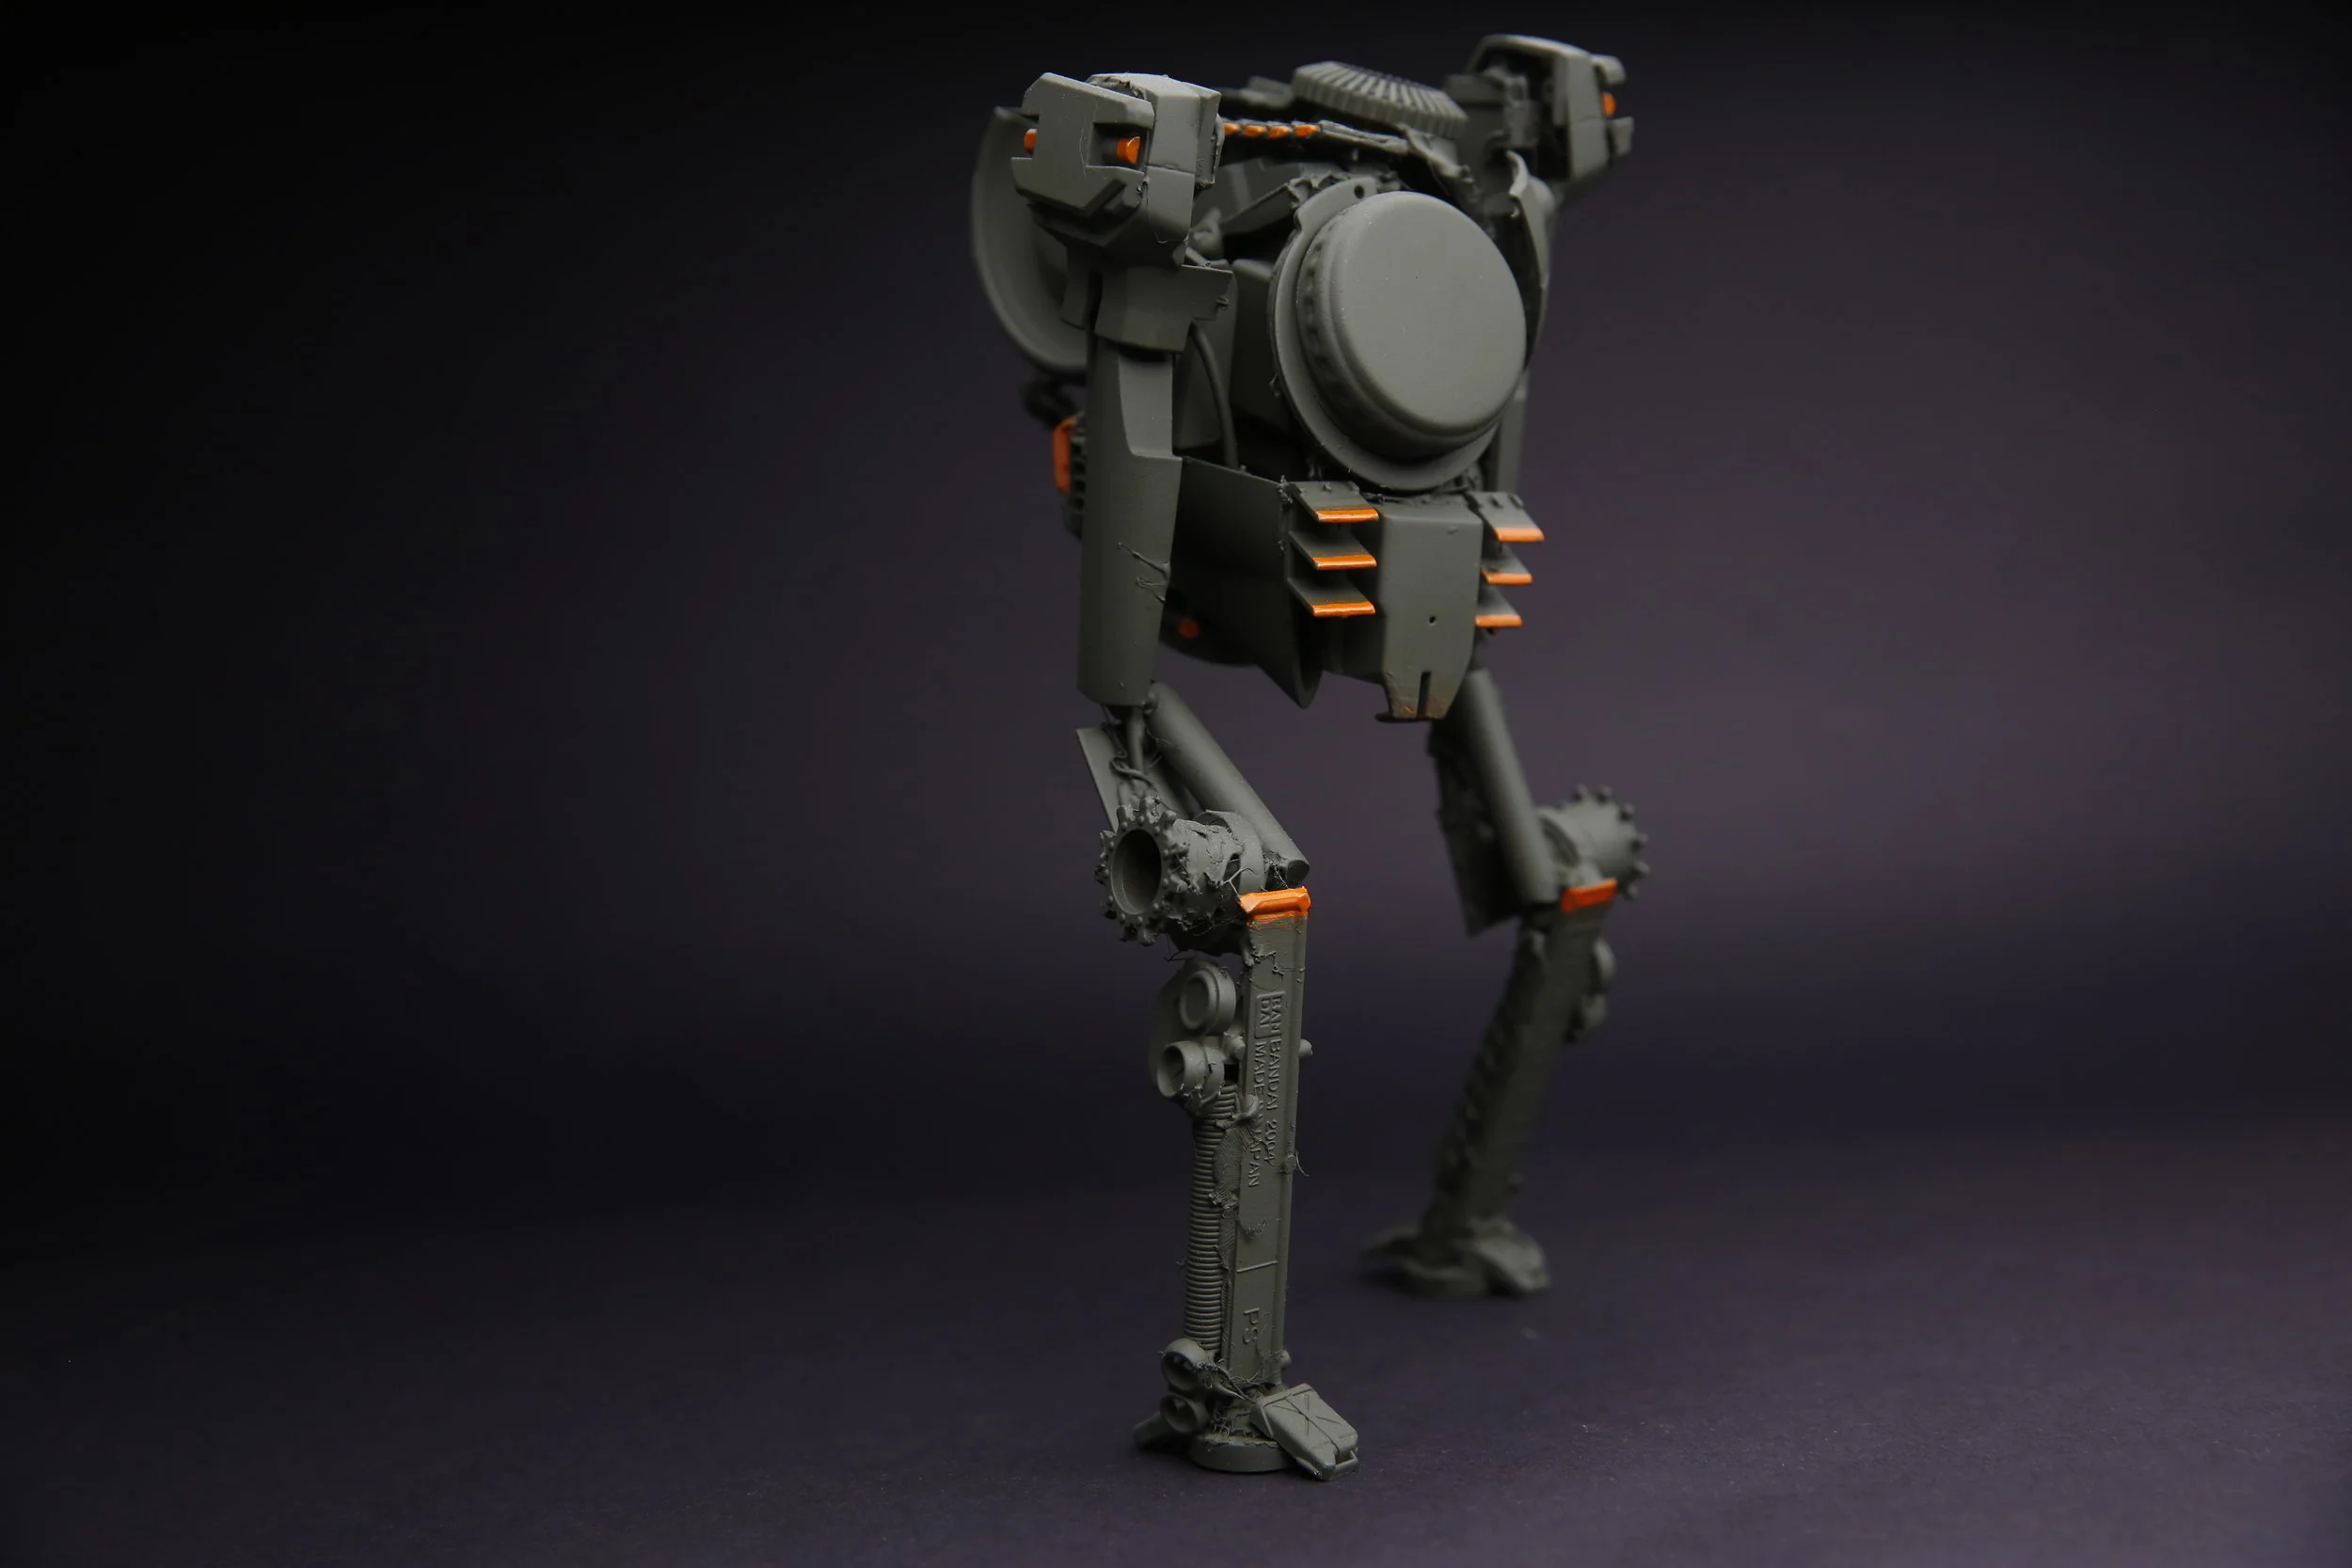
Finally, a coat of olive drab paint with safety orange color-blocking is added, to simulate a heavy piece of industrial machinery. Quite incredible what a solid photography & lighting setup can do, isn't it? :
The Maker's Field Guide: Master Maker Edition is now available!
More on kit-bashing can be found in the all new Advanced Projects chapter exclusively available in The Master Maker edition of The Maker's Field Guide. Now available as both a digital ebook or premium quality photography book through the online store.